CH585开发板关于BLE的例程非常丰富,其中的CH585EVT\EVT\EXAM\BLE\BLE_UART是一个蓝牙串口透传例程
关于这个例程的说明如下:
特性:
1, 使用两个128bit uuid,
2, 两个uuid 分别是write without respone,和 notify 方式,分别对应串口收和发,可以在工程文件ble_uart_service/ble_uart_service.c中修改
3, 可以兼容 N* 家的 ble uart 的工程,
4, 支持MTU在20-247 中任意设置,自适适应当前的mtu
5, 默认在CH592上调试,串口使用的UART3,TXD3@PA5,RXD3@PA4,其他的串口需要修改代码
6, ble 名称为"chCH592le_uart"
7, 默认开启串口notify 成功回写,不需要需要可以去掉代码,在ble service 的回掉函数,BLE_UART_EVT_BLE_DATA_RECIEVED 事件中 屏蔽即可
8, 默认开启串口调试,使用串口1,PA9_TXD 115200.
本文将描述利用BLE UART配合手机BLE工具控制PC机执行动作
在开始之前先分析一下例程
UART3(TX:PA5;RX:PA4),需要用一个串口工具将UART3和PC机USB连接
void app_uart_init()
{
    //tx fifo and tx fifo
    //The buffer length should be a power of 2
    app_drv_fifo_init(&app_uart_tx_fifo, app_uart_tx_buffer, APP_UART_TX_BUFFER_LENGTH);
    app_drv_fifo_init(&app_uart_rx_fifo, app_uart_rx_buffer, APP_UART_RX_BUFFER_LENGTH);

    //uart tx io
    GPIOA_SetBits(bTXD3);
    GPIOA_ModeCfg(bTXD3, GPIO_ModeOut_PP_5mA);

    //uart rx io
    GPIOA_SetBits(bRXD3);
    GPIOA_ModeCfg(bRXD3, GPIO_ModeIN_PU);

    //uart3 init
    UART3_DefInit();

    //enable interupt
    UART3_INTCfg(ENABLE, RB_IER_RECV_RDY | RB_IER_LINE_STAT);
    PFIC_EnableIRQ(UART3_IRQn);
}
实现了BLE串口桥接:手机APP通过BLE发送数据→MCU通过UART接收并处理。
数据回环:例如:手机发送"ABC",设备回传"ABC"。
case BLE_UART_EVT_BLE_DATA_RECIEVED:
            PRINT("BLE RX DATA len:%d\r\n", p_evt->data.length);

            //for notify back test
            //to ble
            uint16_t to_write_length = p_evt->data.length;
            app_drv_fifo_write(&app_uart_rx_fifo, (uint8_t *)p_evt->data.p_data, &to_write_length);
            tmos_start_task(Peripheral_TaskID, UART_TO_BLE_SEND_EVT, 2);
            //end of nofify back test

            //ble to uart
            app_uart_tx_data((uint8_t *)p_evt->data.p_data, p_evt->data.length);

            break;
通过ble_uart_notify函数,将UART接收到的消息通过BLE发生给订阅者
case SEND_TO_BLE_TO_SEND:
//notify is not enabled
if(!ble_uart_notify_is_ready(peripheralConnList.connHandle))
{
if(peripheralConnList.connHandle == GAP_CONNHANDLE_INIT)
{
//connection lost, flush rx fifo here
app_drv_fifo_flush(&app_uart_rx_fifo);
}
break;
}
read_length = ATT_GetMTU(peripheralConnList.connHandle) - 3;
if(app_drv_fifo_length(&app_uart_rx_fifo) >= read_length)
{
PRINT("FIFO_LEN:%d\r\n", app_drv_fifo_length(&app_uart_rx_fifo));
result = app_drv_fifo_read(&app_uart_rx_fifo, to_test_buffer, &read_length);
uart_to_ble_send_evt_cnt = 0;
}
else
{
if(uart_to_ble_send_evt_cnt > 10)
{
result = app_drv_fifo_read(&app_uart_rx_fifo, to_test_buffer, &read_length);
uart_to_ble_send_evt_cnt = 0;
}
else
{
tmos_start_task(Peripheral_TaskID, UART_TO_BLE_SEND_EVT, 4);
uart_to_ble_send_evt_cnt++;
PRINT("NO TIME OUT\r\n");
}
}
if(APP_DRV_FIFO_RESULT_SUCCESS == result)
{
noti.len = read_length;
noti.pValue = GATT_bm_alloc(peripheralConnList.connHandle, ATT_HANDLE_VALUE_NOTI, noti.len, NULL, 0);
if(noti.pValue != NULL)
{
tmos_memcpy(noti.pValue, to_test_buffer, noti.len);
result = ble_uart_notify(peripheralConnList.connHandle, ¬i, 0);
if(result != SUCCESS)
{
PRINT("R1:%02x\r\n", result);
send_to_ble_state = SEND_TO_BLE_SEND_FAILED;
GATT_bm_free((gattMsg_t *)¬i, ATT_HANDLE_VALUE_NOTI);
tmos_start_task(Peripheral_TaskID, UART_TO_BLE_SEND_EVT, 2);
}
else
{
send_to_ble_state = SEND_TO_BLE_TO_SEND;
//app_fifo_write(&app_uart_tx_fifo,to_test_buffer,&read_length);
//app_drv_fifo_write(&app_uart_tx_fifo,to_test_buffer,&read_length);
read_length = 0;
tmos_start_task(Peripheral_TaskID, UART_TO_BLE_SEND_EVT, 2);
}
}
else
{
send_to_ble_state = SEND_TO_BLE_ALLOC_FAILED;
tmos_start_task(Peripheral_TaskID, UART_TO_BLE_SEND_EVT, 2);
}
}
else
{
//send_to_ble_state = SEND_TO_BLE_FIFO_EMPTY;
}
break;
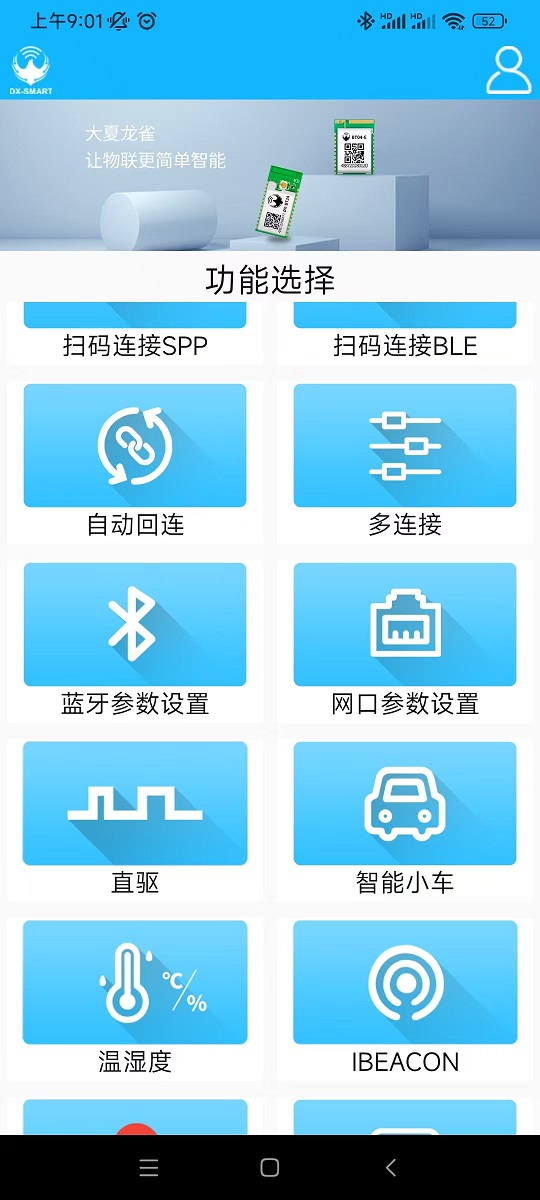
使用大夏龙雀的蓝牙助手做为控制端
点击“智能小车”
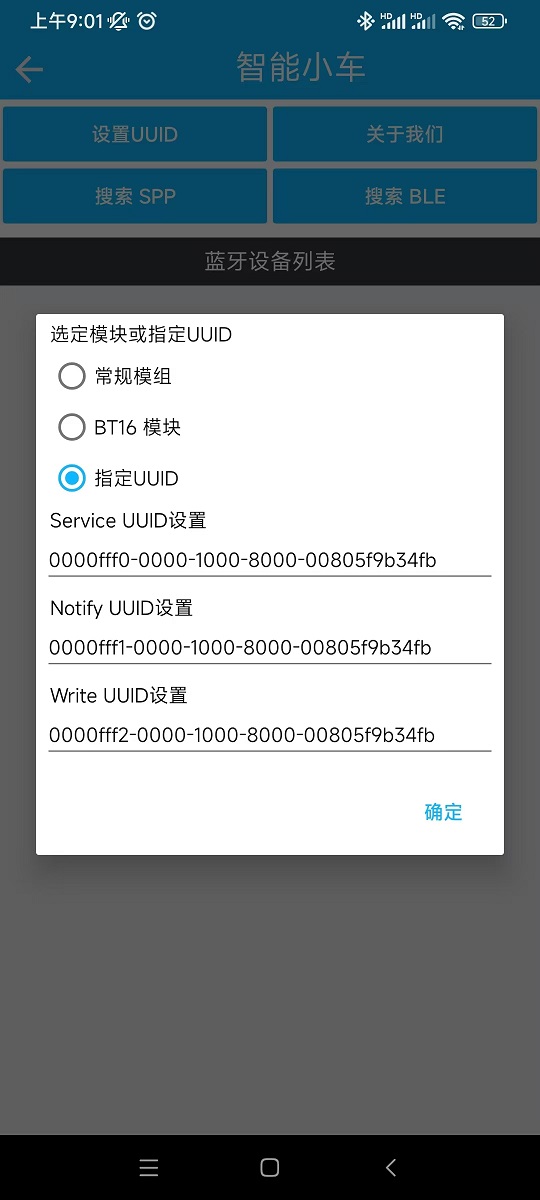
点击“设置UUID"设置
Service、Notify和Write UUID
Notify是PC机-->UART--->BLE(CH585)-->手机
Write是手机->BLE(CH585)->UART-->PC机
点击搜索BLE,其中“ch592_ble_uart”是开发板BLE广播名
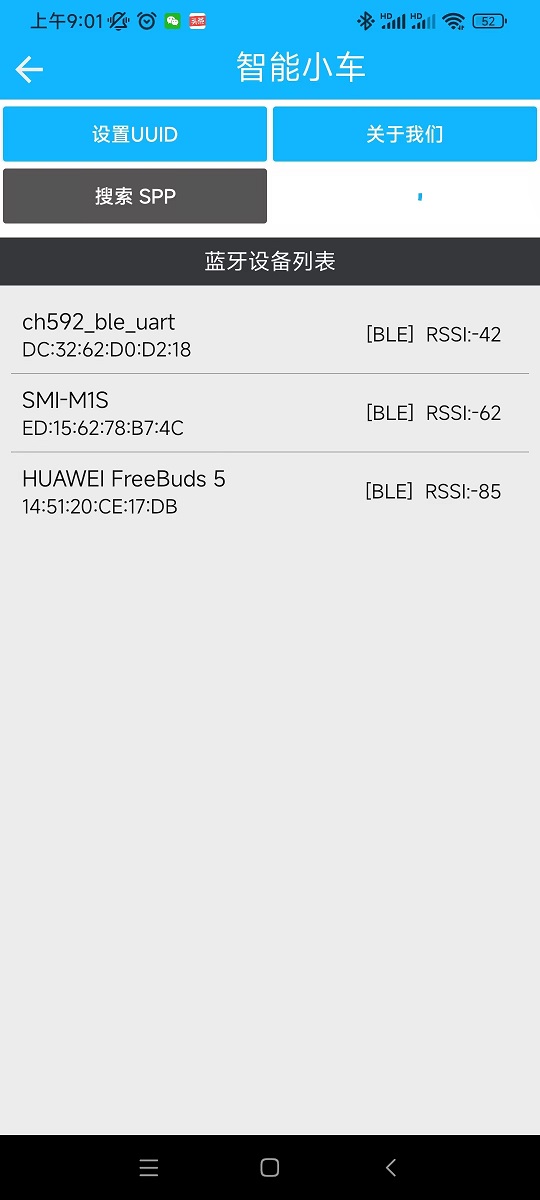
点击“ch592_ble_uart”进行连接,可以看到下面控制面板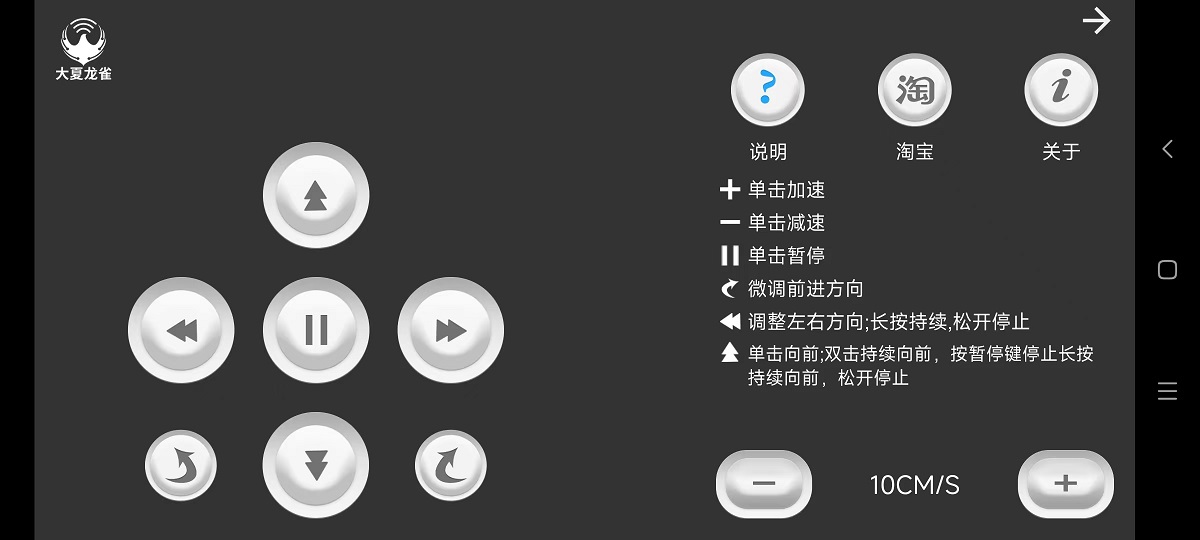
点击面板上的上下左右,可以在PC机上接收到abcd
也就是说PC机上接收到手机上传来的数据,并且abcd对应上下左右的控制。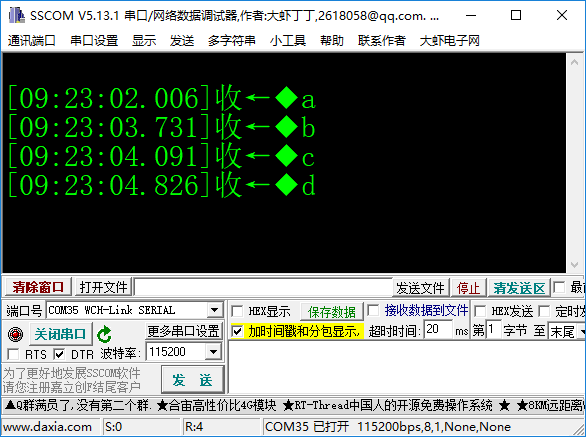
为了直观感受控制信号,用PYTHON写个脚本
import serial
import pygame
import sys

# 初始化pygame
pygame.init()
screen = pygame.display.set_mode((800, 600))
pygame.display.set_caption("串口控制方块")

# 方块属性
block_x, block_y = 400, 300
block_size = 50
block_color = (0, 128, 255)

# 串口设置
ser = serial.Serial('COM35', 115200, timeout=1)  # 根据实际情况修改端口

def move_block(direction):
    global block_x, block_y
    move_amount = 10

    if direction == 'c':
        block_x -= move_amount
    elif direction == 'd':
        block_x += move_amount
    elif direction == 'a':
        block_y -= move_amount
    elif direction == 'b':
        block_y += move_amount

# 主循环
running = True
while running:
    for event in pygame.event.get():
        if event.type == pygame.QUIT:
            running = False

    # 读取串口数据
    if ser.in_waiting > 0:
        command = ser.readline().decode('utf-8').strip()
        print("Received:", command)
        move_block(command)

    # 绘制
    screen.fill((255, 255, 255))
    pygame.draw.rect(screen, block_color, (block_x, block_y, block_size, block_size))
    pygame.display.flip()
    pygame.time.delay(30)

ser.close()
pygame.quit()
sys.exit()
更多回帖
 长按上方图片保存到相册
 复制链接
复制链接