前言
由于在家条件比较有限,就移植了之前做过的项目。利用神经网络去分辨花的种类,当然啊,这是非视觉信号,而是纯数据信号,简单点就是可以通过ADC采集多个数据,丢入模型进行预测/分类。
最终效果演示
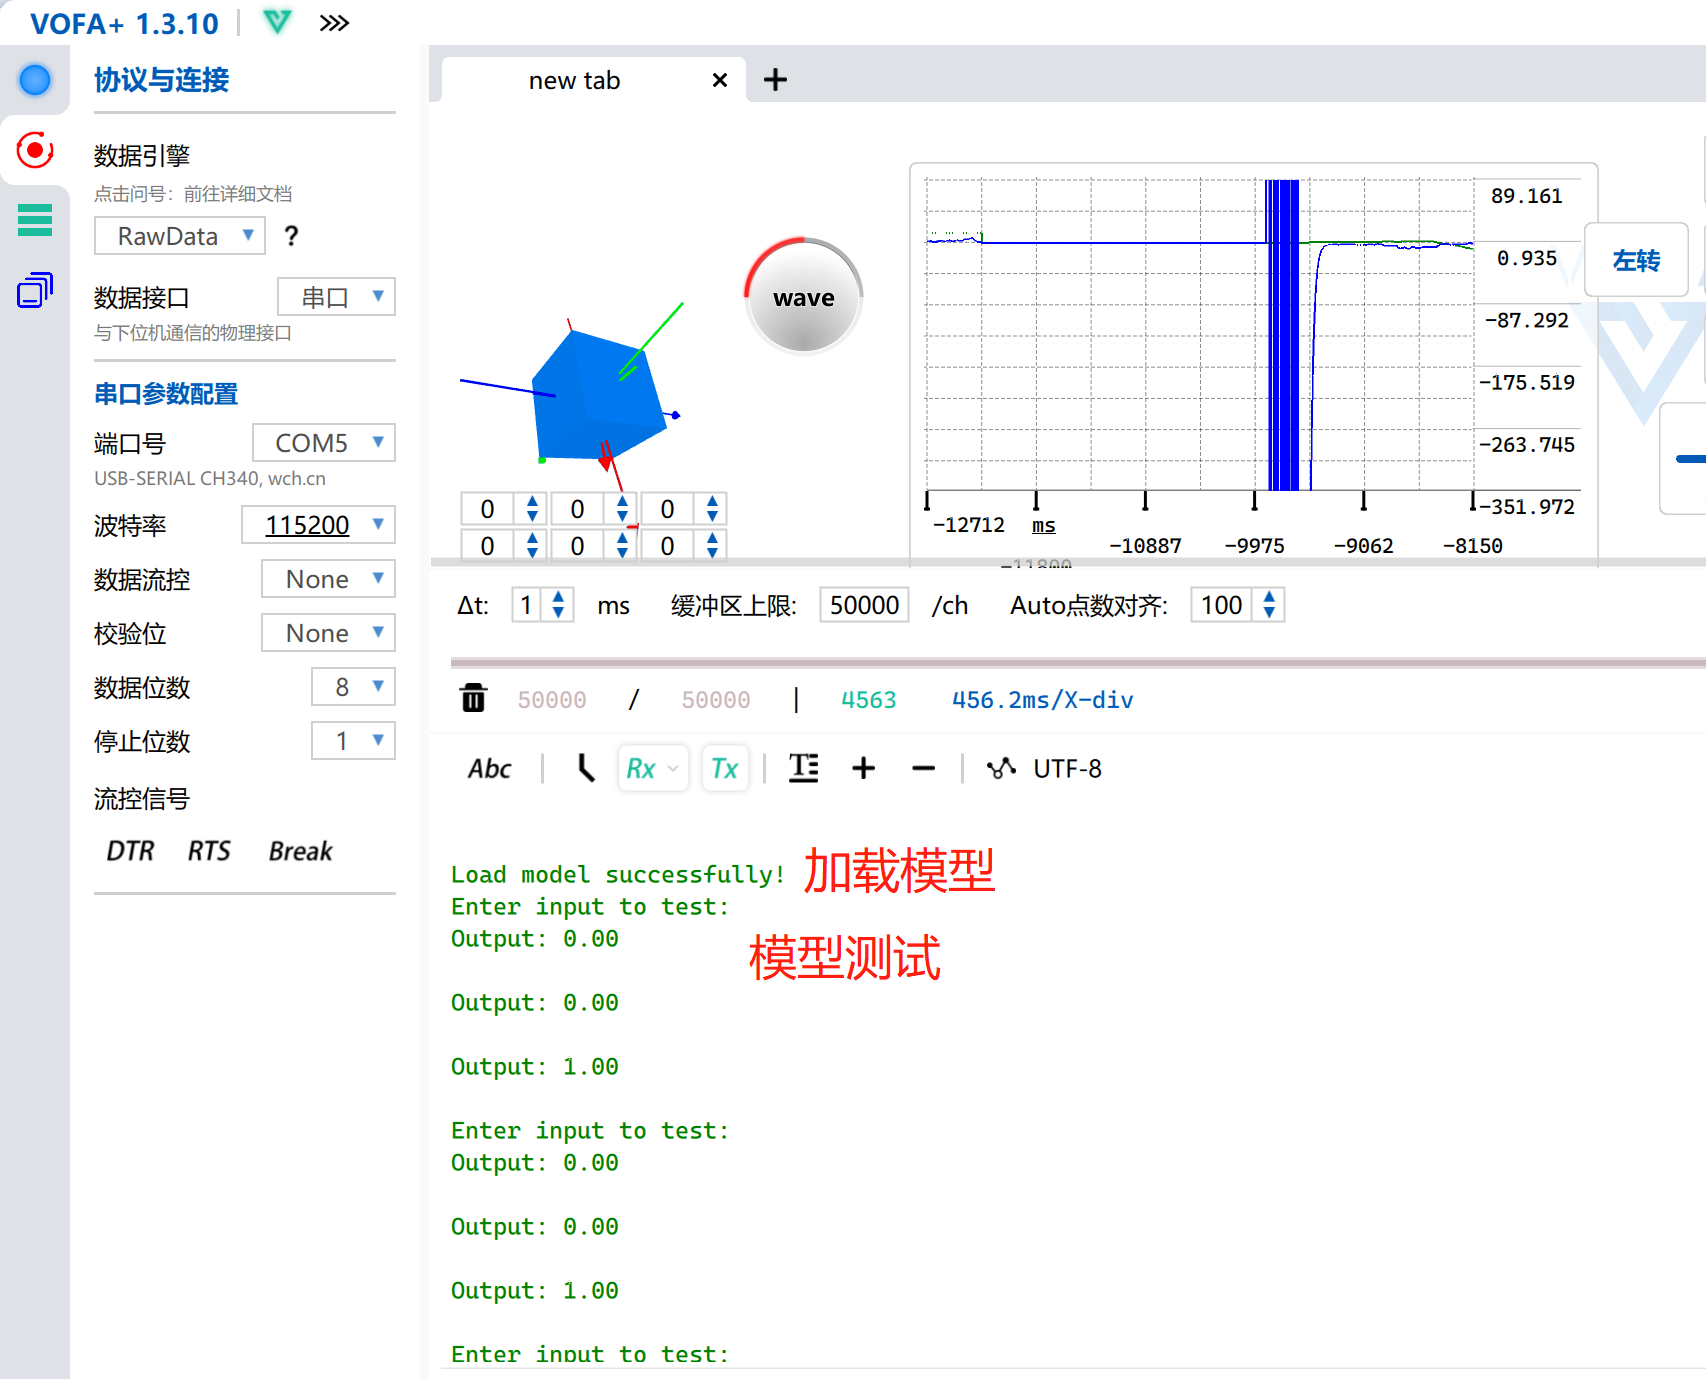
串口软件用的是VOFA+ (真的超级好用!)
用于分类的数据测试集,第三个输出为1,说明类别为3

训练步骤
第一步 准备训练集
本文使用的数据集为花的一些属性已经类别,利用excel表格简单处理一下
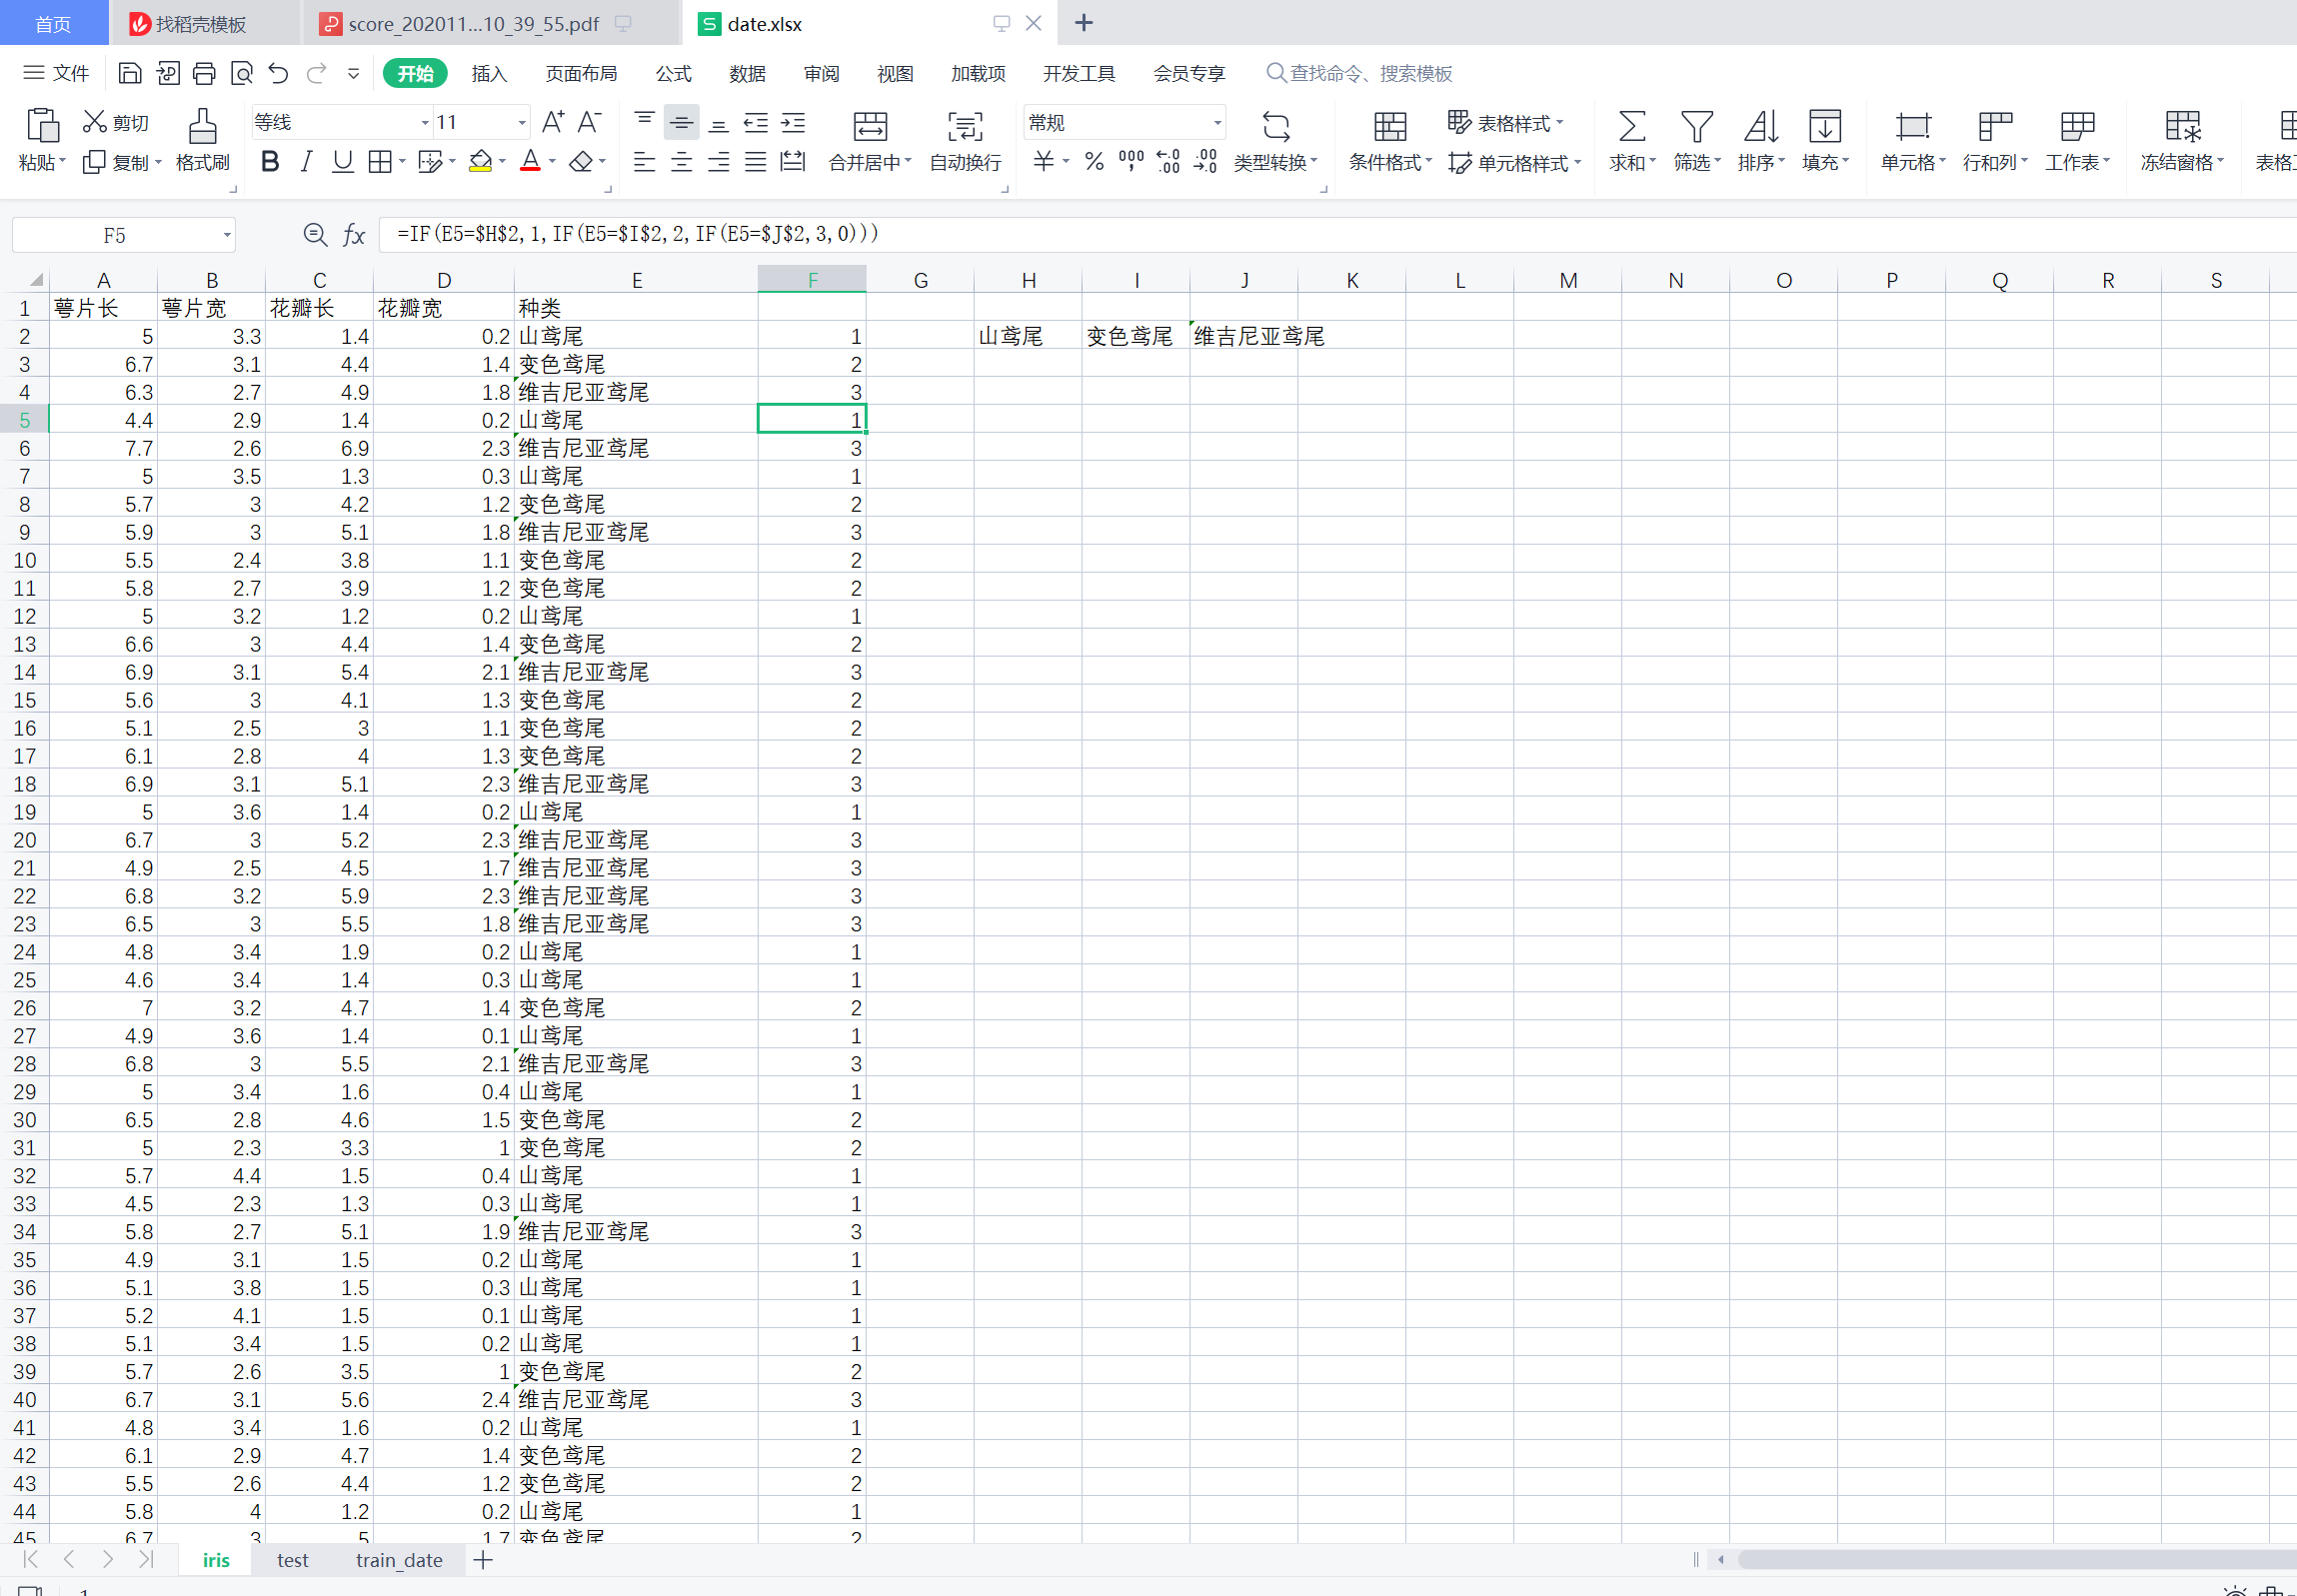
第一个表格页是未处理的数据,并利用excel的一些语句对花的种类进行量化,比如山鸢尾定义为种类1 变色鸢尾定义为种类2 维吉尼亚鸢尾 定义为种类3
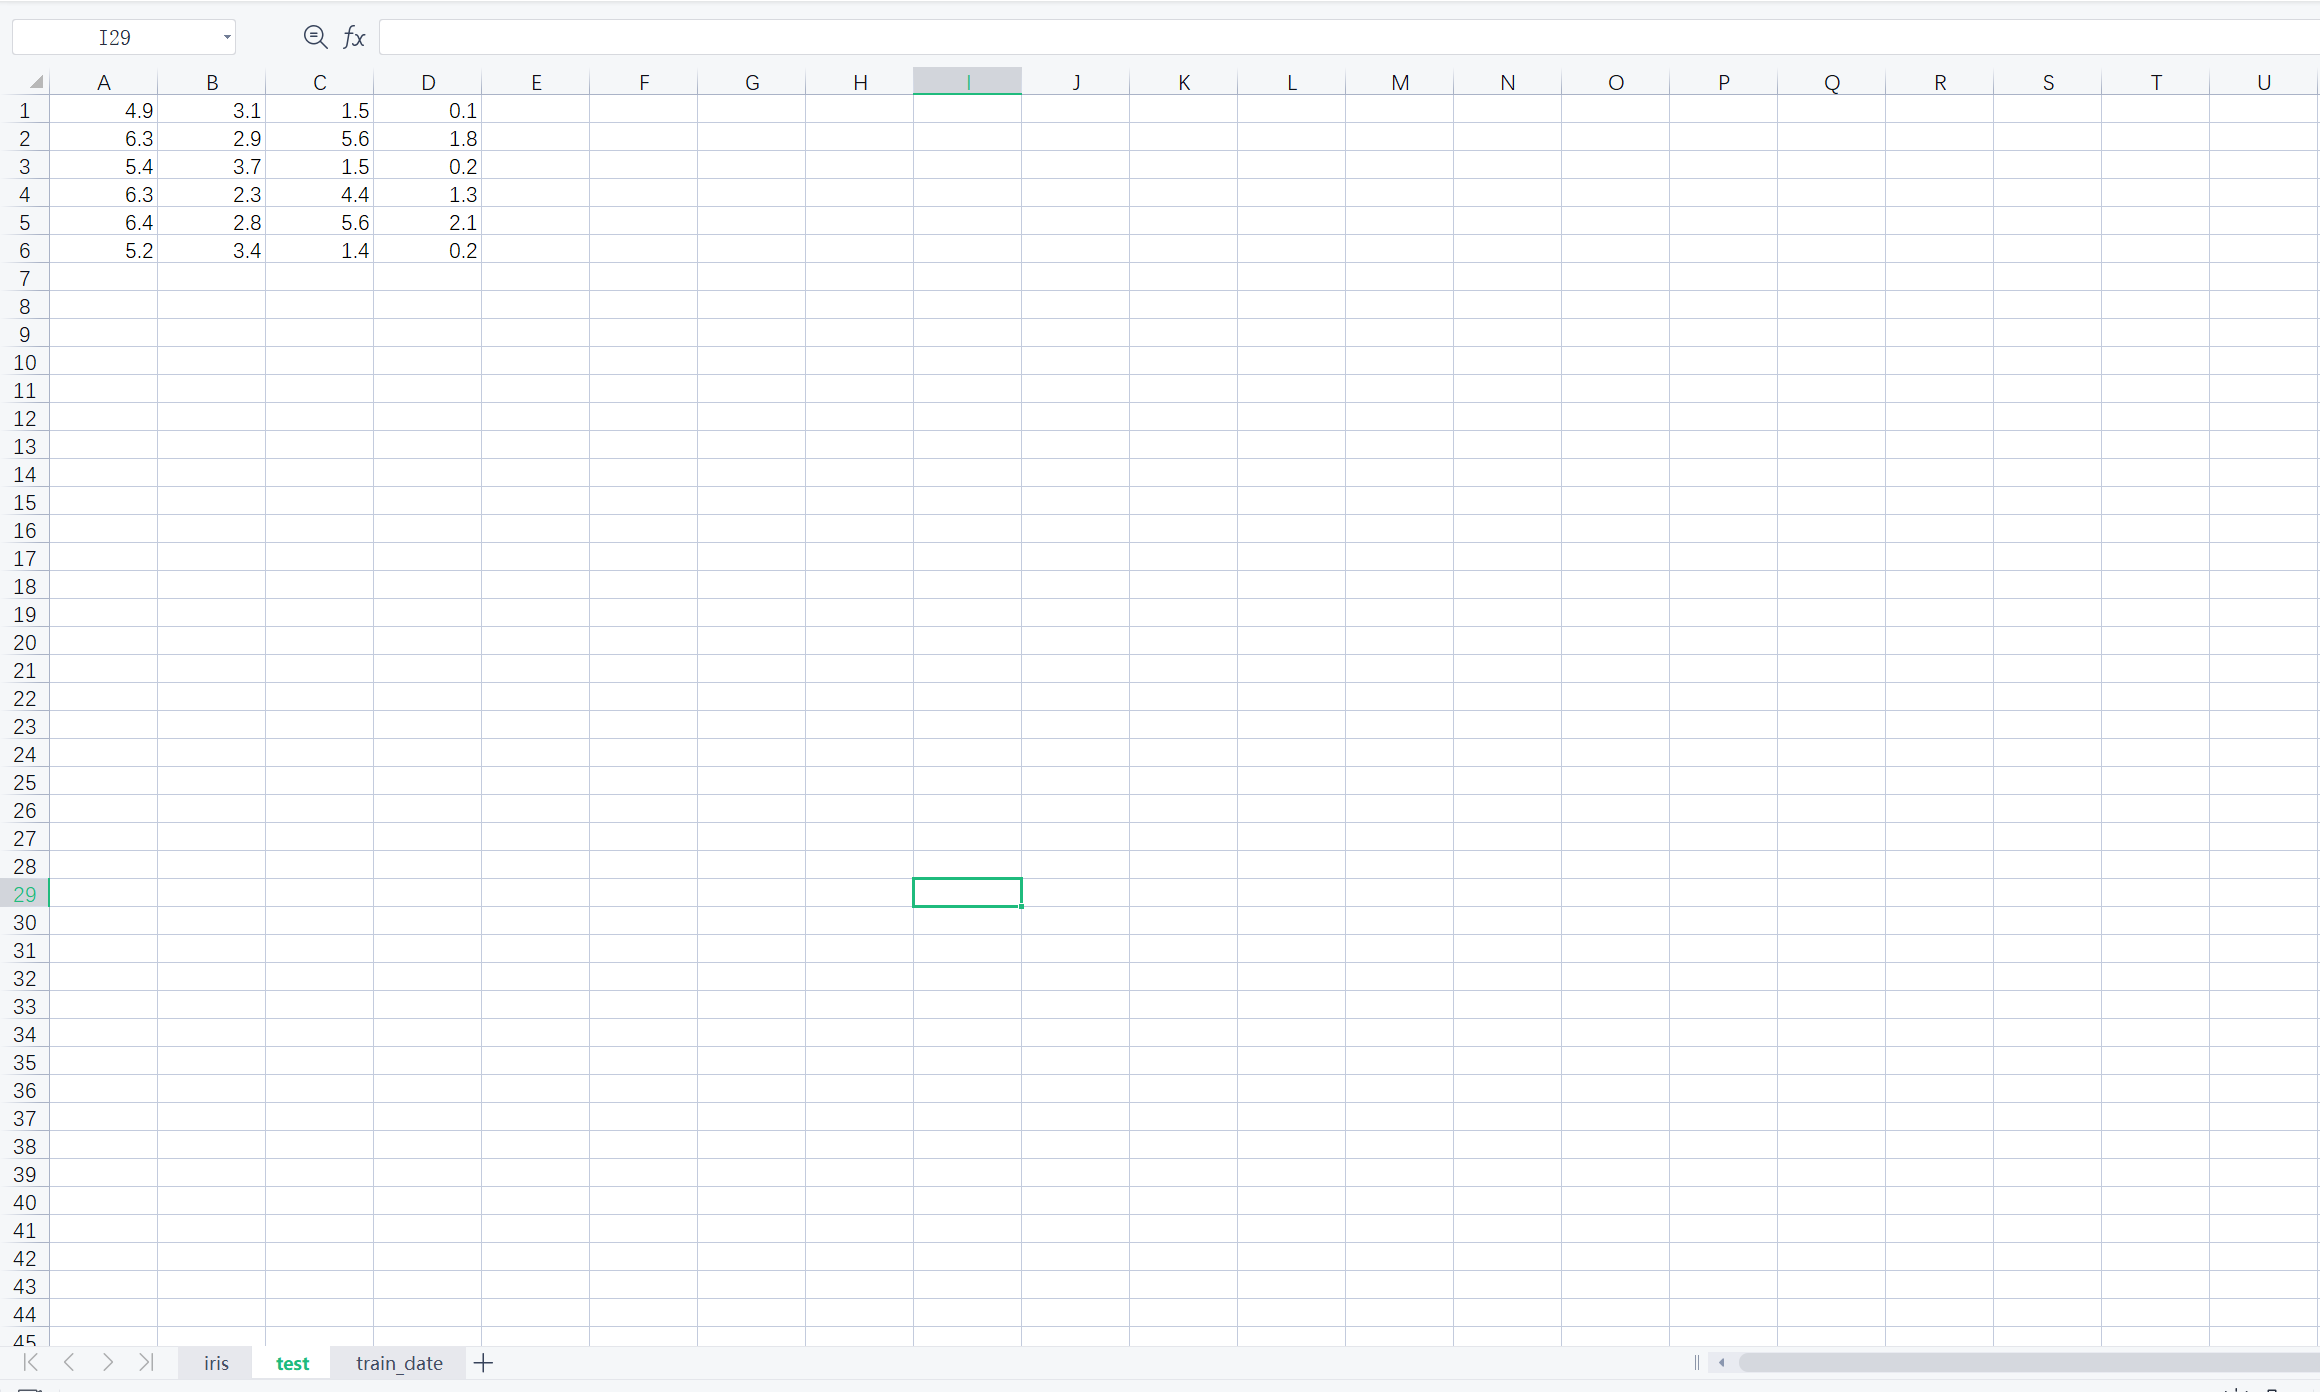
第二个表格页是用于测试模型的测试集
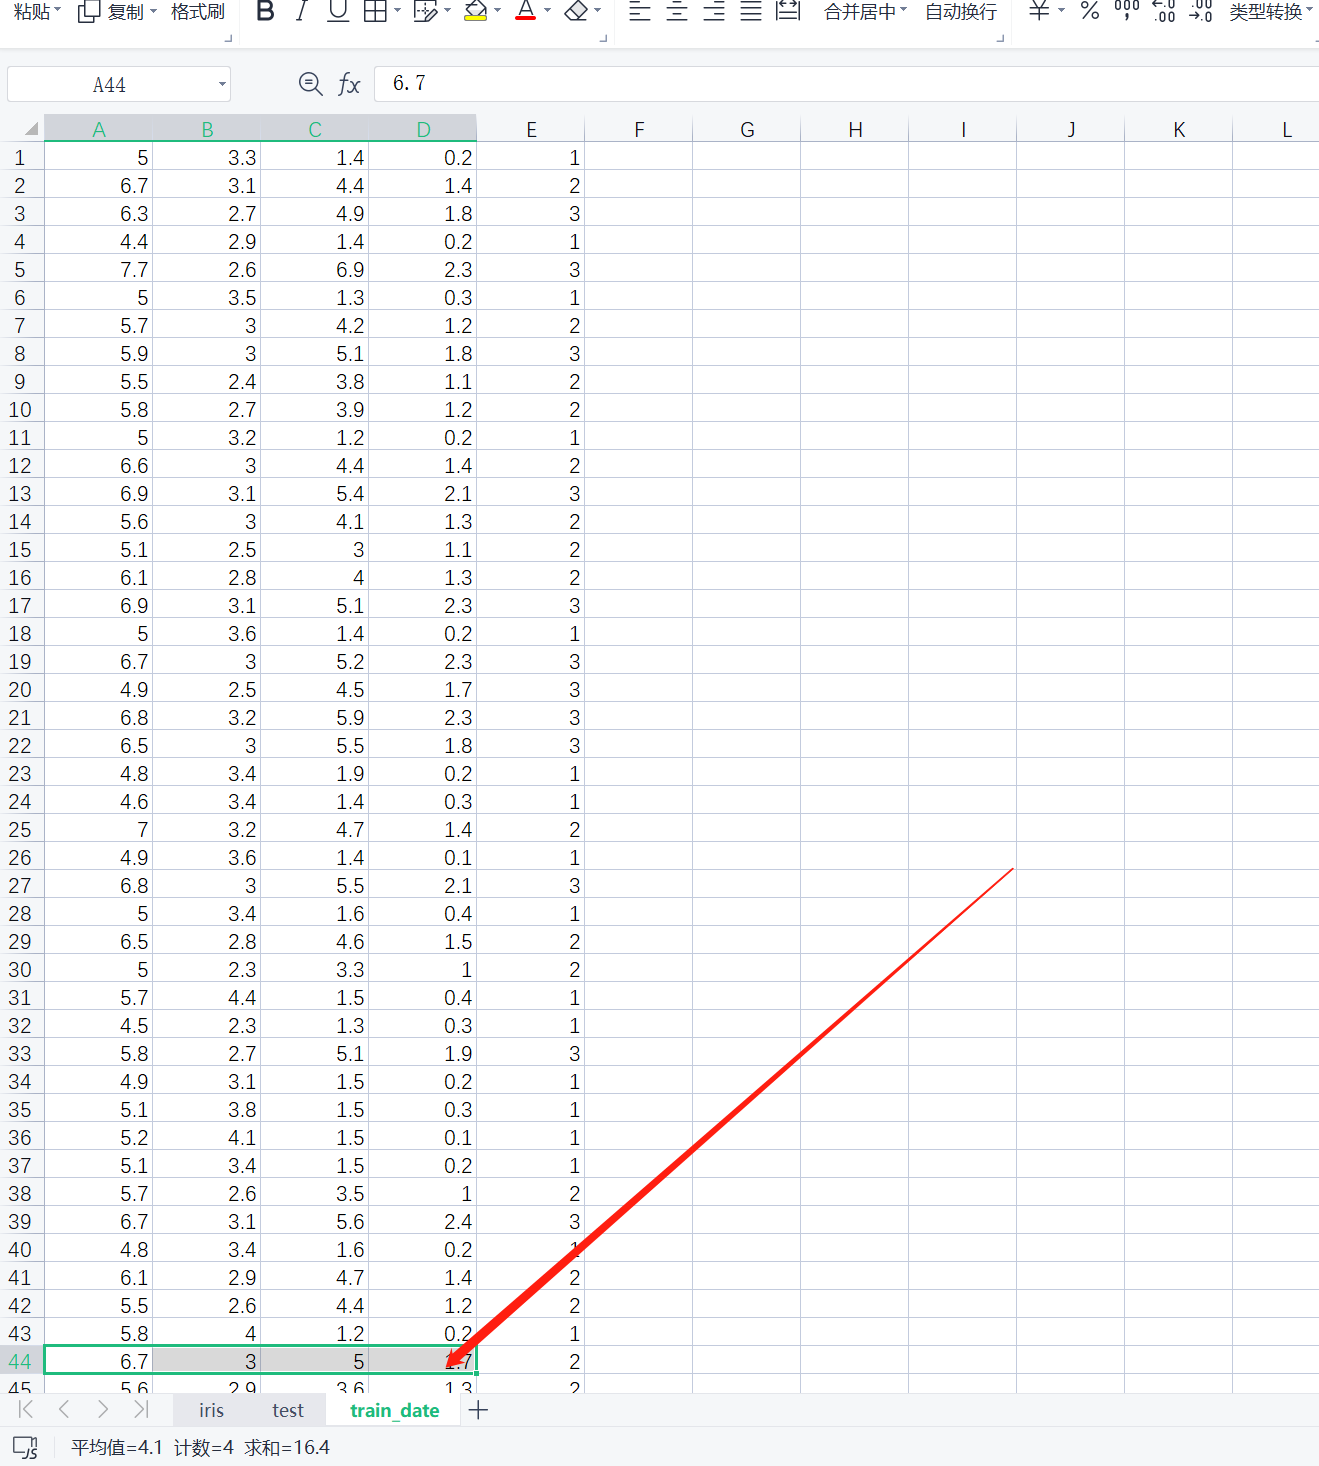
第三个表格页则是用于训练的集合,最后一列是
第二步 生成输入
显然,excel表格是无法丢入我移植的神经网络模型中的,我自己写了一个转换脚本,分析excel数据并生成c语言的头文件作为训练的输入
转换python脚本
import xlwt
import xlrd
import os
from time import sleep
import copy
program_file_head = "#ifndef INPUT_H\n#define INPUT_H\n"
program_file_end = "\n#endif"
program_str = "\nint input_neu = {0}; \nint example_num = {1};\nfloat date[{1}][{0}] = "
write_program_str = copy.deepcopy(program_file_head)
date_dilm = 0
example_num = 0
train_date_book_index = 2
test_date_book_index = 1
output_input_file = "input.h"
output_test_file = "input_cls_date.h"
def date_handle_from_excel():
wb = xlrd.open_workbook(filename='date.xlsx')
sheet_date = wb.sheet_by_index(train_date_book_index)
rows = sheet_date.row_values(0)
cols = sheet_date.col_values(0)
date_dilm = len(rows)
example_num = len(cols)
write_program_str = '#ifndef __INPUT_H\n#define __INPUT_H'
write_program_str += program_str.format(date_dilm-1,example_num)
write_program_str += '{'
temp_pie = 1
for i in range(example_num):
rows = sheet_date.row_values(i)
for date in range(date_dilm-1):
if temp_pie:
write_program_str += str(rows[date])
temp_pie = 0
else:
write_program_str += ',' + str(rows[date])
write_program_str += '\n'
write_program_str += '};\n'
write_program_str += 'float label[%d] = {'%example_num
for i in range(example_num):
rows = sheet_date.row_values(i)
if not (i % 5):
write_program_str += "\n"
if not i:
write_program_str += str(rows[date_dilm-1])
else:
write_program_str += "," + str(rows[date_dilm-1])
write_program_str += "};\n"
write_program_str += program_file_end
print('Now writing output file...')
with open(output_input_file, 'w') as f:
f.write(write_program_str)
f.close()
print('Write finish...')
print('Now load input cls date')
temp_pie = 1
del sheet_date
sheet_date = wb.sheet_by_index(test_date_book_index)
write_program_str = "#ifndef INPUT_CLS_DATE_H\n#define INPUT_CLS_DATE_H\n"
test_date = sheet_date.row_values(0)
test_date_example = sheet_date.col_values(0)
test_date_dim = len(test_date)
test_date_example_num = len(test_date_example)
if not (test_date_dim == (date_dilm-1)):
print('Dims of test date do not equal dims of train date')
return -1
write_program_str += 'int date_num = %d; \n'%(test_date_example_num)
write_program_str += 'float cls_input_date[%d][%d] = {\n'%(test_date_example_num,test_date_dim)
for i in range(test_date_example_num):
for j in sheet_date.row_values(i):
if temp_pie:
write_program_str += str(j)
temp_pie = 0
else:
write_program_str += ',' + str(j)
write_program_str += '\n'
temp_pie = 1
write_program_str += '};\n'
write_program_str += program_file_end
with open(output_test_file, 'w') as f:
f.write(write_program_str)
f.close()
if __name__ == '__main__':
print('Date loading...')
date_handle_from_excel()
print('Date load successfully!')
运行成功后会提示

并生成两个头文件

将这两个头文件复制到模型训练代码项目中
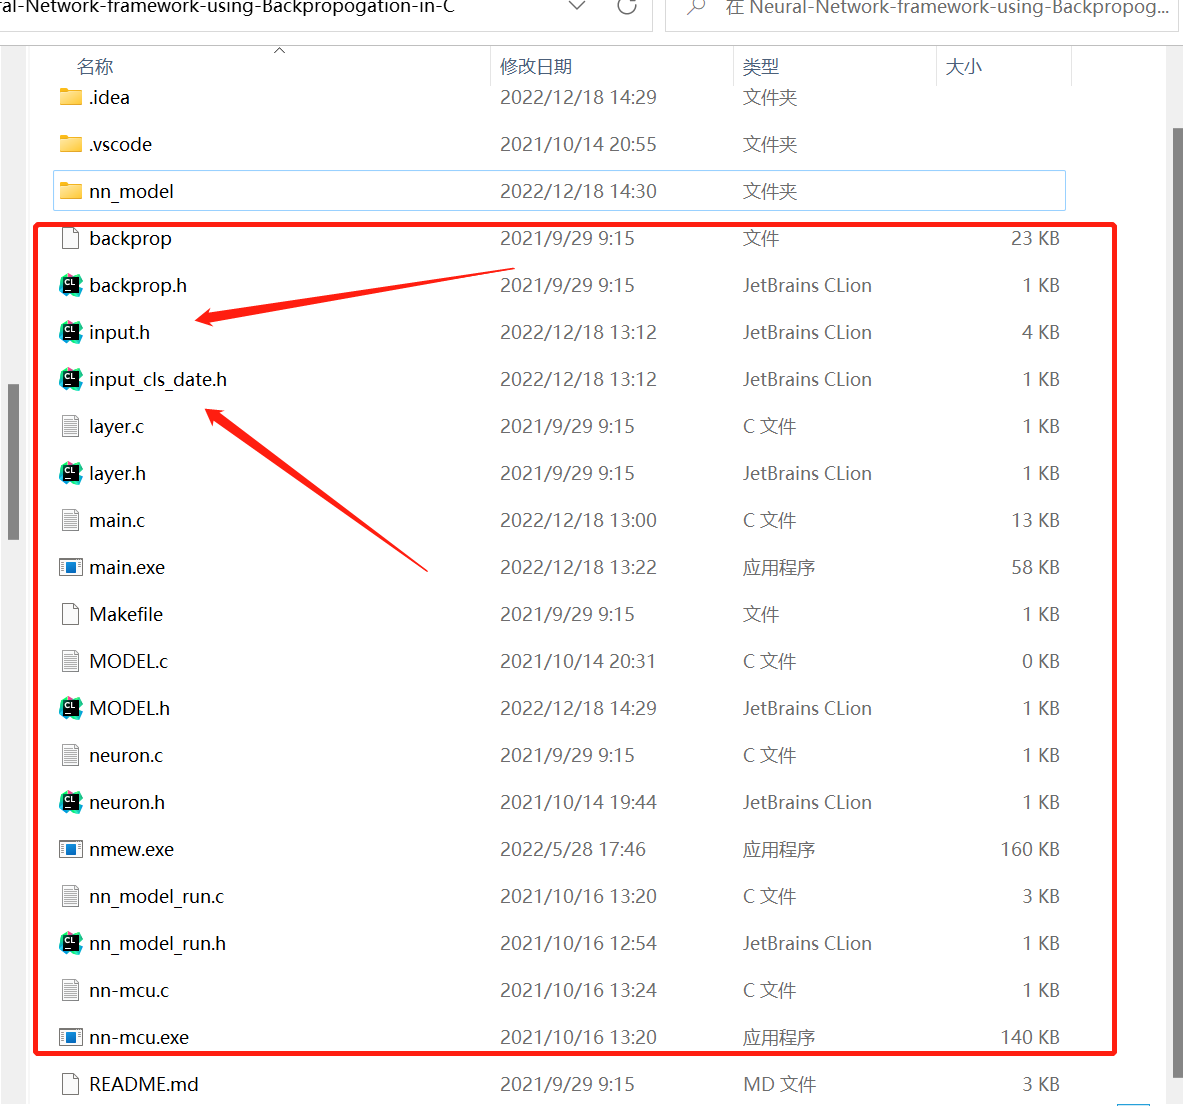
复制完后利用gcc运行命令
gcc main.c neuron.c layer.c input.h input_cls_date.h backprop.h -o main.exe
生成.exe文件,Linux可直接生成main运行
运行main文件,然后会提示你输入要有多少层神经网络,并提示输入每一层的神经元数

这里我输入的是3层神经网络,第一层会程序自动输入为数据的维度,第二层则是7个神经元,最后一层输出是3个神经元
训练结束后,会提示输入一些数据集用于分类/预测

第三步 移植模型
训练完后会输出文件MODEL.h
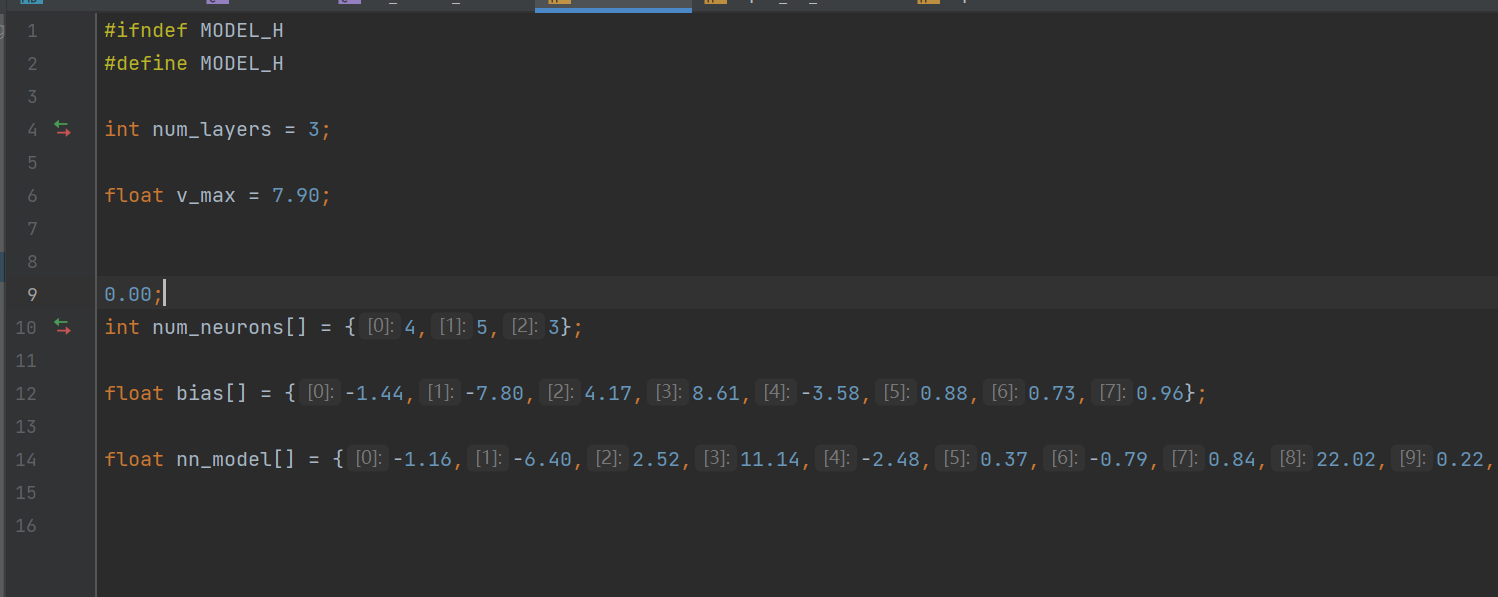
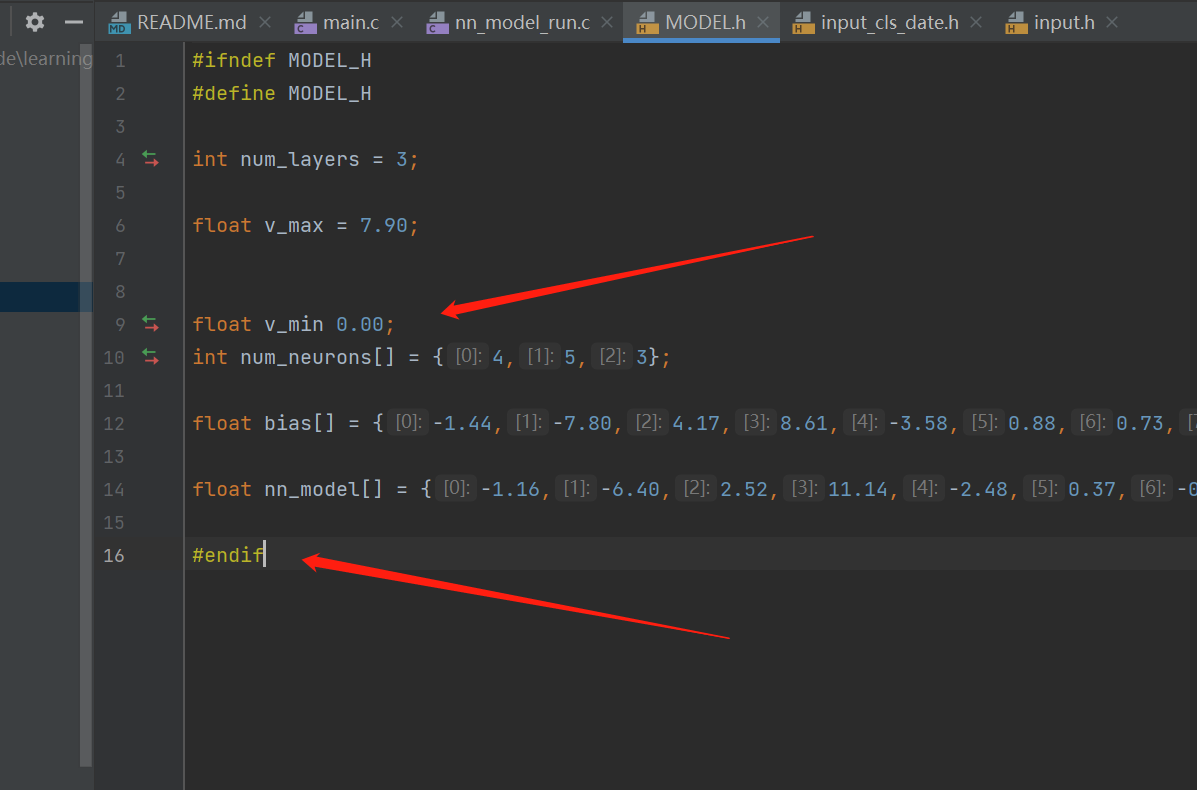
MODEL.h是有点小bug的,需要改成图下这个样子
然后将MODEL.h、input.h和input_cls_date.h(单词小错误,不要在意这些细节...)移植到文件夹nn_model里
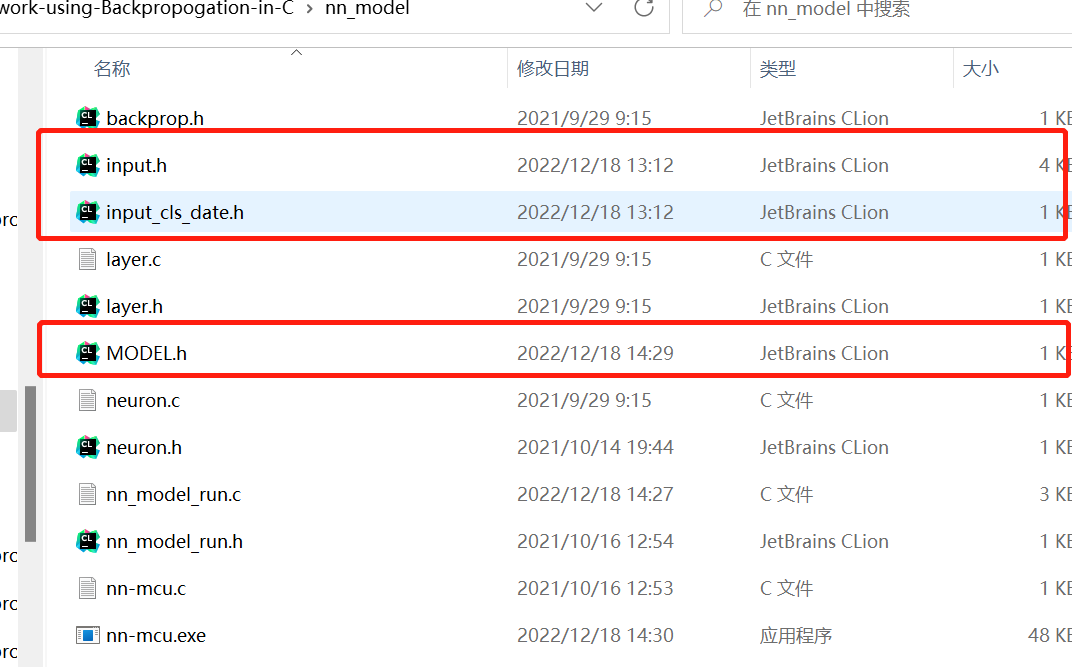
(如果你想测试一下模型是不是能用的,也可以在这里运行命令,然后运行nn-mcu.exe,测试的数据集在input_cls_date.h里面)
gcc .\backprop.h .\input.h .\input_cls_date.h .\layer.c .\MODEL.h .\nn_model_run.c .\neuron.c .\nn-mcu.c -o .\nn-mcu.exe
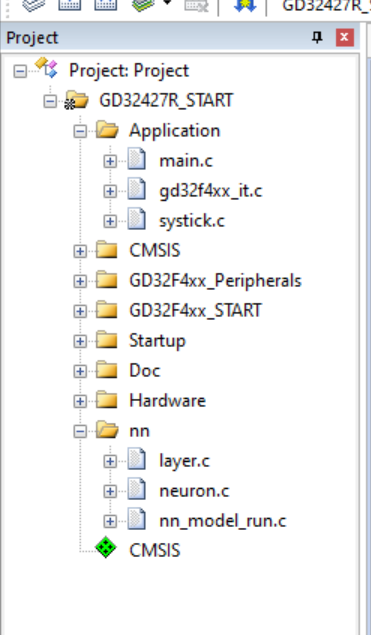
再将名字为nn_model文件夹里面的除了nn-mcu.c(nn-mcu.c文件里是如何跑模型的示例代码)文件全部移植到项目工程里,我在项目工程里创建了一个nn文件夹
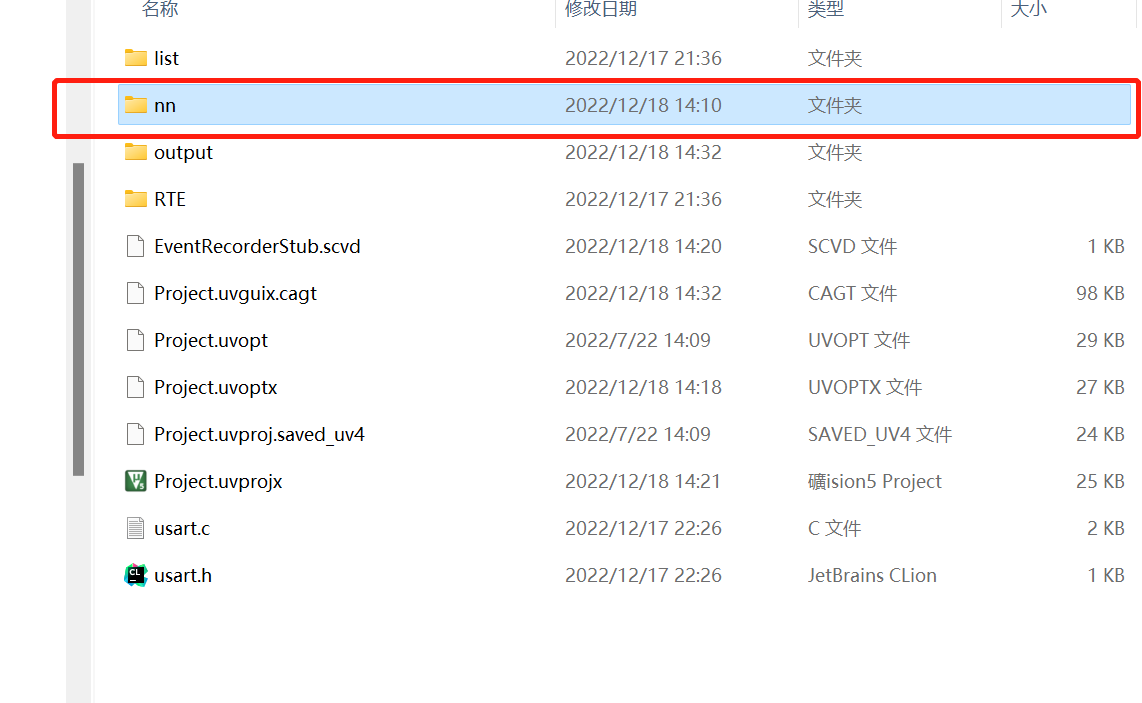
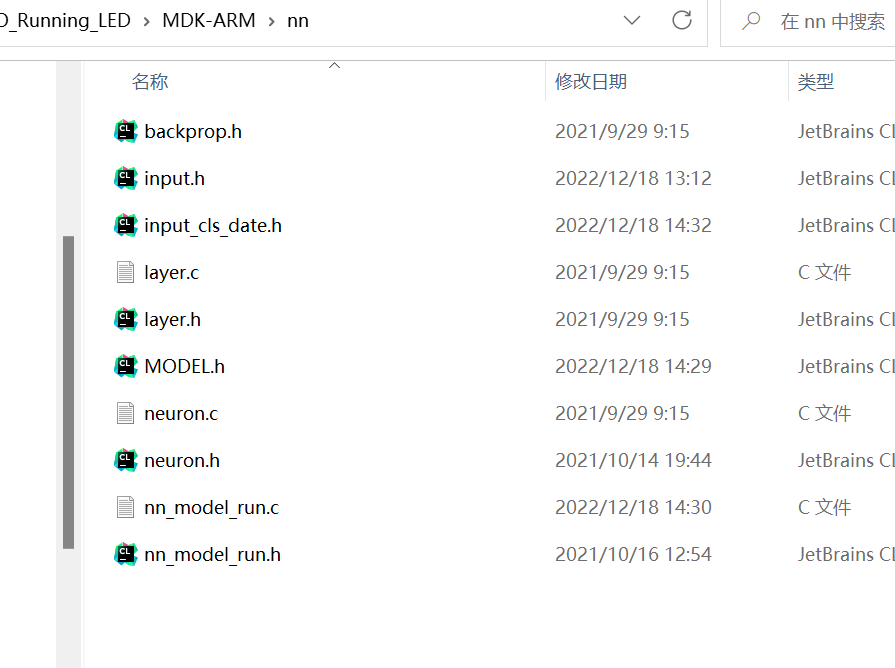
项目工作区展示
GD32的代码main.c
#include "gd32f4xx.h"
#include "gd32f427r_start.h"
#include "systick.h"
#include "usart.h"
#include <stdio.h>
#include "nn_model_run.h"
void run_nn();
void load_model(void);
void forward_prop(void);
int main(void)
{
systick_config();
usart_gpio_init();
usart_init();
load_model();
run_nn();
while(1) {
delay_1ms(1000);
}
}
usart.h
#ifndef __USART_H
#define __USART_H

#include "gd32f4xx.h"
#include "gd32f427r_start.h"
#include "systick.h"
#include <stdio.h>

void usart_gpio_init(void);
void usart_init(void);
void UARTx_SendChr(uint32_t usart_periph,int *pSda);

#endif
usart.c文件代码
#include "usart.h"


void usart_gpio_init(void)
{
    rcu_periph_clock_enable(RCU_GPIOA);

    gpio_af_set(GPIOA,GPIO_AF_7,GPIO_PIN_2);
    gpio_mode_set(GPIOA,GPIO_MODE_AF,GPIO_PUPD_PULLUP,GPIO_PIN_2);
    gpio_output_options_set(GPIOA,GPIO_OTYPE_PP,GPIO_OSPEED_50MHZ,GPIO_PIN_2);

}
void usart_init(void)
{
    rcu_periph_clock_enable(RCU_USART1);

    usart_deinit(USART1);
    usart_baudrate_set(USART1, 115200);
    usart_word_length_set(USART1, USART_WL_8BIT);
    usart_stop_bit_set(USART1, USART_STB_1BIT);
    usart_parity_config(USART1, USART_PM_NONE);
    usart_hardware_flow_rts_config(USART1, USART_RTS_DISABLE);
    usart_hardware_flow_cts_config(USART1, USART_CTS_DISABLE);
    usart_transmit_config(USART1, USART_TRANSMIT_ENABLE);
    usart_interrupt_enable(USART1, USART_INT_RBNE);
    usart_interrupt_enable(USART1, USART_INT_ERR);
    usart_enable(USART1);
}

int fputc(int ch, FILE *f){
        UARTx_SendChr(USART1,&ch);
    return ch;
}


void UARTx_SendChr(uint32_t usart_periph,int *pSda)
{
     while(RESET == usart_flag_get(usart_periph, USART_FLAG_TBE));
      usart_data_transmit(usart_periph, *pSda);
     while(RESET == usart_flag_get(usart_periph, USART_FLAG_TC));
}
我在usart里面重定向了fputc,使得printf可以工作
然后编译,利用串口转USB模块就可以看到输出了
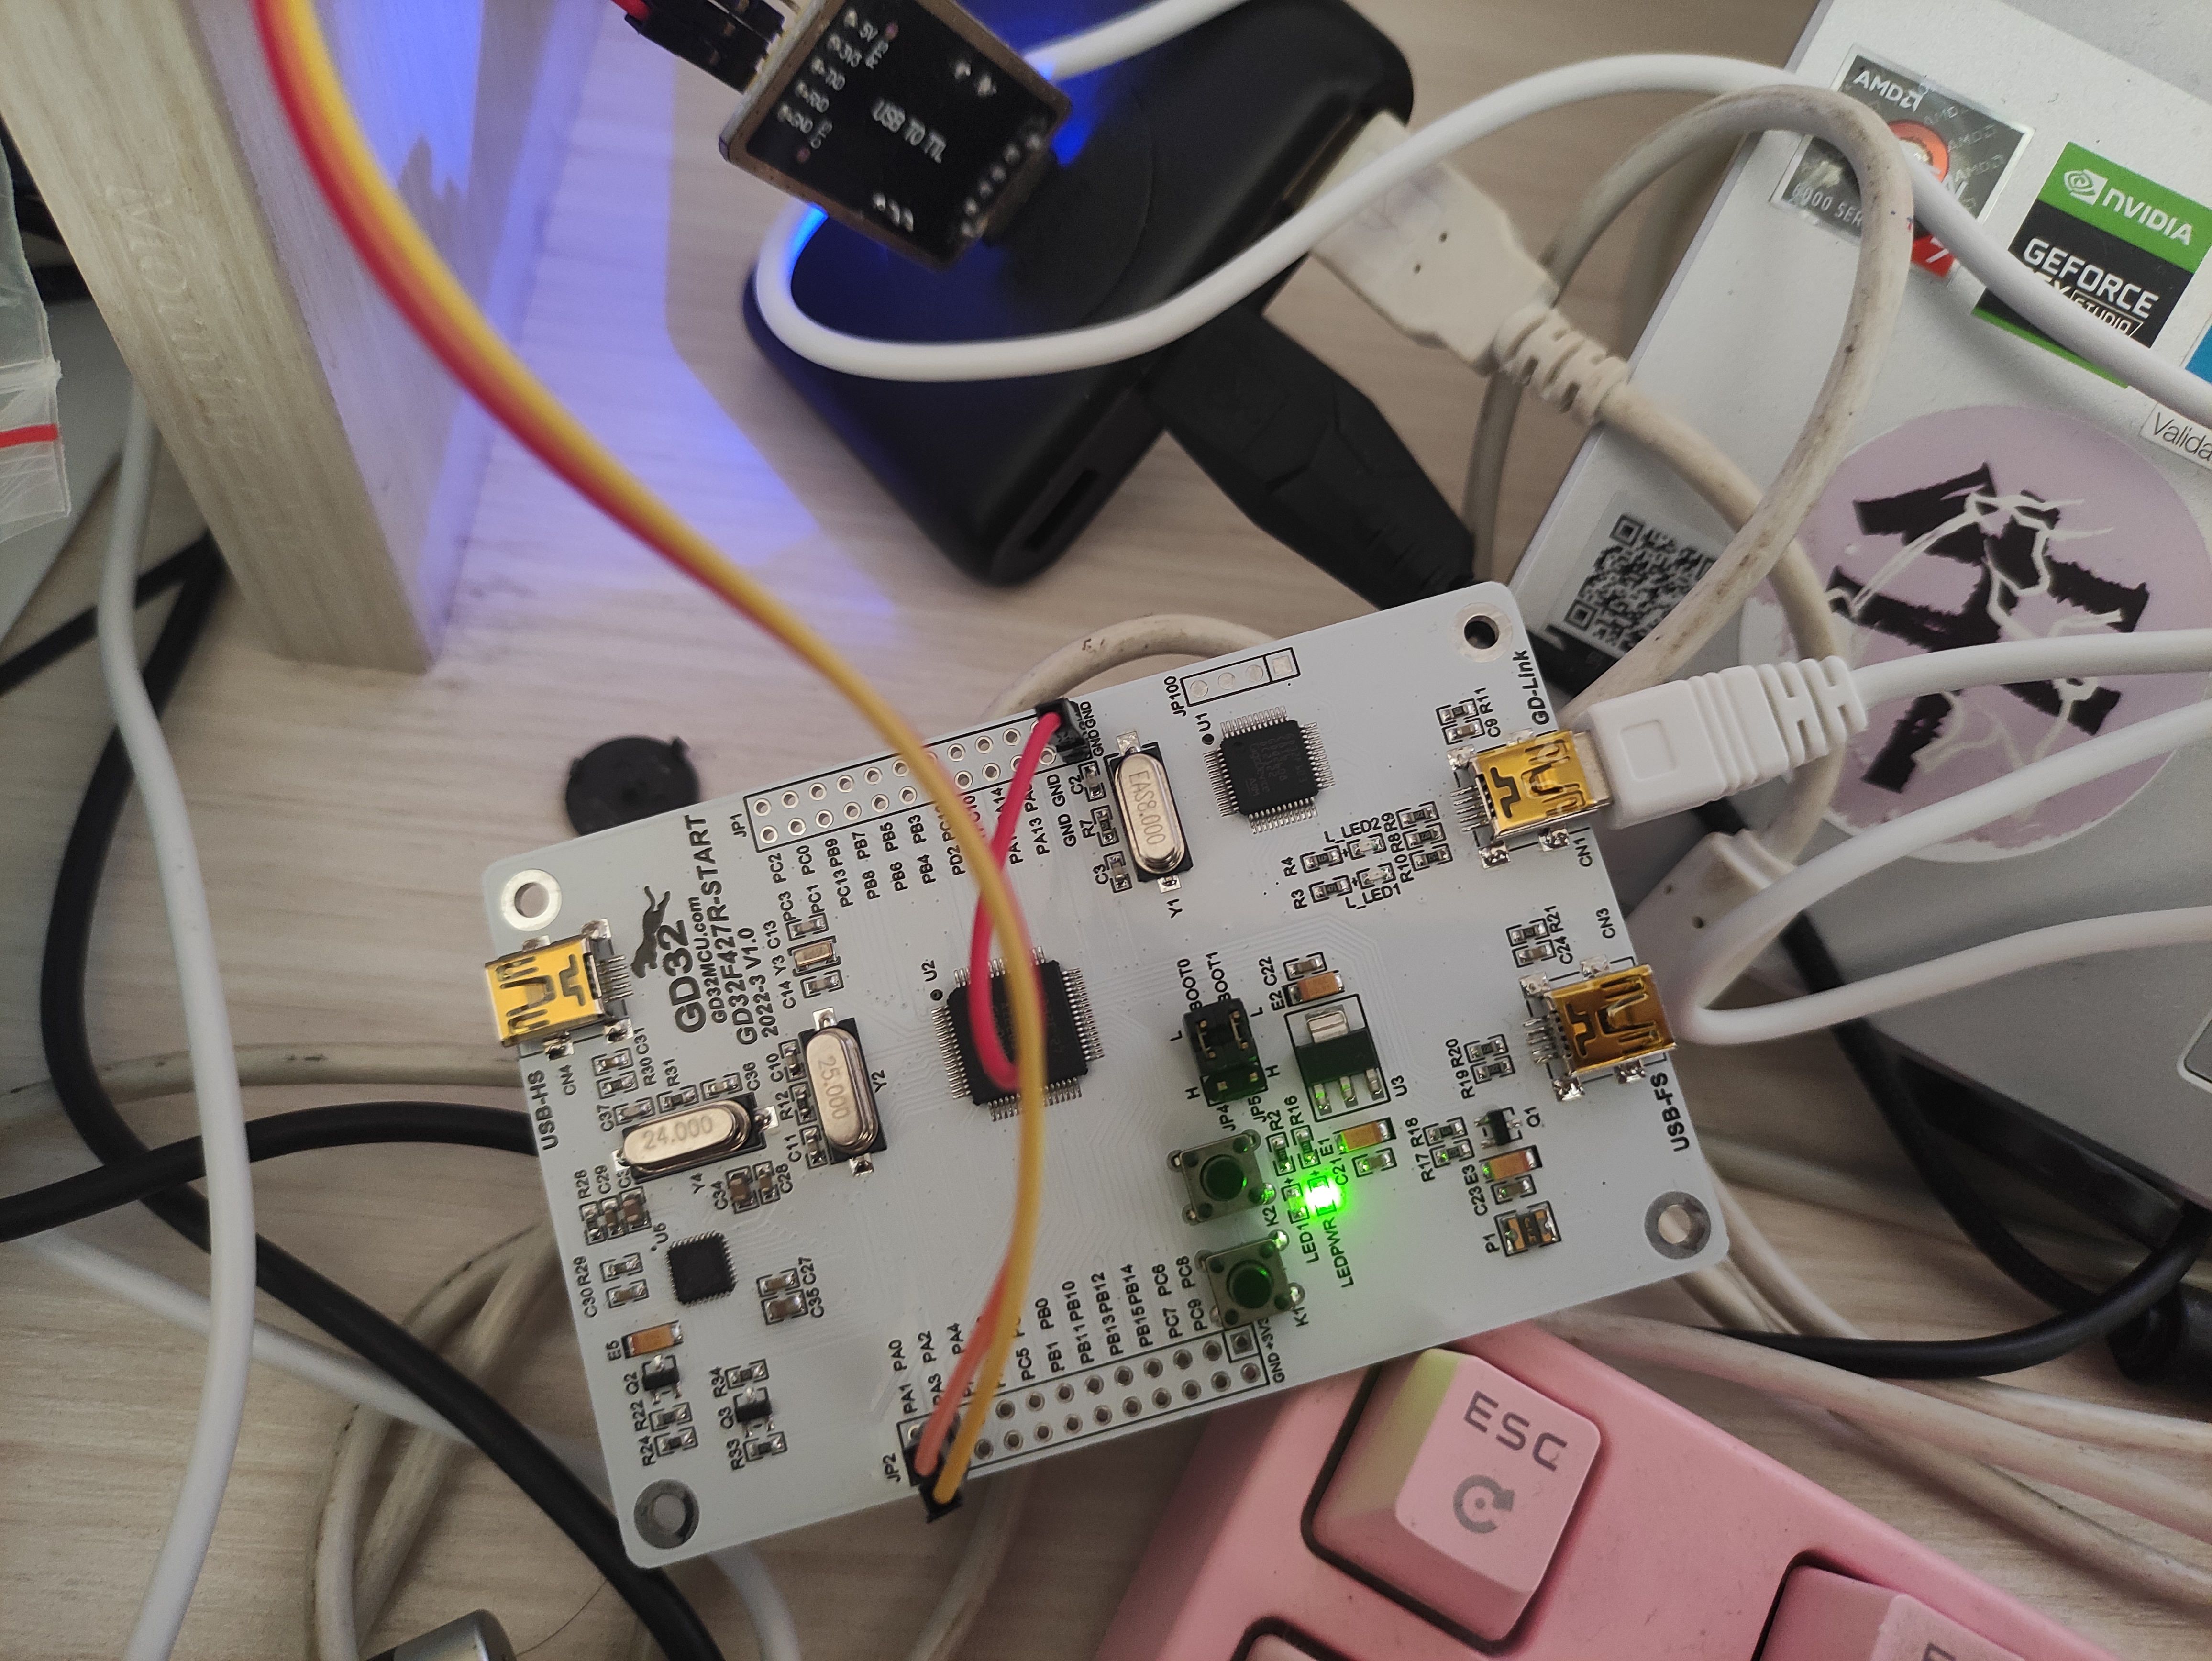
注意事项
1.神经元个数不宜太多,太多GD32存储就炸了!程序就会出bug
2.本项目的神经网络本人是从github找的一个,并自己进行改造了一下。
原作者:兆易创新GD32 MCU 卢瑟
 /9
/9 