前言:为了能够实现自己的网络时钟显示,需要将WiFi和lcd显示例程整合,本文针对107和202的demo整合,自己合成108进行编译显示。网络获取天气信息还没有写,后续还想设置一个红外检测使用喇叭进行天气播报。
一、整合demo
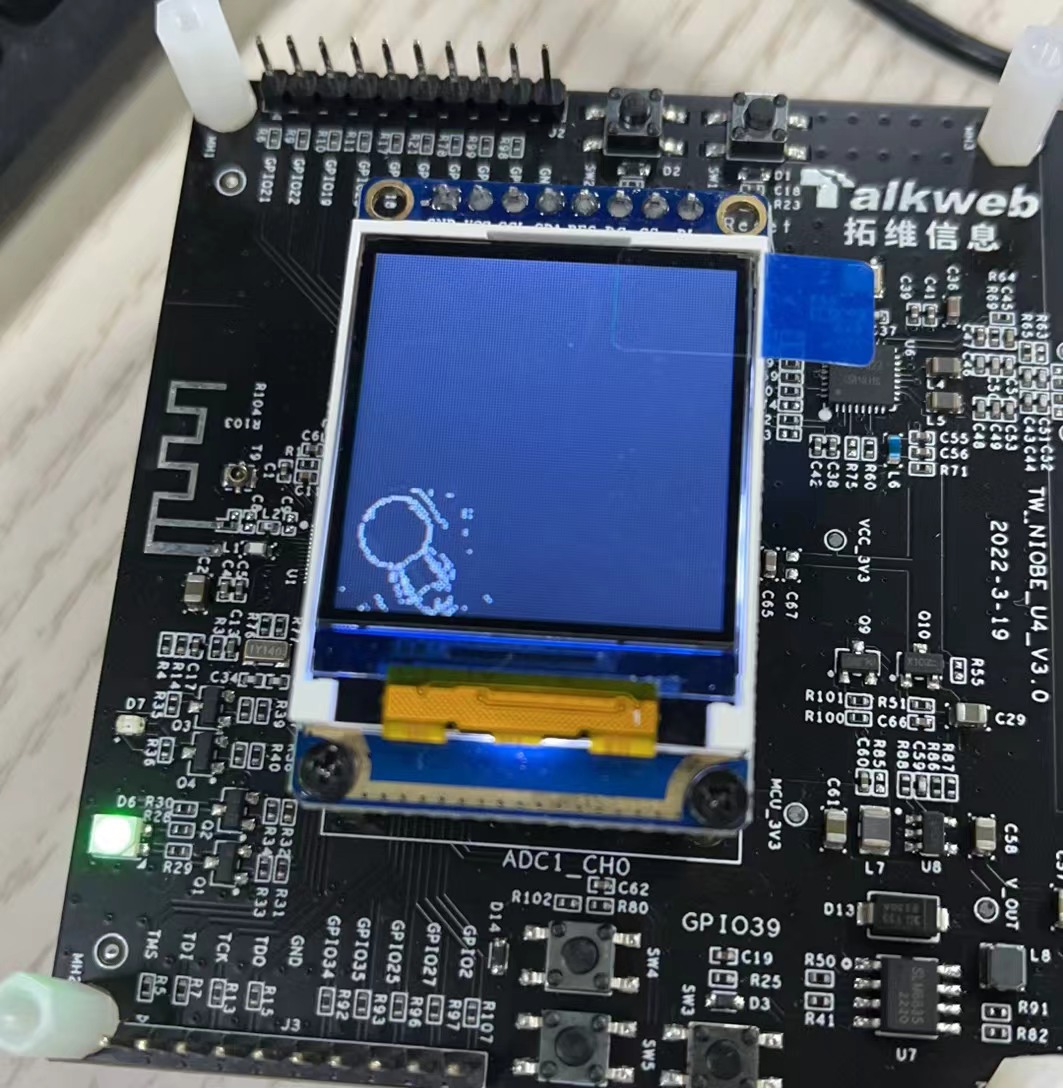
将WiFi的相关代码整合到lcd显示,lcd显示基本不动,让太空人向左下方移动到角落,修改代码如下:
- 拷贝107为108
- 显示坐标修改
#define PIC_START_X (0)
#define PIC_START_Y (87)
- 入口函数修改
static void spi_wifi_test_example(void)
{
osThreadAttr_t attr;
attr.name = "wifi_test";
attr.attr_bits = 0U;
attr.cb_mem = NULL;
attr.cb_size = 0U;
attr.stack_mem = NULL;
attr.stack_size = STACK_SIZE;
attr.priority = PRIORITY;
wifi_test_id = osThreadNew((osThreadFunc_t)wifi_test, NULL, &attr);
if (wifi_test_id == NULL)
{
printf("Failed to create wifi_test thread!\n");
}
StartHdfSPITest();
}
OHOS_APP_RUN(spi_wifi_test_example);
- 拷贝wifi_connect到108
代码基本可以了。
二、配置修改
修改108目录下的和BUILD.gn两个文件。
- 修改.application_config
config NIOBEU4_APPLICATION_108
bool "108_hdf_spi_wifi"
select DRIVERS
select DRIVERS_HDFselect DRIVERS_HDF_PLATFORM
select DRIVERS_HDF_CONFIG_MACRO
select DRIVERS_HDF_PLATFORM_SPI
select DRIVERS_HDF_PLATFORM_GPIO
select NET_LWIP
- 修改BUILD.gn
kernel_module(module_name){
sources = [
      "spi_example.c",
      "st7735s.c",
      "wifi_connect.c"
]

include_dirs = [
      "//drivers/hdf_core/framework/include/platform/",
      "//drivers/hdf_core/framework/include/utils/",
      "//drivers/hdf_core/framework/support/platform/include/spi",
     "//drivers/hdf_core/adapter/khdf/liteos_m/osal/include/",
     "//drivers/hdf_core/framework/include/core/",
     "//drivers/hdf_core/framework/include/osal/",
    "//foundation/communication/wifi_lite/interfaces/wifiservice",
     "//device/board/openvalley/niobeu4/liteos_m/hals/driver/wifi_lite"
]
}
- 修改demo目录下的Kconfig.liteos_m.applications
config NIOBEU4_APPLICATION_NAME
string
   depends on USE_OPENVALLEY_APPLICATION
   default "001_quick_start" if NIOBEU4_APPLICATION_001
   default "002_system_los_thread" if NIOBEU4_APPLICATION_002
   default "003_system_los_timer" if NIOBEU4_APPLICATION_003
   default "004_system_los_event" if NIOBEU4_APPLICATION_004
   default "005_system_los_mutex" if NIOBEU4_APPLICATION_005
   default "006_system_los_semp" if NIOBEU4_APPLICATION_006
   default "007_system_los_message" if NIOBEU4_APPLICATION_007
   default "101_hdf_adc" if NIOBEU4_APPLICATION_101
   default "102_hdf_gpio" if NIOBEU4_APPLICATION_102
   default "103_hdf_uart" if NIOBEU4_APPLICATION_103
   default "104_hdf_watchdog" if NIOBEU4_APPLICATION_104
   default "105_hdf_pwm" if NIOBEU4_APPLICATION_105
   default "106_hdf_i2c" if NIOBEU4_APPLICATION_106
   default "107_hdf_spi" if NIOBEU4_APPLICATION_107
   default "108_hdf_spi_wifi" if NIOBEU4_APPLICATION_108
   default "201_bluetooth" if NIOBEU4_APPLICATION_201
   default "202_wifi" if NIOBEU4_APPLICATION_202
三、编译下载
- 进入到文件目录xxx/niobeu4_src/kernel/liteos_m下,执行make menuconfig,
(Top)
Platform
Board Selection(select board niobeu4)
(x)select board niobeu4
[*] use openvalley niobeu4 application
niobeu4 application choose (108_hdf_spi_wifi)

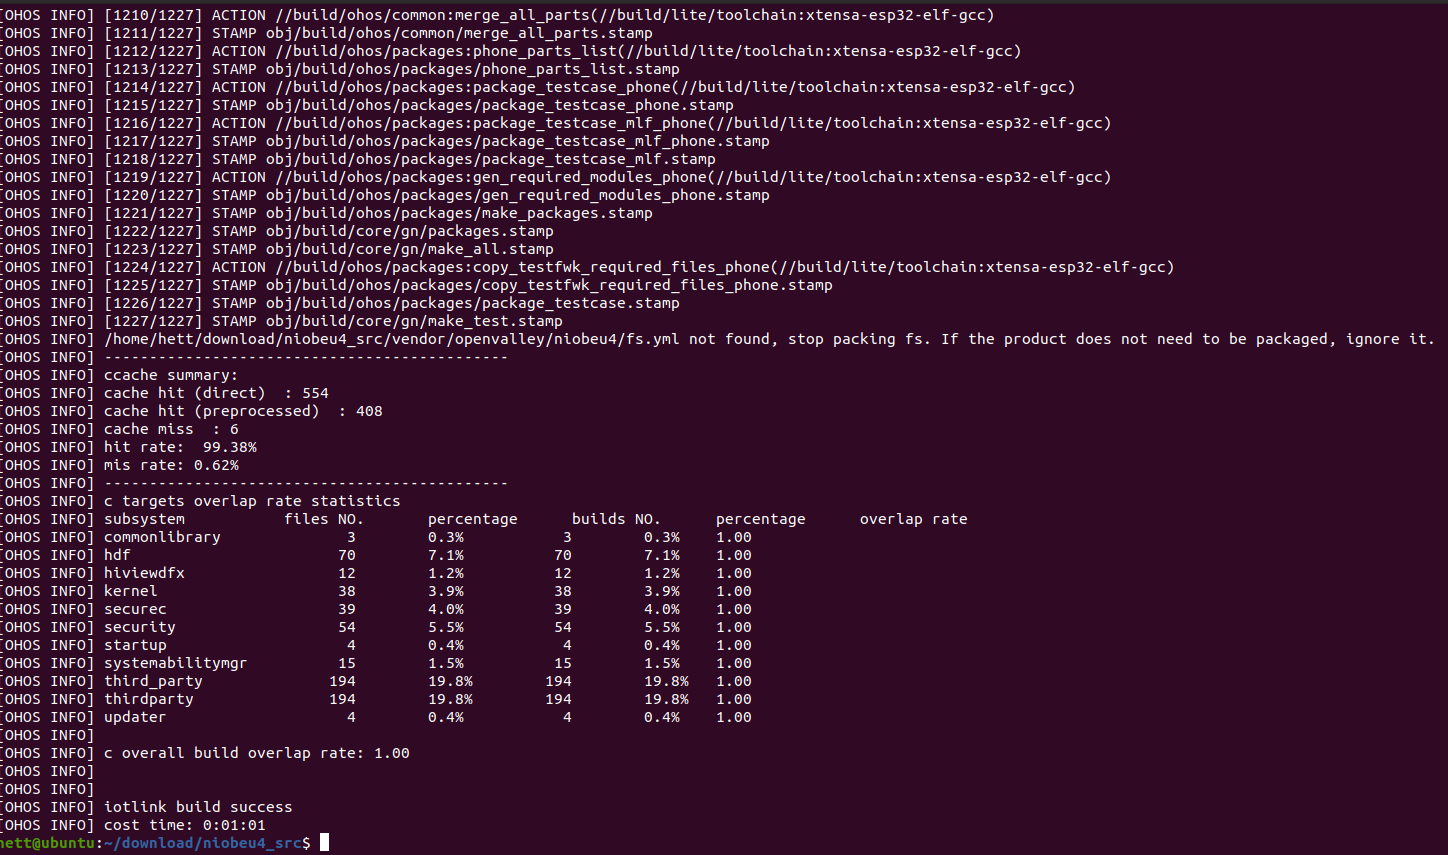
- 进入到niobeu4_src目录下执行hb build -f,执行完成如图所示。

- 下载
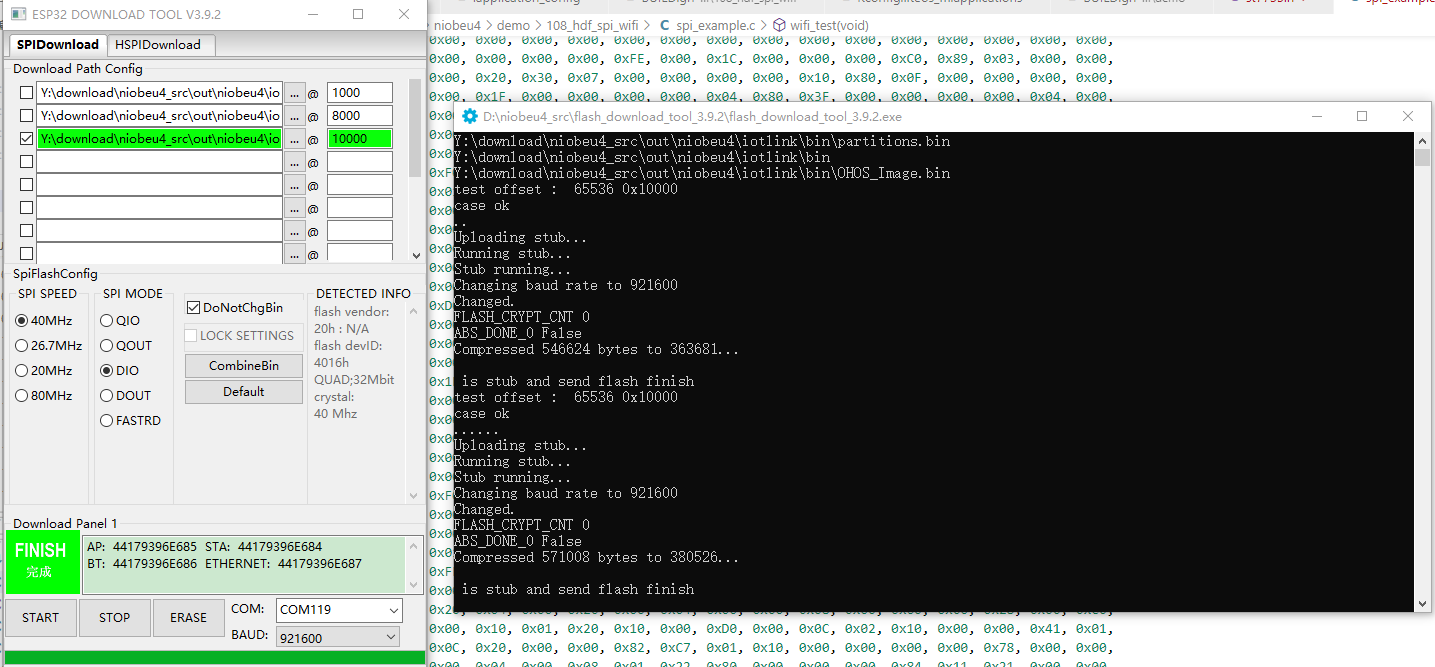
打开flash_download_tool_3.9.2下载软件,驱动如果没有去沁恒官网下载,我的上一篇文章中也写了详细步骤。
下载如下图所示。

四、显示结果
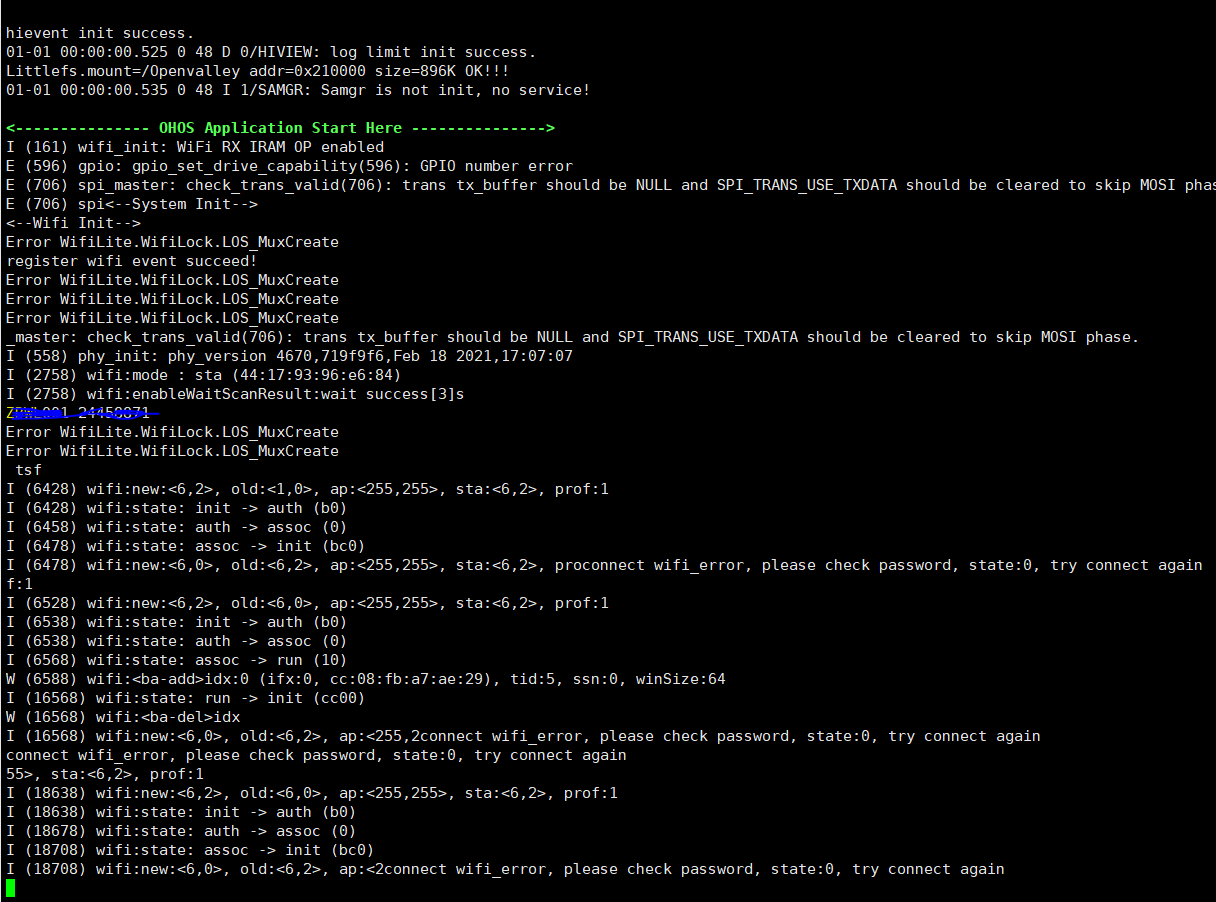
按一下复位键,可看到串口打印及lcd上显示的太空人。


 /9
/9 