前言
最近从一个老司机那里搞来一块Lichee D1 Dock Pro开发板,由于其板载 jtag 功能,加上现在深圳动不动就封个几天,因此,想尝试一下远程对RISC-V CPU Debug 的可行性。
废话不多说,直接上干货!
DebugServer安装

如果出现以下日志,则说明已经安装成功了
+--- ---+
| T-Head Debugger Server (Build: Jul 8 2022) |
User Layer Version : 5.16.02
Target Layer version : 2.0
| Copyright (C) 2022 T-HEAD Semiconductor Co.,Ltd. |
+--- ---+
T-HEAD: CKLink_Lite_V2, App_ver unknown, Bit_ver null, Clock 2526.316KHz,
5-wire, With DDC, Cache Flush On, SN CKLink_Lite_Vendor-rog 199C8A.
+-- Debug Arch is CKHAD. --+
+-- CPU 0 --+
T-HEAD Xuan Tie CPU Info:
WORD[0]: 0x0910090d
WORD[1]: 0x11002000
WORD[2]: 0x260c0001
WORD[3]: 0x30030066
WORD[4]: 0x42180000
WORD[5]: 0x50000000
WORD[6]: 0x60000853
MISA : 0x8000000000b4112d
Target Chip Info:
CPU Type is C906FDV, Endian=Little, Vlen=128, Version is R1S0P2.
DCache size is 32K, 4-Way Set Associative, Line Size is 64Bytes, with no ECC.
ICache size is 32K, 2-Way Set Associative, Line Size is 64Bytes, with no ECC.
Target is 1 core.
MMU has 256 JTLB items.
PMP zone num is 8.
HWBKPT number is 2, HWWP number is 2.
MISA: (RV64IMAFDCVX, Imp M-mode, S-mode, U-mode)
GDB connection command for CPUs(CPU0):
target remote 127.0.0.1:1025
target remote 192.168.64.128:1025
target remote 172.17.0.1:1025
**************** DebuggerServer Commands List **************
help/h
Show help informations.
如果出现以下日志,插拔几次,复位板子多试试。
+--- ---+
| T-Head Debugger Server (Build: Jul 8 2022) |
User Layer Version : 5.16.02
Target Layer version : 2.0
| Copyright (C) 2022 T-HEAD Semiconductor Co.,Ltd. |
+--- ---+
ERROR: Fail to write to CKLINK.
ERROR: Fail to write to CKLINK.
ERROR: Fail to write to CKLINK.
工具链安装
我这里直接用柿饼 M7 的开发环境,柿饼 M7 的开发环境可以参考Persim-M7 Ubuntu环境搭建(Docker):
执行以下命令,看看 gdb 是否能够正常运行
/opt/Xuantie-900-gcc-elf-newlib-x86_64-V2.2.6/bin/riscv64-unknown-elf-gdb -v
我的环境是 ubuntu 20.04,他报了依赖错误,其他平台需要自己解决错误:
/opt/Xuantie-900-gcc-elf-newlib-x86_64-V2.2.6/bin/riscv64-unknown-elf-gdb: error while loading shared libraries: libncursesw.so.5: cannot open shared object file: No such file or directory
创建个链接就解决了
sudo ln -s /lib/x86_64-linux-gnu/libncursesw.so.6 /lib/x86_64-linux-gnu/libncursesw.so.5
VSCode远程开发
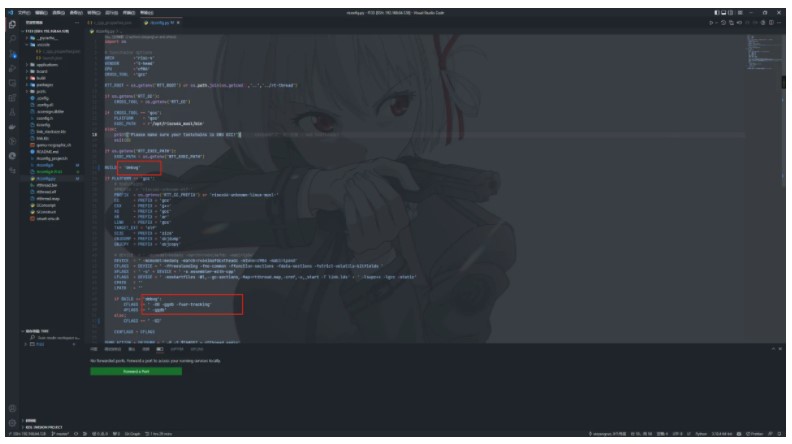
通过VSCode远程到ubuntu中,这里可以参考Window SSH 远程开发环境搭建,将模式设为 debug 模式
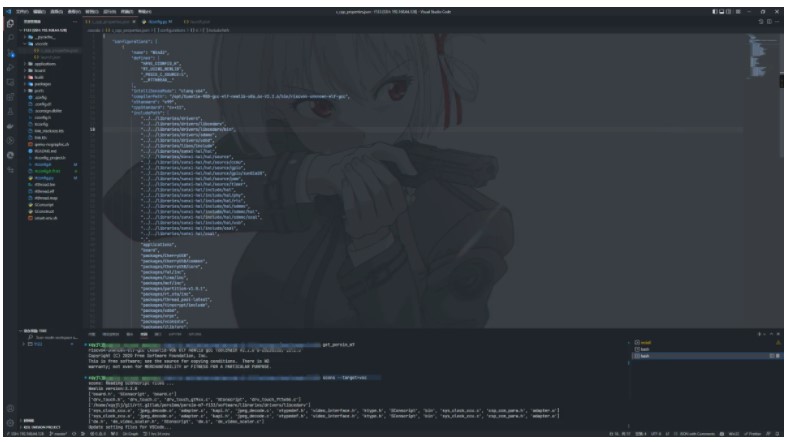
按下快捷键【 Ctrl+Shift+` 】新建一个终端,执行命令【 get_persim_m7 】获取 m7 的开发环境变量

随后执行【 scons --target=vsc 】,创建 VSCode 配置文件
创建 launch.json 文件
{
"version": "0.2.0",
"configurations": [
{
"name": "riscv-debug",
"type": "cppdbg",
"request": "launch",
"miDebuggerPath": "/opt/Xuantie-900-gcc-elf-newlib-x86_64-V2.2.6/bin/riscv64-unknown-elf-gdb",
"program": "${workspaceRoot}/rtthread.elf",
"setupCommands": [
{
"description": "为 gdb 启用整齐打印",
"text": "-enable-pretty-printing",
"ignoreFailures": true
},
{
"text": "target remote localhost:1025"
},
{
"text": "restore ${workspaceFolder}/rtthread.elf"
},
{
"text": "set $pc=0x41000000"
},
],
"launchCompleteCommand": "None",
"cwd": "${workspaceFolder}"
}
]
}
其中启动方式为附着方式,即芯片原有程序依然在 Flash 运行,并开启了 JTAG 与 初始化了 DDR,加载 elf 文件后手动调整 PC 指针至 0x41000000 启动
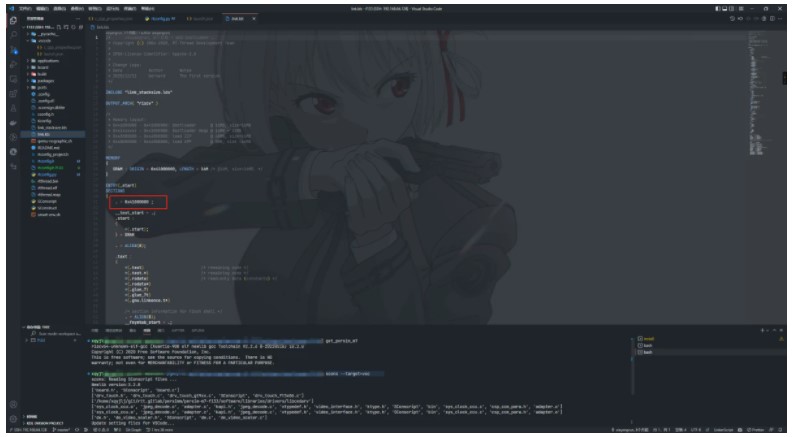
开始调试
在终端中执行命令【 DebugServerConsole -setclk 8 -port 1025 】启动 DebugServer
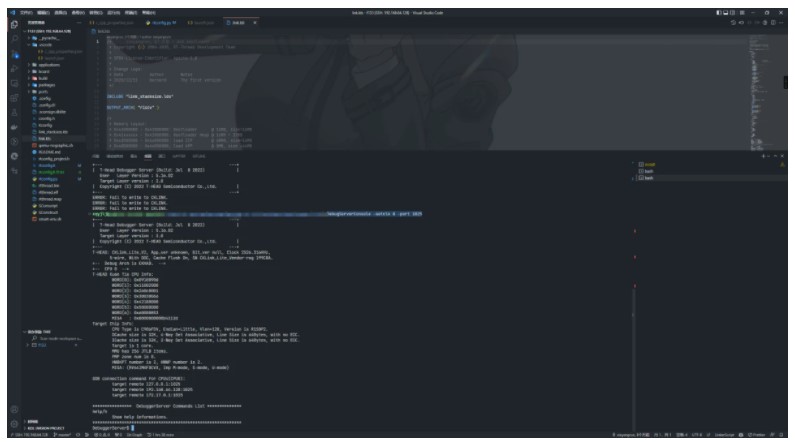
点击随便下几个断点,并进入调试模式观察
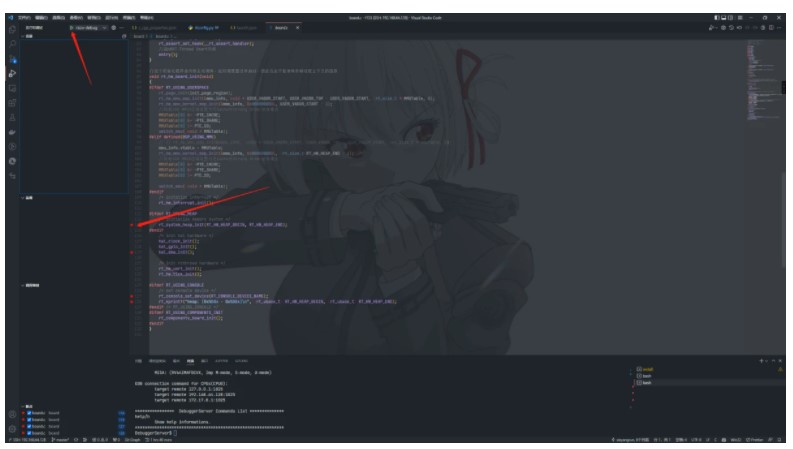
可以看到,已经可以正常调试了(全部都是远程哦)
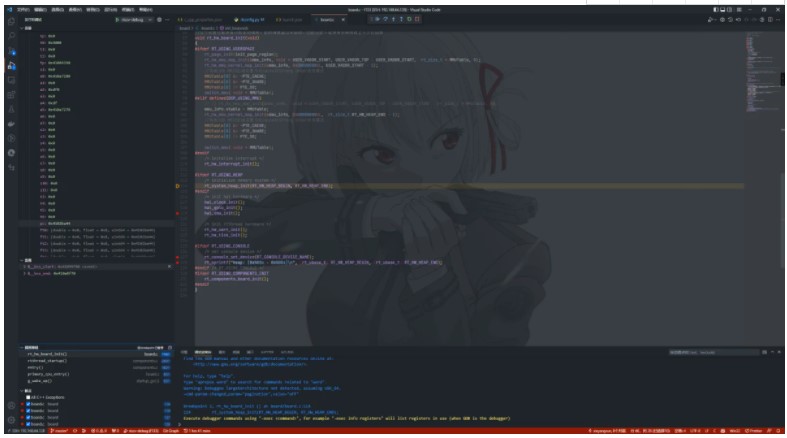
裸机调试
裸机开发需要开启 jtag,并初始化 ddr,
我们可以借助 xfel 工具执行以下命令
xfel version
xfel jtag
xfel ddr
此后再进行调试即可。
原作者:小权一句两句
 /6
/6 