1.拉去RT 主仓库
https://ghproxy.com/https://github.com/RT-Thread/rt-thread.git
2.找到此路径,运行env环境

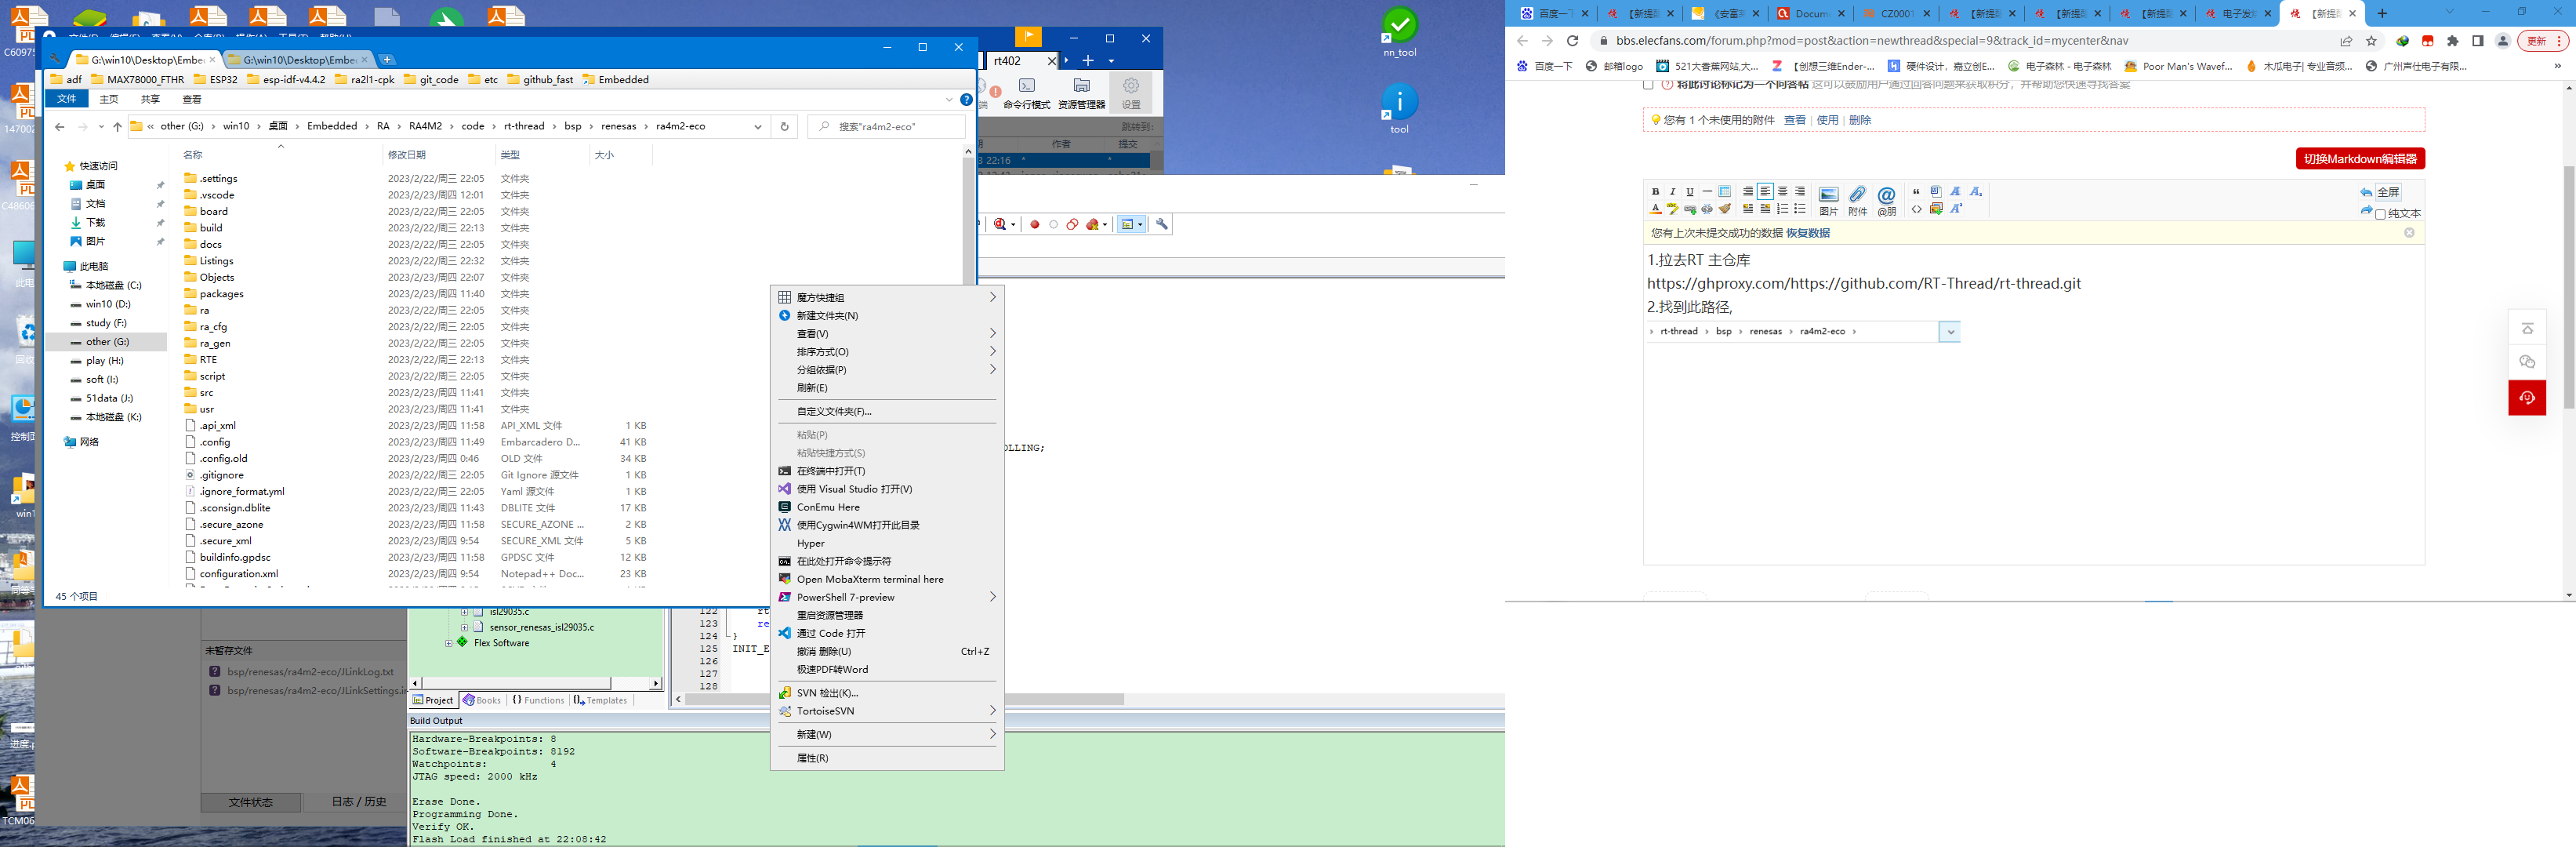
输入menuconfig
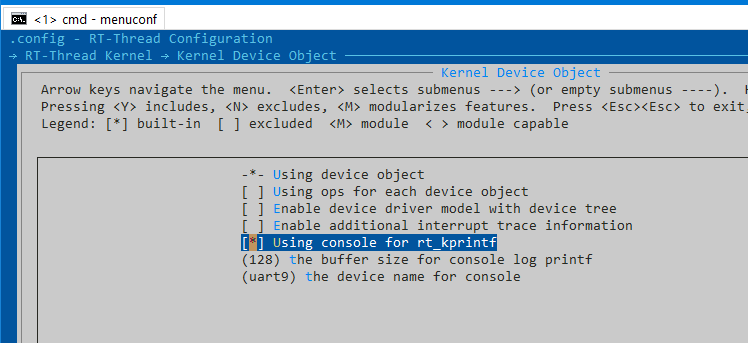
打印串口更改为板载的uart9
Hardware 中进行相关的uart 使能
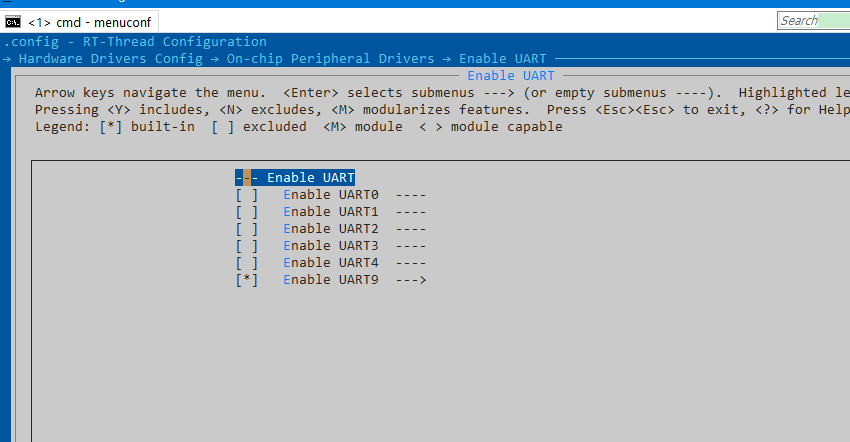
保存退出
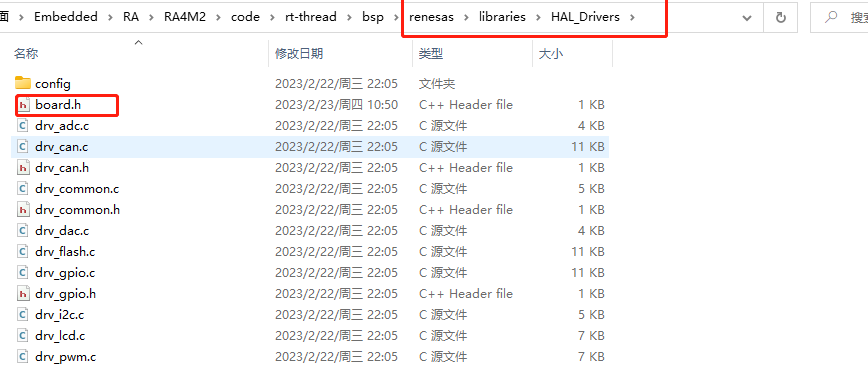
使用scons --target=mdk5 生成相应工程
将此处的board.h

copy到此处,防止每次生成找不到
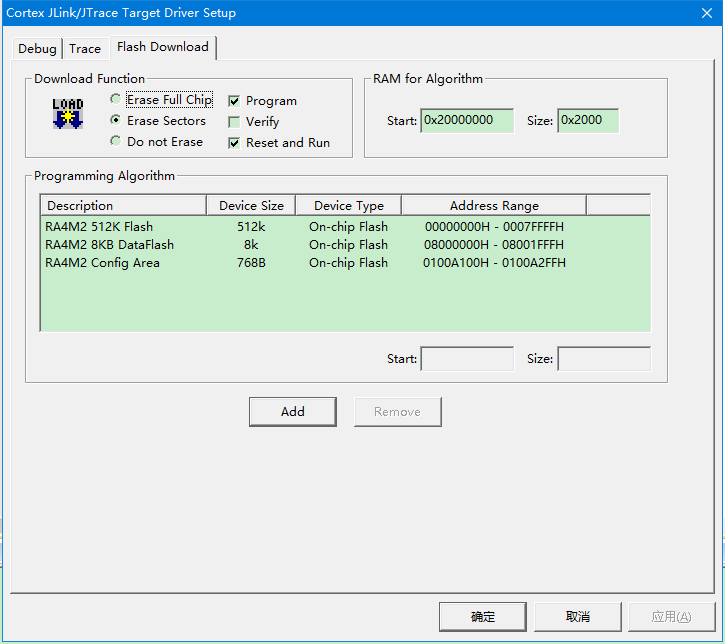
debug 选择jlink 下载算法配置如下
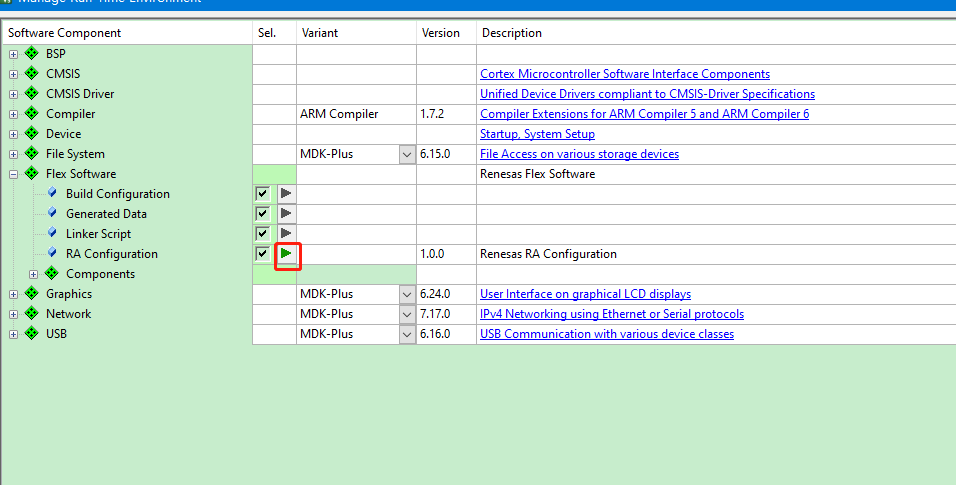
RA 配置工程打开
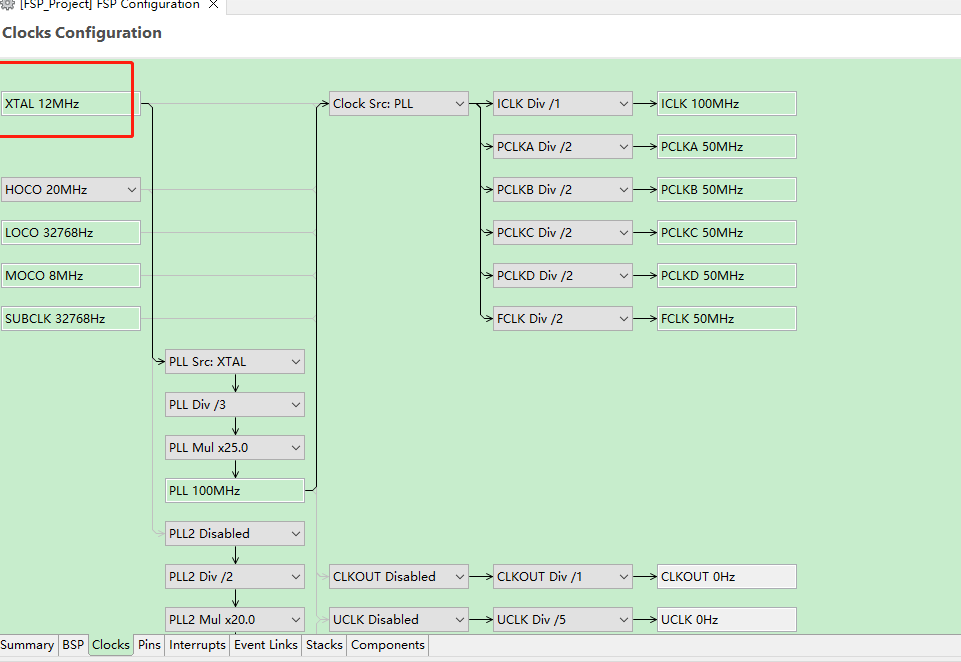
修改晶振12M
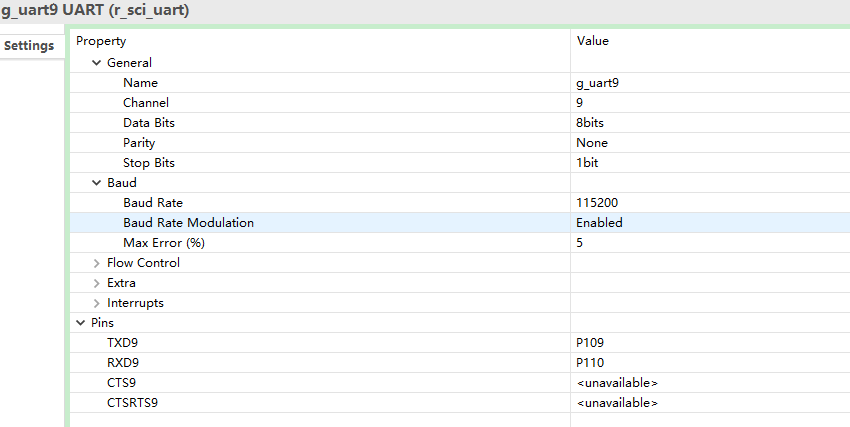
设置uart9
保存生成,开始点灯
- void hal_entry(void)
- {
- rt_kprintf("hal_entry run.
- ");
-
- while (1)
- {
- //rt_kprintf("hal_entry running
- ");
- rt_pin_write(BSP_IO_PORT_04_PIN_04, !rt_pin_read(BSP_IO_PORT_04_PIN_04));
- rt_pin_write(BSP_IO_PORT_04_PIN_05, !rt_pin_read(BSP_IO_PORT_04_PIN_05));
- rt_pin_write(BSP_IO_PORT_00_PIN_02, !rt_pin_read(BSP_IO_PORT_00_PIN_02));
- rt_thread_mdelay(1000);
- }
- }
35c91842a2db16db22c8b67202208766


