HomeAssistant + EPSHome + ESP-Firmware配置:
三者相结合的方式,实现用ESP开发板,DIY自定义智能设备,接入到开放的智能家居生态系统——HomeAssistant中。
经过多次尝试,以使用命令行手动安装方式最为方便且顺利。参考 https://esphome.io/guides/installing_esphome.html .
- 安装python
- pip install esphome
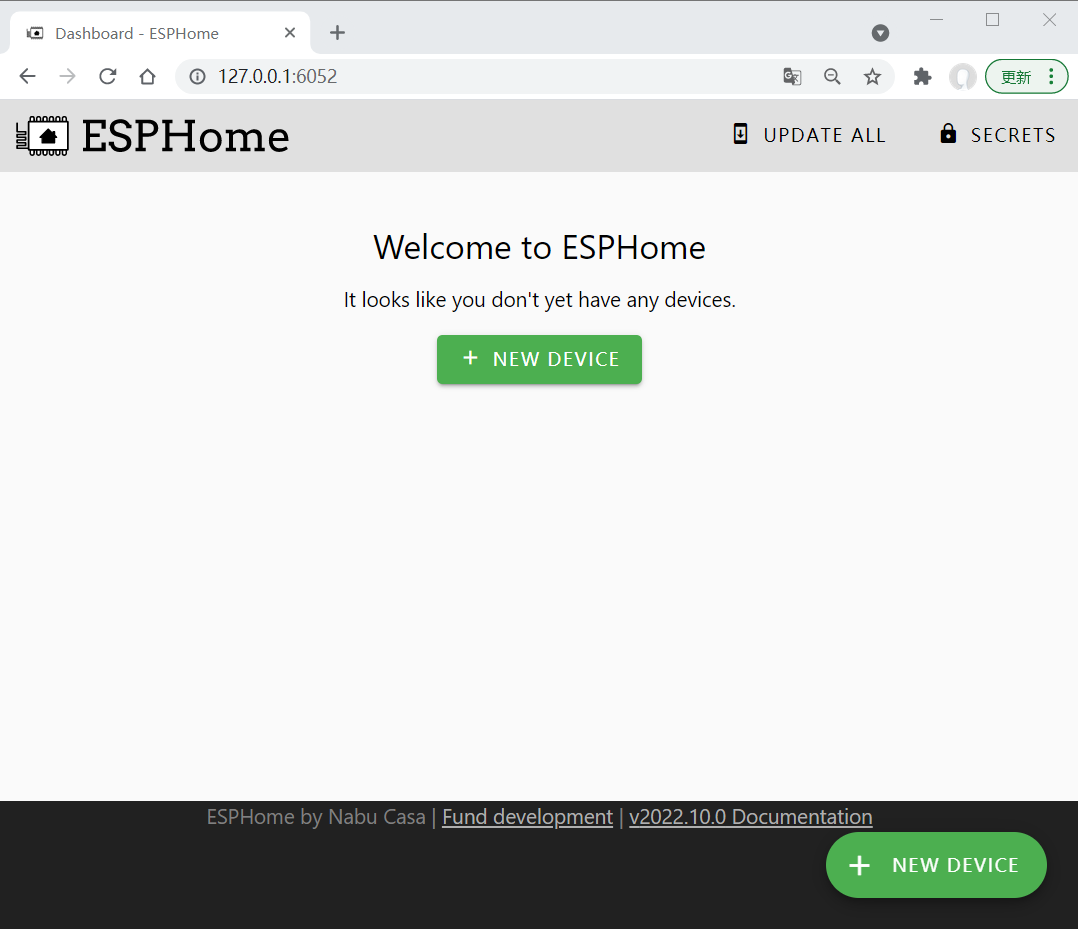
安装完成后,即可执行 esphome dashboard . ,在浏览器中输入“127.0.0.1:6053”,即可打开网页版esphome配置界面:

可以运行dashboard,可以创建新设备、编辑配置文件,但是无法编译。
由于ESPHome需要完整的编译环境,并且基于platformio,因此只能在windows、linux上执行,暂无aarch64-linux的安装。
安装完成之后即开始构建第一个ESPHome智能设备的固件,本次采用ESP32S3开发板。
ESPHome最开始为ESP8266以及ESP32设备开发,乐鑫推出最新的几代ESP32系列无线SoC(ESP32-C3、ESP32-S2、ESP32-S3)之后,才慢慢适配到这几个芯片平台(https://home-assistant-guide.com/2021/10/27/esphome-adds-early-support-for-esp32-s2-esp32-s3-and-esp32-c3/),但支持力度和社区成熟度(可供参考的项目例程)较少,终于花费了多次搜索之后才完成对ESP32S3开发板的配置和构建。
最开始的几个设置均出现错误,如:* “This board is unknown, please set the variant manually.”
esp32:
        board: ESP32DEV
        variant: ESP32S3
        framework:
                type: esp-idf

esp32:
        board: esp32-s3-devkitc-1
        framework:
                type: arduino
                version: 2.0.3
                platform_version: 5.1.0
        variant: esp32s3

esp32:
        board: esp32-s3-devkitc-1
        framework:
                type: esp-idf
                platform_version: 4.4.0
        variant: esp32s3
esp32:
  board: esp32-s3-devkitc-1
  framework:
        type: esp-idf
        platform_version: 4.4.0
  variant: esp32s3

esp32:
  board: esp32-s3-devkitc-1
  framework:
        type: arduino
        version: 2.0.3
        platform_version: 5.1.0
  variant: esp32s3
esp32:
  board: esp32-s3-devkitc-1
  variant: esp32s3
  framework:
        type: arduino
        version: 2.0.3
        platform_version: 5.0.0
最终设定的yaml配置文件如下:
#version 01 2022-10-05: vanilla board for S3
substitutions:
  hostname: test-esp32s3
  wifi_update_interval: "3s"


esphome:
  name: $hostname


esp32:
  board: esp32-s3-devkitc-1
  variant: ESP32S3
  framework:
        type: arduino
        version: 2.0.3
        platform_version: 5.1.1


logger:
  level:  DEBUG

api:
  reboot_timeout: 0s

ota:
  password: !secret ota_password

wifi:
  ssid: !secret wifi_ssid
  password: !secret wifi_password
  fast_connect: True

  ap:
        ssid: $hostname
        password: !secret esp_fallback_wifi_password

web_server:
  port: 80
  auth:
        username: !secret web_server_user
        password: !secret web_server_password


time:
  platform: homeassistant
  id: homeassistant_time


switch:
  - platform: restart
        name: $hostname restart
        id: reset

  - platform: gpio
        pin: 1
        name: $hostname switch1
        id: switch1
        icon: mdi:power-socket-uk
        restore_mode: RESTORE_DEFAULT_OFF


sensor:
  - platform: wifi_signal
        name: $hostname rssi
        update_interval: $wifi_update_interval

  - platform: uptime
        name: Uptime Sensor
        id: uptime_sensor
        update_interval: $wifi_update_interval
        on_raw_value:
          then:
                - text_sensor.template.publish:
                        id: uptime_human
                        state: !lambda |-
                          int seconds = round(id(uptime_sensor).raw_state);
                          int days = seconds / (24 * 3600);
                          seconds = seconds % (24 * 3600);
                          int hours = seconds / 3600;
                          seconds = seconds % 3600;
                          int minutes = seconds /  60;
                          seconds = seconds % 60;
                          return (
                                (days ? to_string(days) + "d " : "") +
                                (hours ? to_string(hours) + "h " : "") +
                                (minutes ? to_string(minutes) + "m " : "") +
                                (to_string(seconds) + "s")
                          ).c_str();

text_sensor:
  - platform: wifi_info
        ip_address:
          name: $hostname ipaddress
        mac_address:
          name: $hostname mac
  - platform: template
        name: $hostname Uptime Human Readable
        id: uptime_human
        icon: mdi:clock-start
随后执行编译构建,最终生成固件,然后下载到Flash中。
esphome compile test-esp32s3.yaml
esptool.exe -p COM19 -b 460800 write_flash 0x0 .\.esphome\build\test-esp32s3\.pioenvs\test-esp32s3\firmware-factory.bin
其中esphome compile会自动安装需要的platformio的platform和package:* espressif32 @ 3.5.0
Dependency Graph* |– AsyncTCP-esphome @ 1.2.2
在HomeAssistant界面,可以配置各项参数、显示面板、
并控制开关量switch-1,实现对GPIO的LED亮灭状态的控制,如视频(上传到B站):
https://www.bilibili.com/video/BV1jd4y1k7jn/
在串口中即可看到输出信息:

 举报
举报
更多回帖
