原理说明基本想法就是把roscpp库编译成dll或者lib的形式,然后项目通过引用对应的链接库文件使用roscpp的功能。
roscpp的代码本身是支持在Windows平台编译的。但是这个库依赖于其他很多ros库。有些库不支持在Windows平台上编译,有些库在Windows平台上编译非常麻烦。所以我们要对相关文件进行修改,删除不必要的依赖就可以编译了。下面是具体的编译方法。
如果你不想自己编译相关的库,想要直接使用,那么可以跳到最后,看创建项目使用roscpp的内容。
安装boost下载boost库源代码 下载链接
注意版本,版本应该是越新越好。我使用的是1.66版本。
解压后以管理员身份开启一个powershell窗口,cd到boost源代码目录。然后执行下面指令
.bootstrap.bat.b2.exe variant=release threading=mul
ti threadapi=win32 link=static runtime-link=shared --prefix=C:boost address-model=64 architecture=x86 install -j8.b2.exe variant=debug threading=multi threadapi=win32 link=static runtime-link=shared --prefix=C:boost address-model=64 architecture=x86 install -j8
这样程序会在C:/boost文件夹内安装boost库
安装CMake下载相关安装包 下载地址
安装完成即可,注意cmake的路径也要添加到系统环境变量里面。
安装catkin_pkg如果系统没有安装Python2.7需要先安装Python2.7。并且设置好环境变量把python添加到Path里面去
以管理员权限打开一个powershell窗口,然后执行下面的指令
pip install catkin_pkg
准备ros工作空间创建一个文件夹名称随意,这里取为catkin_ws,作为caktin的工作空间。
执行下面指令下载相关源代码
cd [到你的工作空间]mkdir srccd srcgit clone
https://github.com/ros/catkingit clone
https://github.com/ros/gencppgit clone
https://github.com/jsk-ros-pkg/geneusgit clone
https://github.com/ros/genlispgit clone
https://github.com/ros/genmsggit clone
https://github.com/RethinkRobotics-opensource/gennodejsgit clone
https://github.com/ros/genpygit clone
https://github.com/ros/message_generationgit clone
https://github.com/ros/message_runtimegit clone
https://github.com/BluewhaleRobot/rosconsolegit clone
https://github.com/BluewhaleRobot/roscpp_coregit clone
https://github.com/BluewhaleRobot/ros_commgit clone
https://github.com/ros/ros_comm_msgsgit clone
https://github.com/ros/std_msgs编译安装cd [到你的工作空间]python .srccatkinbincatkin_make# 此时会提示错误,但是没有关系。这个程序会帮我们创建很多相关文件cd build# 把build文件夹内容删除后执行下面的指令cmake E:workspacecatkin_wssrc -DCATKIN_DEVEL_PREFIX=E:workspacecatkin_wsdevel -DCMAKE_INSTALL_PREFIX=E:workspacecatkin_wsinstall -G "Visual Studio 15 2017 Win64" -DCATKIN_ENABLE_TESTING=OFF -DBoost_USE_STATIC_LIBS=ON -DCMAKE_BUILD_TYPE=Debug -DBUILD_SHARED_LIBS=OFF# 其中的E:workspacecatkin_wssrc是我的工作空间相关路径,你要换成自己的对应路径。Visual Studio 15 2017 Win64 为Visual Studio的版本信息,根据自己的Visual Studio版本进行设置。这个指令可以没有错误正常执行。
正常应该会有下面这样的输出
...-- ==> add_subdirectory(ros_comm/clients/roscpp)-- Using these message generators: gencpp;geneus;genlisp;gennodejs;genpy-- Boost version: 1.66.0-- Found the following Boost libraries:-- chrono-- filesystem-- signals-- system-- roscpp: 1 messages, 3 services-- Configuring done-- Generating done-- Build files have been written to: E:/workspace/catkin_ws/build
然后我们就可以开始编译了。还是在build文件夹内,执行下面的指令。等待编译完成就可以了。
cmake --build . --config Debug --target INSTALL
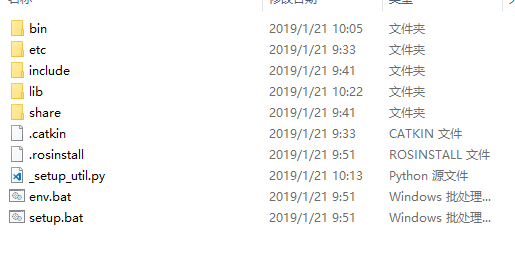
编译完成后,我们可以在工作空间的install 文件夹内找到我们需要的文件。
其中我们要用到的是include文件夹内的内容和lib文件夹的内容。上面的编译方式是生成静态链接库,在windows上对应.lib文件。我们把生成的头文件和静态链接库文件添加到自己的项目依赖里面就可以使用roscpp了。
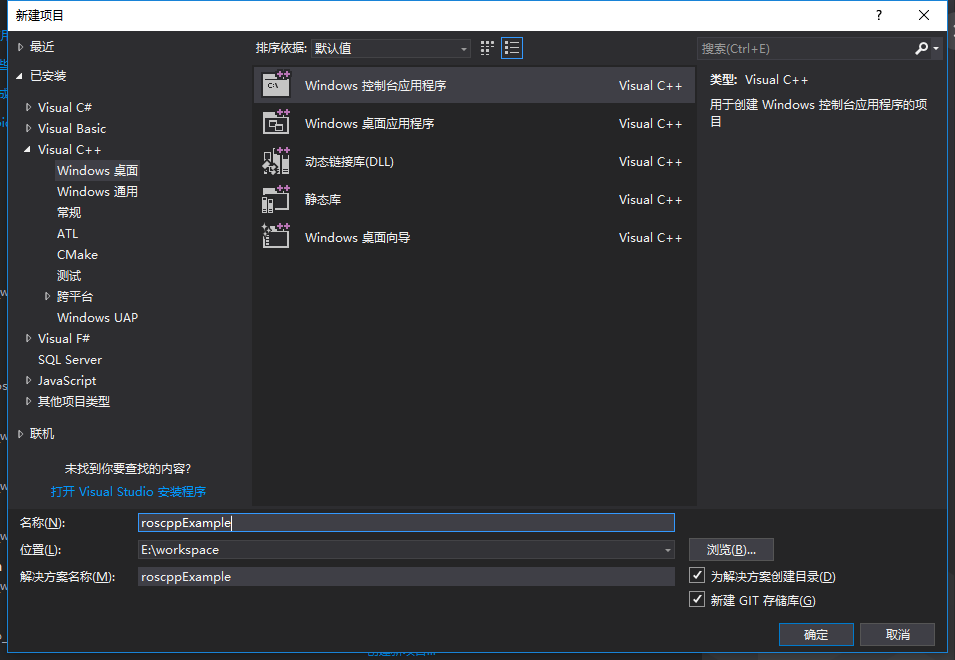
创建项目使用roscpp库在Visual Studio中创建一个新的Windows控制台程序,命名为roscppExample
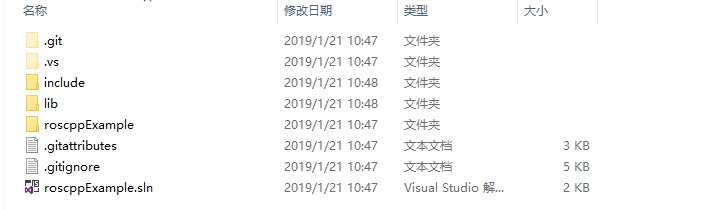
进入到项目目录然后创建一个include文件夹和lib文件夹
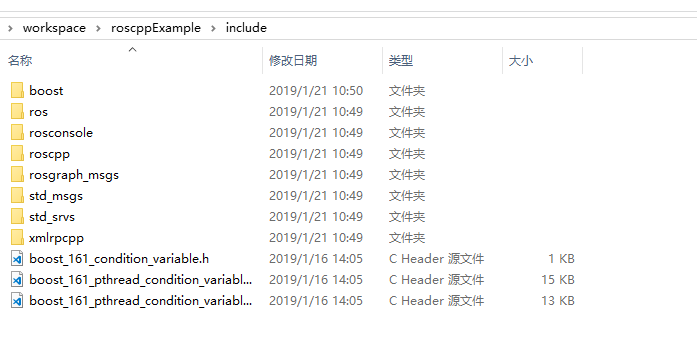
把boost的头文件内容和caktin工作空间install里面的头文件内容复制进去
复制完成后的include文件夹内容如下所示
然后从boost/lib文件夹内复制一下的几个文件到刚才创建的lib文件夹
libboost_filesystem-vc141-mt-gd-x64-1_66.liblibboost_filesystem-vc141-mt-x64-1_66.liblibboost_chrono-vc141-mt-gd-x64-1_66.liblibboost_chrono-vc141-mt-x64-1_66.liblibboost_date_time-vc141-mt-gd-x64-1_66.liblibboost_date_time-vc141-mt-x64-1_66.liblibboost_system-vc141-mt-gd-x64-1_66.liblibboost_system-vc141-mt-x64-1_66.liblibboost_thread-vc141-mt-gd-x64-1_66.liblibboost_thread-vc141-mt-x64-1_66.liblibboost_regex-vc141-mt-gd-x64-1_66.liblibboost_regex-vc141-mt-x64-1_66.lib
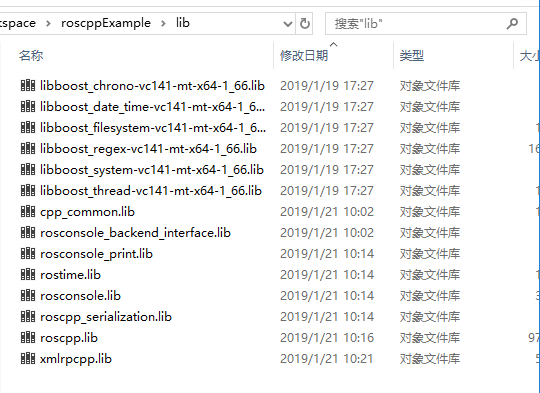
然后把caktin工作空间install/lib文件夹内的几个.lib文件复制到之前创建的lib文件夹中
现在的lib文件夹如下图所示
注意上面的库编译的是64位Debug版本。如果需要Release版本对上面cmake的参数进行调整。
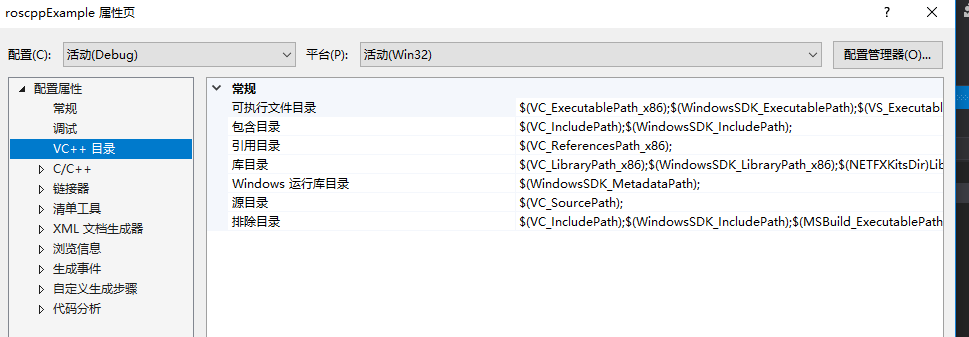
设置Visual Studio项目位64 Debug版。
打开项目属性,设置VC++目录
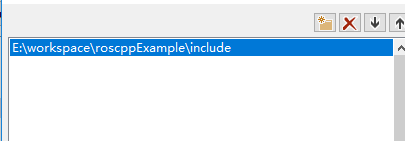
在包含目录里面添加刚才创建的include目录
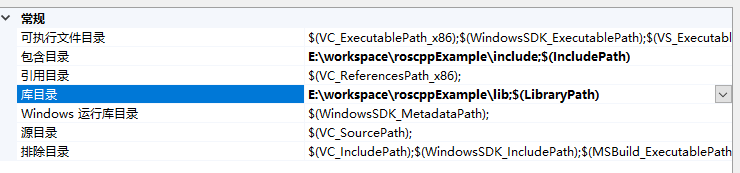
同理在库目录里面添加刚才创建的lib文件夹。现在的项目路径如下图所示
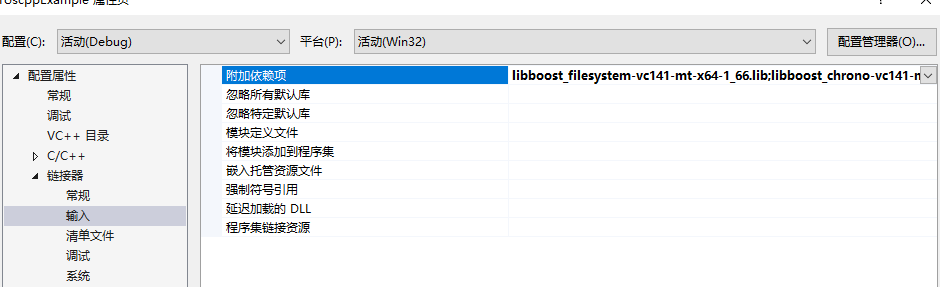
打开链接器输入,附加依赖项。添加上lib中文件的文件名
libboost_filesystem-vc141-mt-x64-1_66.liblibboost_chrono-vc141-mt-x64-1_66.liblibboost_date_time-vc141-mt-x64-1_66.liblibboost_system-vc141-mt-x64-1_66.liblibboost_thread-vc141-mt-x64-1_66.liblibboost_regex-vc141-mt-x64-1_66.libroscpp.libroscpp_serialization.libcpp_common.librosconsole.librosconsole_backend_interface.librosconsole_print.librostime.libxmlrpcpp.lib
现在就可以在程序中使用roscpp了。下面是一个简单的发消息的cpp程序。
#include "stdafx.h"#define WIN32#include "ros/ros.h"#include "std_msgs/String.h"#pragma comment(lib, "Ws2_32.lib")int main(int argc, char **argv){ std::map
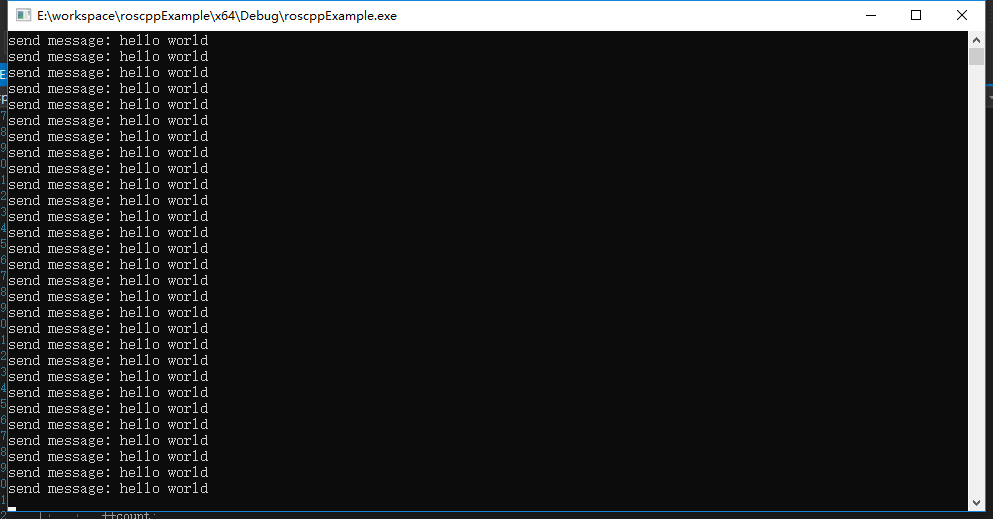
params; params.insert(std::pair("__master", "http://192.168.0.32:11311")); params.insert(std::pair("__ip", "192.168.0.8")); ros::init(params, "talker"); ros::NodeHandle n; ros::Publisher chatter_pub = n.advertise("chatter", 1000); ros::Rate loop_rate(10); int count = 0; while (ros::ok()) { std_msgs::String msg; std::stringstream ss; ss << "hello world " << count; msg.data = ss.str(); std::cout << "send message: hello world" << std::endl; chatter_pub.publish(msg); ros::spinOnce(); loop_rate.sleep(); ++count; } return 0;}编译完成就可以执行了。
按F5看一下运行效果
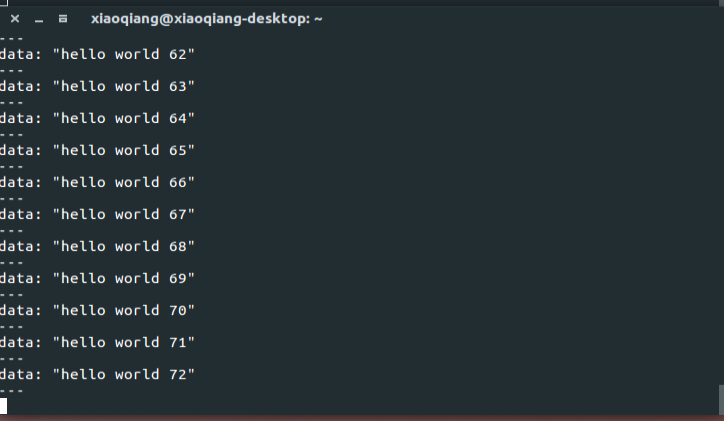
此时订阅/chatter可以看到输入
这个roscppExample项目已经上传至Github。下载完成后用Visual Studio 2017可以直接打开编译运行,不需要安装其他依赖。如果想要在自己的其他项目里面使用roscpp可以把这个项目include和lib对应的添加到自己项目里。