测试板卡GPIO口点亮LED灯。
一、搭建环境
1.1、文档
按照官方的应用文档搭建测试环境
GPIO点亮LED
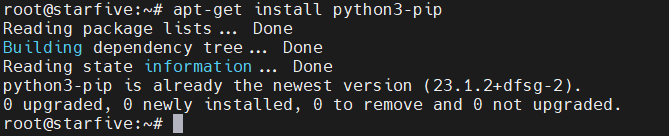
1.2、在Debain系统上安装pip
root@starfive:~# apt-get install python3-pip
1.3、安装VisionFive.gpio包
1.3.1、安装依赖包
apt install libxml2-dev libxslt-dev
python3 -m pip install requests wget bs4
安装过程中遇到点问题
报错:error: externally-managed-environment
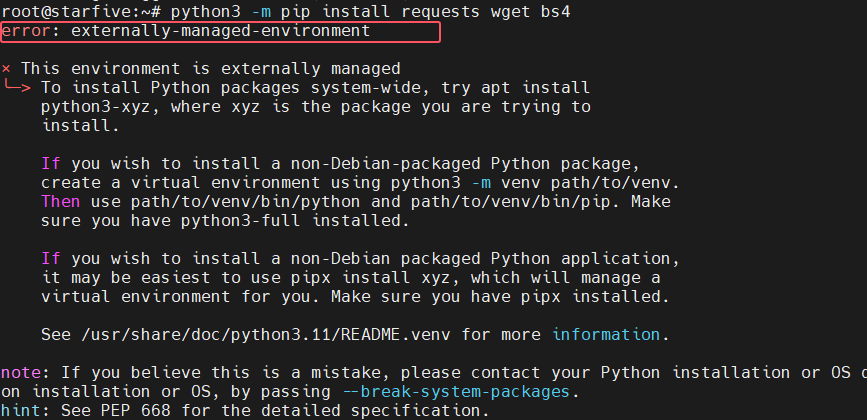
执行命令
apt install python3-requests python3-wget python3-bs4 -y
正常安装

1.3.2、运行安装脚本
下载最新的VisionFive.gpio
下载地址:VisionFive.gpio
该版本有三个下载链接
根据系统安装的python版本来选择,选择系统版本对应的python 3.11

执行下载命令:
wget https://files.pythonhosted.org/packages/2e/00/16326e8e01a268ce997b72e70240d7249a550222af82955d9b4a52f8a320/VisionFive.gpio-1.3.3-cp311-cp311-any.whl

修改文件名:
mv VisionFive.gpio-1.3.3-cp311-cp311-any.whl VisionFive.gpio-1.3.3-cp311-cp311-linux_riscv64.whl
安装
python3 -m pip install VisionFive.gpio-1.3.3-cp311-cp311-linux_riscv64.whl --break-system-packages
二、测试
找到测试代码的位置
2.1、查看VisionFive.gpio安装的目录
pip show VisionFive.gpio

进入目录
cd /usr/local/lib/python3.11/dist-packages/
cd VisionFive/sample-code/
找到led.py

2.2、修改测试代码
根据测试的硬件修改对应的端口
这里测试使用GPIO44端口,对用引脚号为40

修改led.py
"""
Please make sure the LED is connected to the correct pins.
The following table describes how to connect the LED to the 40-pin header.
-----------------------------------------
_______LED_________Pin Number_____Pin Name
Positive 22 GPIO50
Negative 6 GND
-----------------------------------------
"""
import VisionFive.gpio as GPIO
import time
led_pin = 40
GPIO.setmode(GPIO.BOARD)
GPIO.setup(led_pin, GPIO.OUT)
def light(delay):
GPIO.output(led_pin, GPIO.HIGH)
time.sleep(delay)
GPIO.output(led_pin, GPIO.LOW)
time.sleep(delay)
if __name__ == "__main__":
try:
delay_s = input("Enter delay(seconds): ")
delay = float(delay_s)
while True:
try:
light(delay)
except KeyboardInterrupt:
break
finally:
GPIO.cleanup()
2.3、运行
执行命令:python3 led.py 提示输入延时时间

2.4、运行结果
运行后,LED灯闪烁

led
|  /9
/9 


 工商网监
湘ICP备2023018690号
工商网监
湘ICP备2023018690号


 357
357 淘帖
淘帖


