[文章]【HarmonyOS HiSpark AI Camera试用连载 】智能家用仪表盘开发-其一
0
0
> 鸿蒙 的 arkUI 框架可以做到一端开发,多端部属,开发效率很高,这里使用其来开发一款智能家用仪表盘应用。
## 开发环境参考
* 系统 : Ubuntu18.04 LTS(虚拟机)、Windows10 21H2
* llvm : 10.0.1
* gn : 1717
* hc-gen : 0.65
* ninja : 1.10.1
* devicetool-linux-tool : 3.0.0.300
* vscode : 1.62.2
* DevEco Device Tool:3.0 Beta 2
* 系统镜像 : hispark_taurus.tar.gz (v3.1-Release)
## 鸿蒙 3.1 系统配置流程
* 下载下来的 hispark_taurus.tar.gz 看起来是代码镜像编译完的 out/hispark_taurus 目录中内容,所以应该可以直接替换原有的 3.0 镜像,就不用配置 HiTool来下载了。
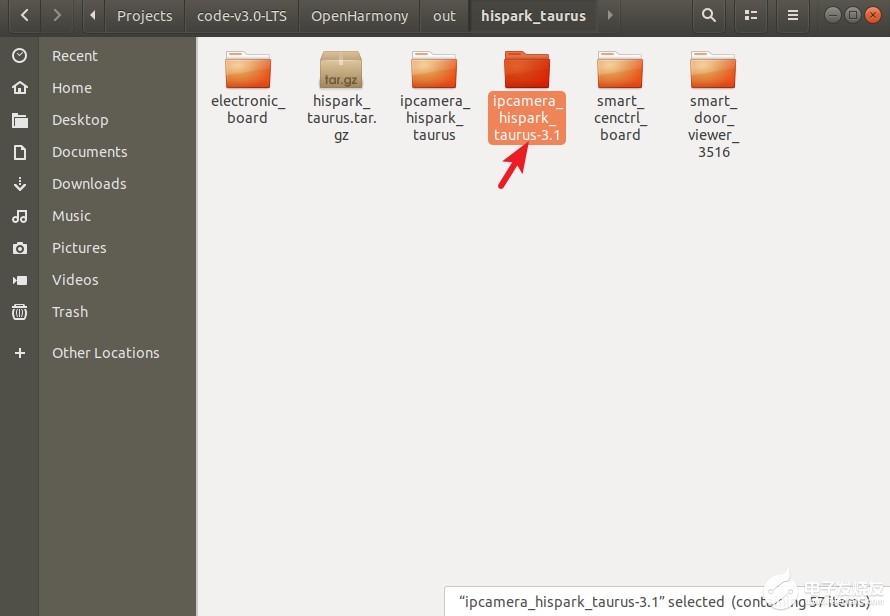
* 直接把 hispark_taurus.tar.gz 复制到 之前 3.0 代码编译完的 out/hispark_taurus 目录中 (其实不知道这样做对不对,但是 15G 的代码虚拟机扛不住)
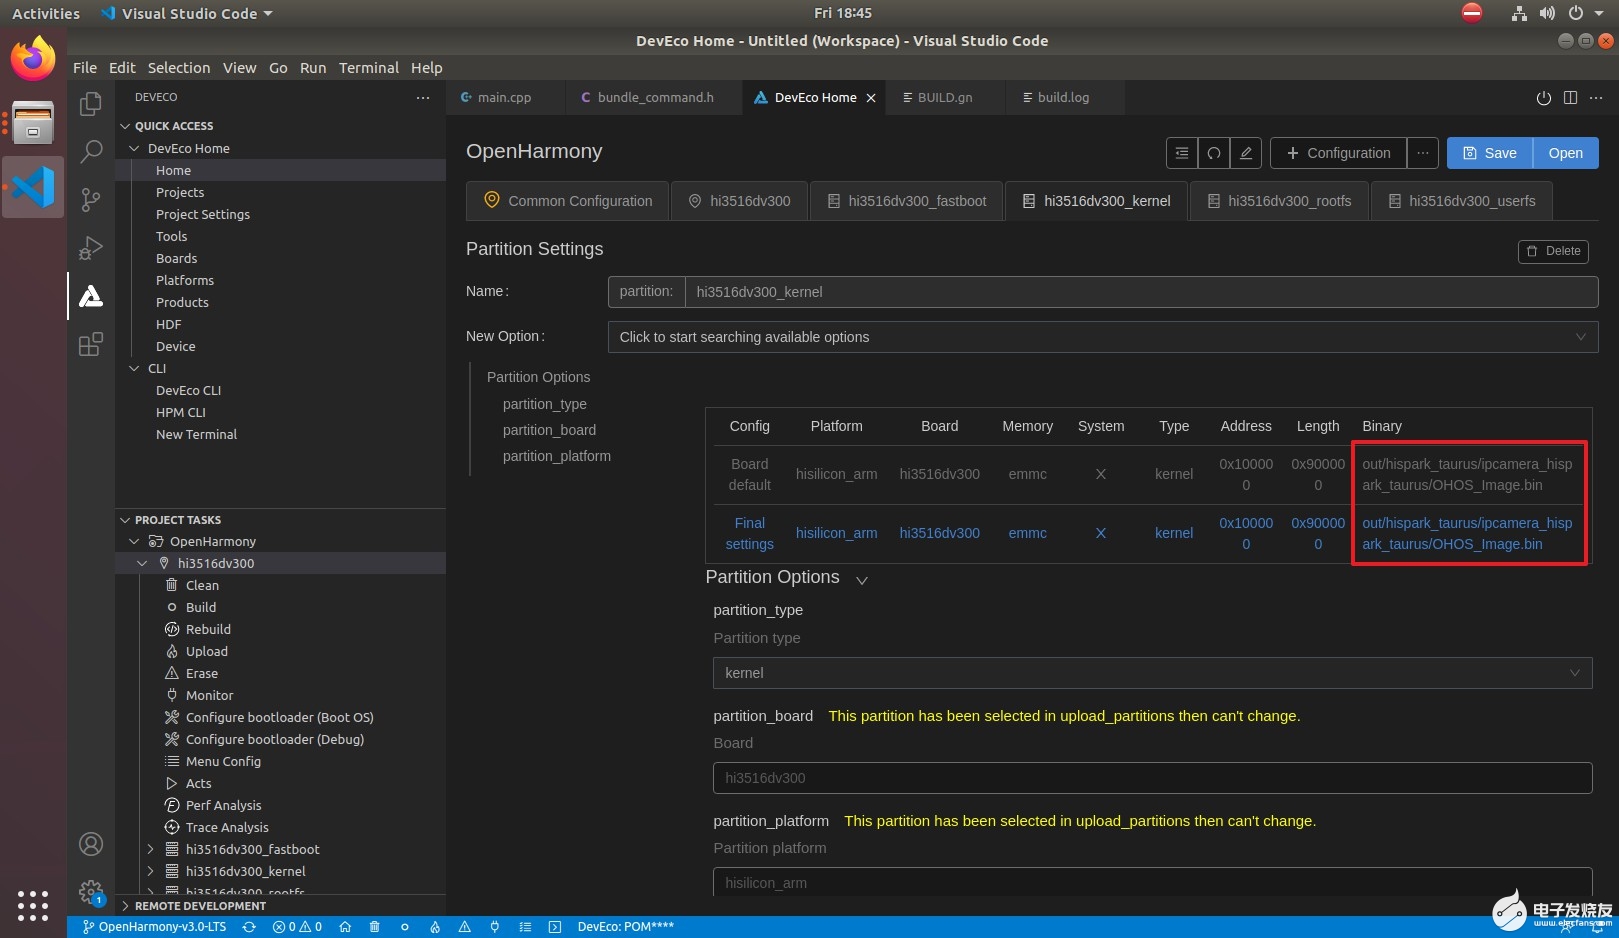
* 可以看到 kernel 编译完的输出在 out/hispark_taurus/ipcamera_hispark_taurus/OHOS_Image.bin 后面的 rootfs 和 userfs 在同一目录
* 把 hispark_taurus.tar.gz 直接解压到 out/hispark_taurus/ipcamera_hispark_taurus/ 中
* 直接烧录到开发板
## HAP 开发 -- 顶部 Tab 栏开发
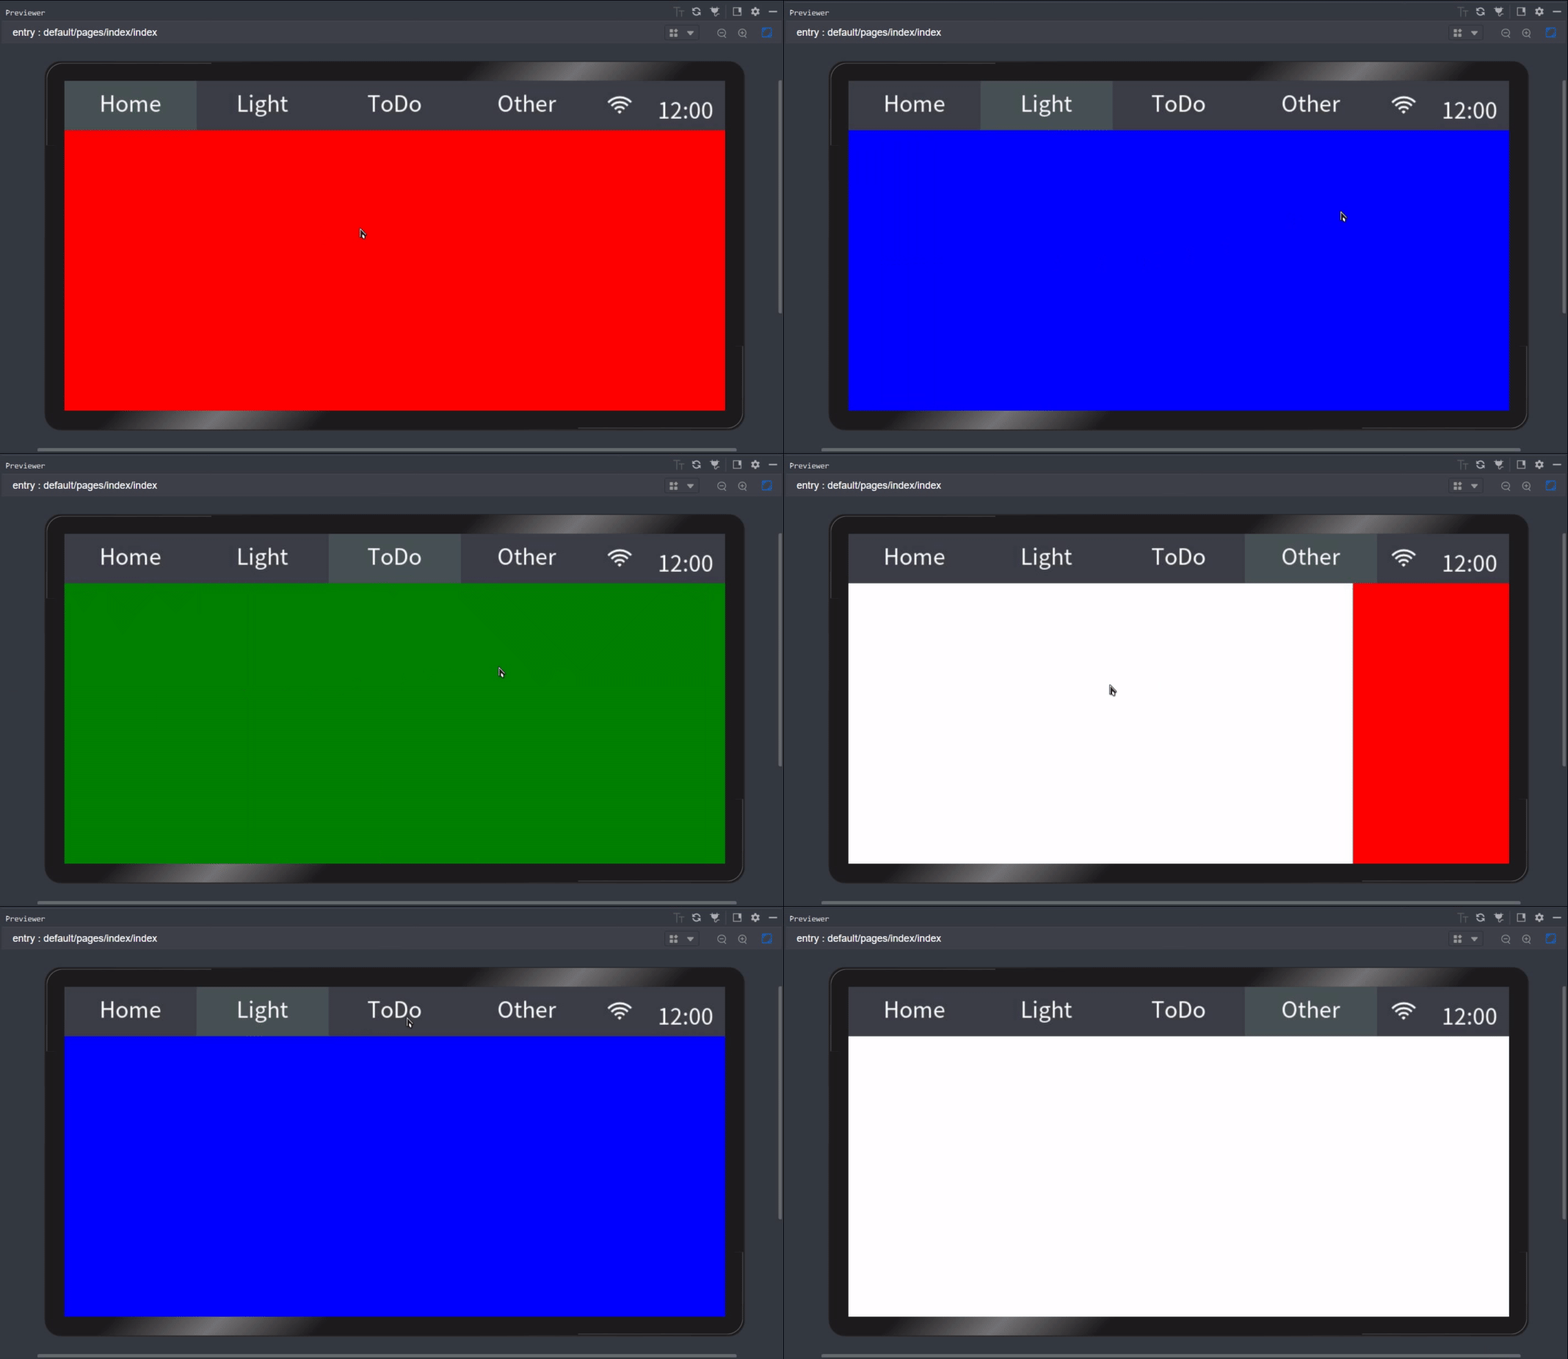
* 测试界面采用 flex 自适应布局
* hml 代码
- <div class="container">
- <stack class="container">
- <stack style="width: 960px;height: 480px;">
- <!-- 上边栏-->
- <div style="height: 15%;width: 100%;top: 0%;align-items: center; background-color: #3a3d46;">
- <div style="padding: 0 0px; height: 100%;width: 100%;justify-content: space-between;display: flex; ">
- <text if="{{this.select(0)}}" class="tab_activate">Home</text>
- <text if="{{!this.select(0)}}" class="tab_normal" on:click="goto(0)">Home</text>
- <text if="{{this.select(1)}}" class="tab_activate">Light</text>
- <text if="{{!this.select(1)}}" class="tab_normal" on:click="goto(1)">Light</text>
- <text if="{{this.select(2)}}" class="tab_activate">ToDo</text>
- <text if="{{!this.select(2)}}" class="tab_normal" on:click="goto(2)">ToDo</text>
- <text if="{{this.select(3)}}" class="tab_activate">Other</text>
- <text if="{{!this.select(3)}}" class="tab_normal" on:click="goto(3)">Other</text>
- <!-- <text class="tab_normal" on:click="exit()">Exit</text>-->
- <div class="tab_normal">
- <image class="wifi-btn" src="/common/icon_wifi_on.png"></image>
- <text class="tab_normal" style="width: 80%; margin: 10px 0px;">12:00</text>
- </div>
- </div>
- </div>
- <swiper class="swiper" index="{{index}}" on:change="change">
- <div class="swiperitem" style="background-color: red;">
- </div>
- <div class="swiperitem" style="background-color: blue;">
- </div>
- <div class="swiperitem" style="background-color: green;">
- </div>
- <div class="swiperitem" style="background-color: white;">
- </div>
- </swiper>
- </stack>
- </stack>
- </div>
* CSS 代码
- .container {
- display: flex;
- /* 让一行中的元素平均分配宽度 */
- justify-content: space-around;
- align-items: center;
- /* 元素在一行放不下时自动换行 */
- flex-wrap: wrap;
- left: 0px;
- top: 0px;
- width: 960px;
- height: 480px;
- background-color: #18181a;
- }
- .swiper {
- top: 15%;
- width: 100%;
- height: 90%;
- justify-content: center;
- }
- .swiperitem {
- width: 100%;
- height: 100%;
- /* display: flex;*/
- align-items: flex-start;
- justify-content: center;
- /* left: 2.5%;*/
- /* top: 2.5%;*/
- background-color: #18181a;
- }
- .show-state {
- /* width: 106px;*/
- /* height: 60px;*/
- font-size: 24px;
- text-align: center;
- /* color: #ffffff;*/
- }
- .tab_normal {
- /* background-color: deepskyblue;*/
- height: 100%;
- width: 20%;
- font-size: 32px;
- text-align: center;
- color: white;
- }
- .tab_activate {
- background-color: #455152;
- height: 100%;
- width: 20%;
- text-align: center;
- font-size: 32px;
- }
- .wifi-btn {
- width: 38px;
- height: 38px;
- margin: 15px 0px;
- margin-left: 20px;
- }
- .img_btn{
- width: 200px;
- height: 96px;
- flex-direction: row;/* justify-content: center;*/
- align-items: center;
- background-color: #3a3d46;
- border-radius: 24px;
- margin: 10px;
- }
- .img_btn_text {
- width: 106px;
- height: 60px;
- font-size: 24px;
- text-align: center;
- color: #ffffff;
- }
- .switch-image {
- width: 60px;
- height: 36px;
- /* margin-left: 18px;*/
- /* margin-top: 9px;*/
- /* margin-left: 260px;!* background-color: #ff0000;*!*/
- }
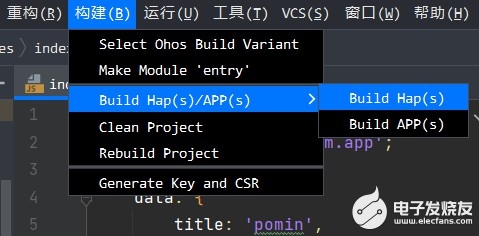
* 编译 hap 包
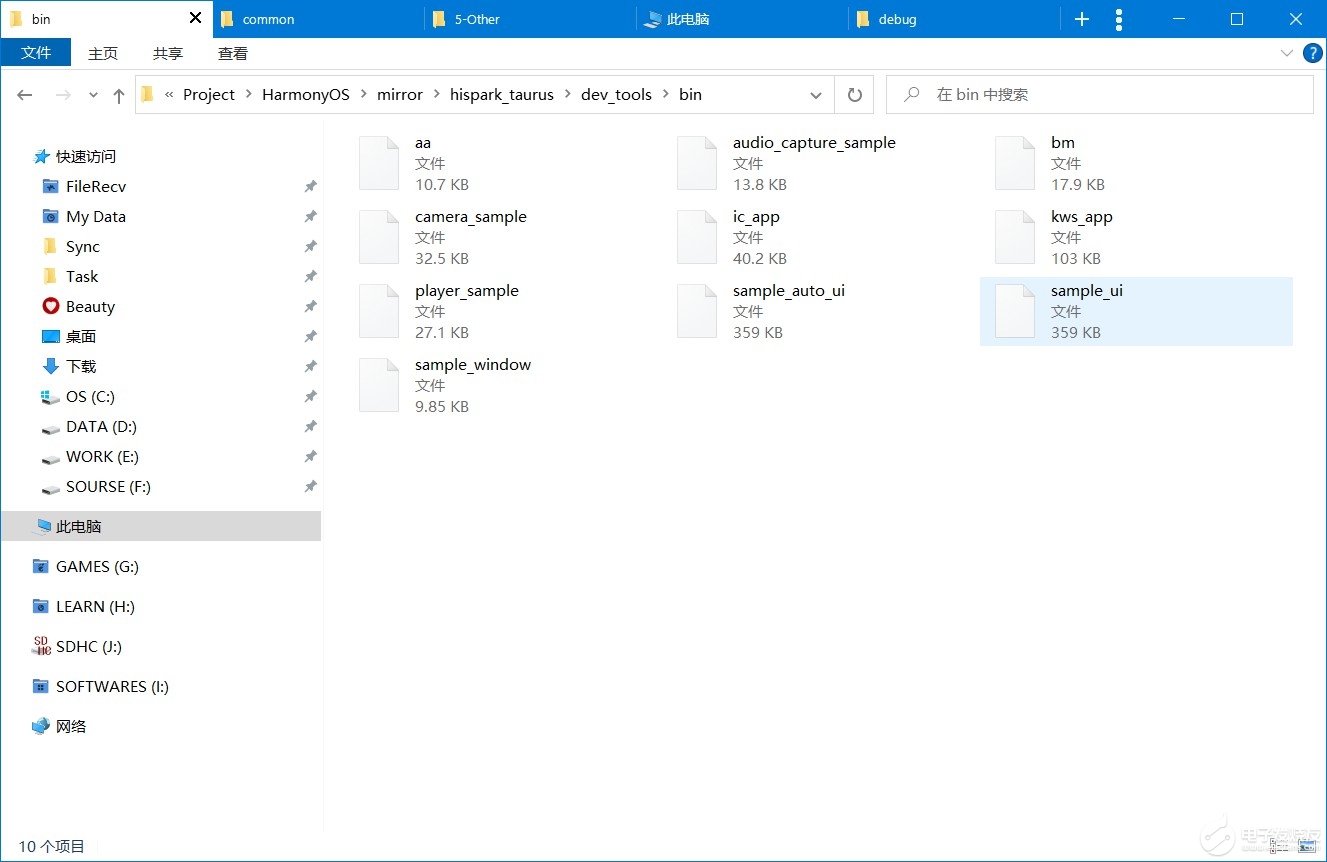
* 从鸿蒙 3.1 编译结果文件中找 dev_tools 的 bm 工具
* 打开右边的模拟器查看
* SD插在开发板上、串口连接到开发板
* 取消证书验证关闭、打开 debug 模式
- cd sdcard
- ./bm set -d enable
- ./bm set -s disable
- ./bm install -p pomin.hap
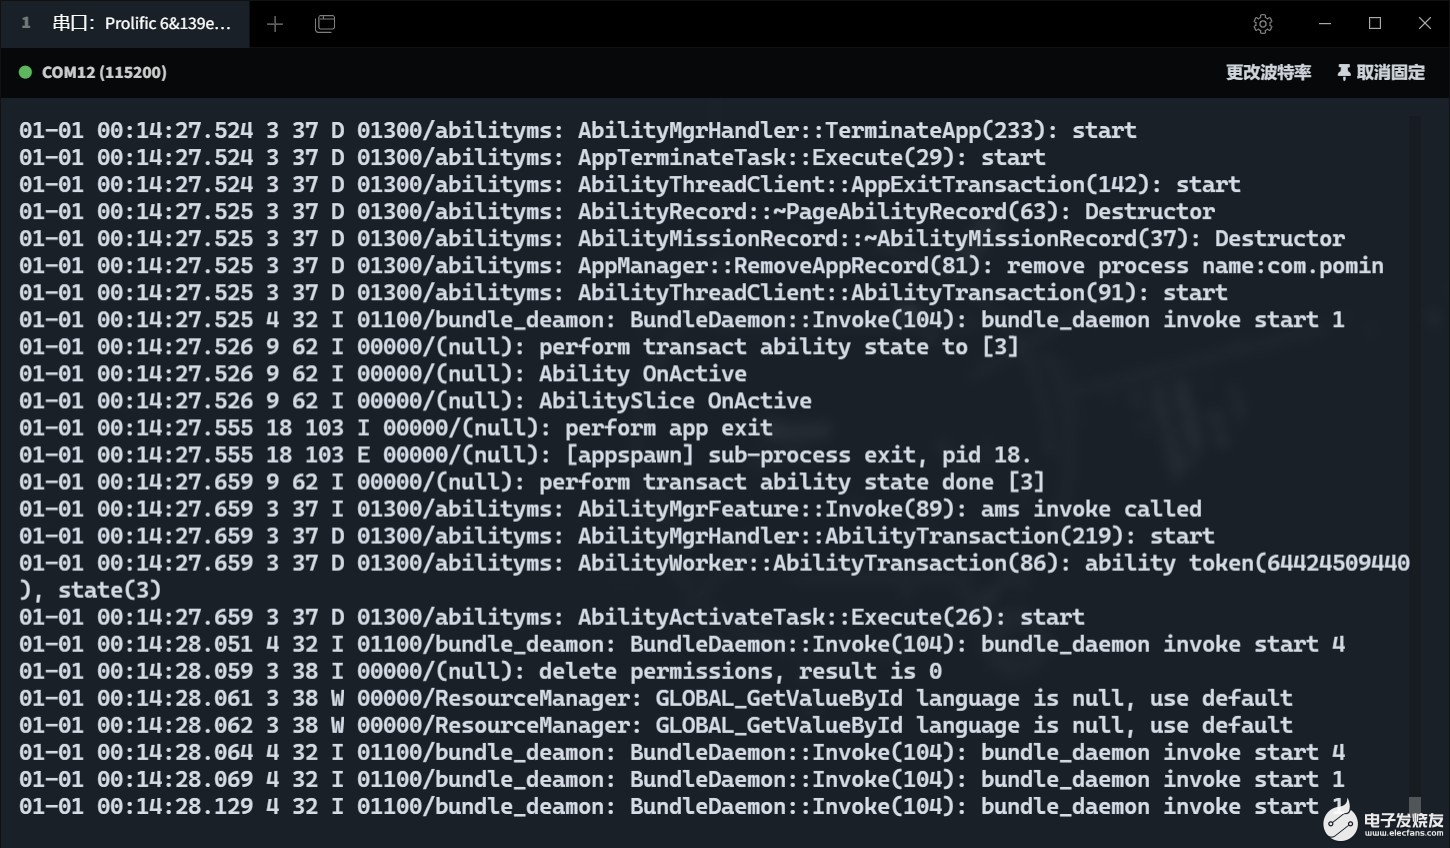
* 打开看看
视频在下方
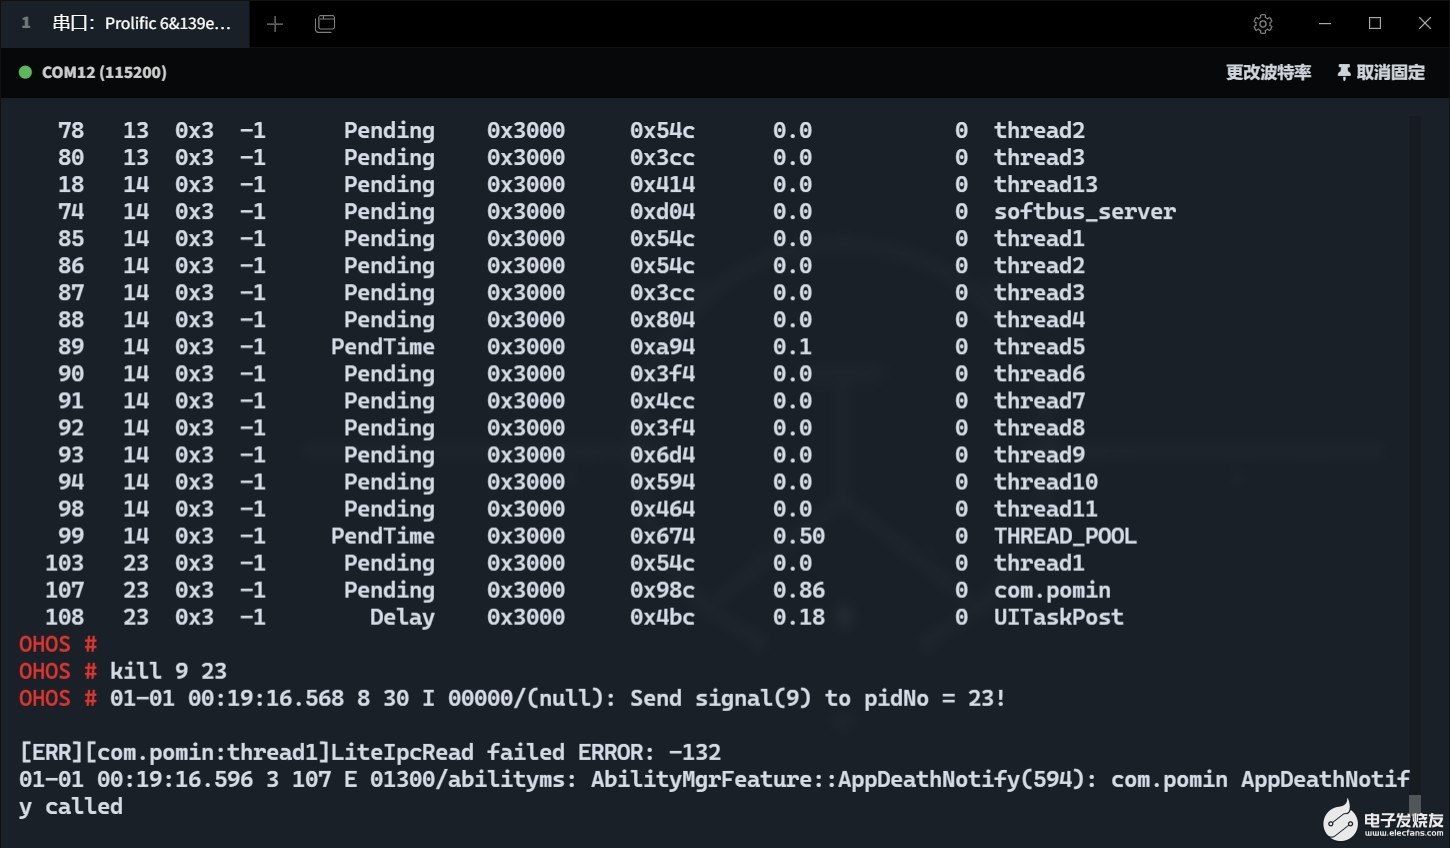
* 忘记写退出按键了,就直接 task 命令和 kill 命令终止线程吧
回帖高级模式
声明:本文内容及配图由入驻作者撰写或者入驻合作网站授权转载。文章观点仅代表作者本人,不代表电子发烧友网立场。文章及其配图仅供工程师学习之用,如有内容图片侵权或者其他问题,请联系本站作侵删。 侵权投诉

