[文章]#HarmonyOS征文#—HarmonyOS单击事件的四种写法

0
1
 1. 自己编写实现类
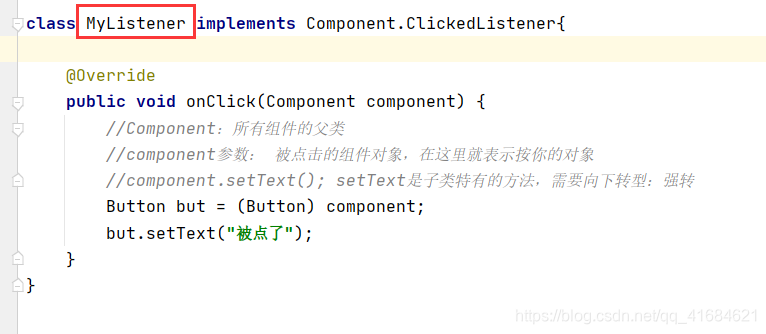
- 编写实现类(MyListener)去实现 Component.ClickedListener 接口
- 在类里面重新下 onClick 方法,把点击代码实现的操作就写在 onClick 方法当中
- 实现代码:
- 创建项目名为:ListenerApplication

- <?xml version="1.0" encoding="utf-8"?>
- <DirectionalLayout
- xmlns:ohos="http://schemas.huawei.com/res/ohos"
- ohos:height="match_parent"
- ohos:width="match_parent"
- ohos:alignment="center"
- ohos:orientation="vertical">
- <Button
- ohos:id="$+id:but1"
- ohos:height="match_content"
- ohos:width="match_content"
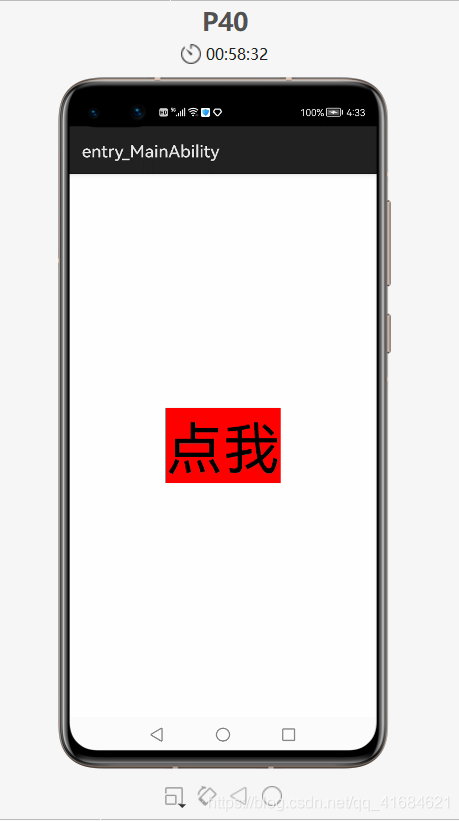
- ohos:text="点我"
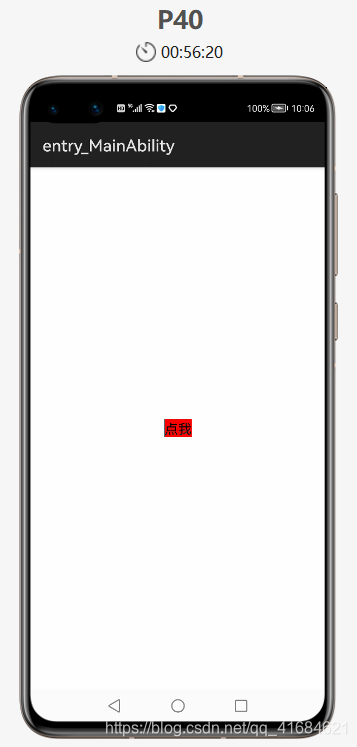
- ohos:text_size="200"
- ohos:background_element="red">
- </Button>
- </DirectionalLayout>
MainAbilitySlice
- package com.example.listenerapplication.slice;
- import com.example.listenerapplication.ResourceTable;
- import ohos.aafwk.ability.AbilitySlice;
- import ohos.aafwk.content.Intent;
- import ohos.agp.components.Button;
- import ohos.agp.components.Component;
- public class MainAbilitySlice extends AbilitySlice {
- @Override
- public void onStart(Intent intent) {
- super.onStart(intent);
- super.setUIContent(ResourceTable.Layout_ability_main);
- //1.找到按钮
- //完整写法:this.findComponentById(ResourceTable.Id_but1);
- //this:本类的对象,指:MainAbilitySlice(子界面对象)
- // 在子界面当中,通过 id 找到对应的组件
- // 用this去调用方法,this可以省略不写
- //findComponentById(ResourceTable.Id_but1);
- //返回一个组件对象(所以组件的父类对象)
- //那么我们在实际写代码的时候,需要向下转型:强转
- Component but1 = (Button) findComponentById(ResourceTable.Id_but1);
- //2.给按钮绑定单击事件,当点击后,就会执行 MyListener 中的方法,点一次执行一次
- // 而方法就是下面点击的内容
- but1.setClickedListener(new MyListener());
- }
- @Override
- public void onActive() {
- super.onActive();
- }
- @Override
- public void onForeground(Intent intent) {
- super.onForeground(intent);
- }
- }
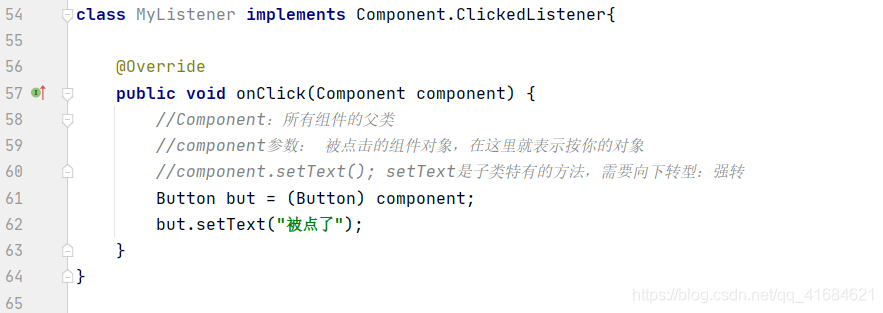
- class MyListener implements Component.ClickedListener{
- @Override
- public void onClick(Component component) {
- //Component:所有组件的父类
- //component参数: 被点击的组件对象,在这里就表示按你的对象
- //component.setText(); setText是子类特有的方法,需要向下转型:强转
- Button but = (Button) component;
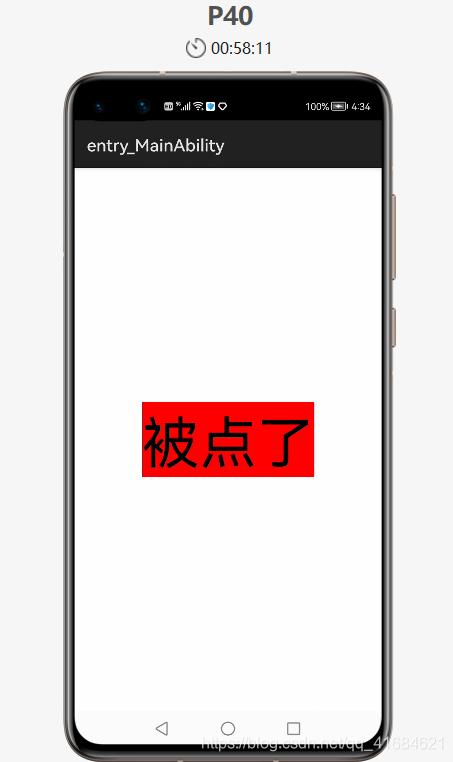
- but.setText("被点了");
- }
- }
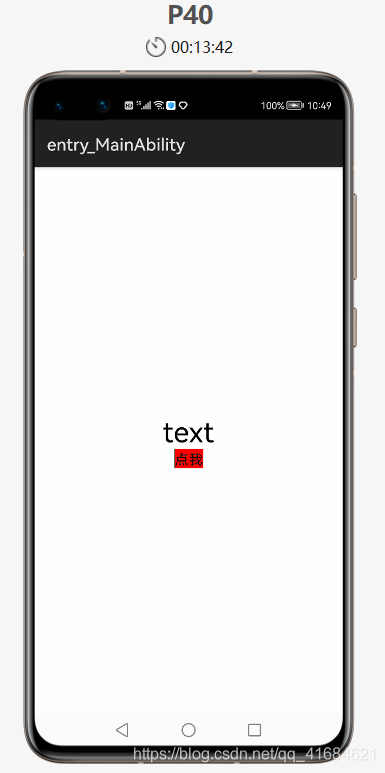
- 运行:
- 点击后:
- ability_main.xml 中把ohos:text_size="50",其他跟上面一样不变
- MainAbilitySlice 中只需把上面新建的类 MyListener 给去掉,然后 AbilitySlice 实现 ClickedListener 接口类中的 onClick 方法,给本类的 but1按钮直接绑定单价事件
- package com.example.listenerapplication.slice;
- import com.example.listenerapplication.ResourceTable;
- import ohos.aafwk.ability.AbilitySlice;
- import ohos.aafwk.content.Intent;
- import ohos.agp.components.Button;
- import ohos.agp.components.Component;
- public class MainAbilitySlice extends AbilitySlice implements Component.ClickedListener {
- @Override
- public void onStart(Intent intent) {
- super.onStart(intent);
- super.setUIContent(ResourceTable.Layout_ability_main);
- //1.找到按钮
- //完整写法:this.findComponentById(ResourceTable.Id_but1);
- //this:本类的对象,指:MainAbilitySlice(子界面对象)
- // 在子界面当中,通过 id 找到对应的组件
- // 用this去调用方法,this可以省略不写
- //findComponentById(ResourceTable.Id_but1);
- //返回一个组件对象(所以组件的父类对象)
- //那么我们在实际写代码的时候,需要向下转型:强转
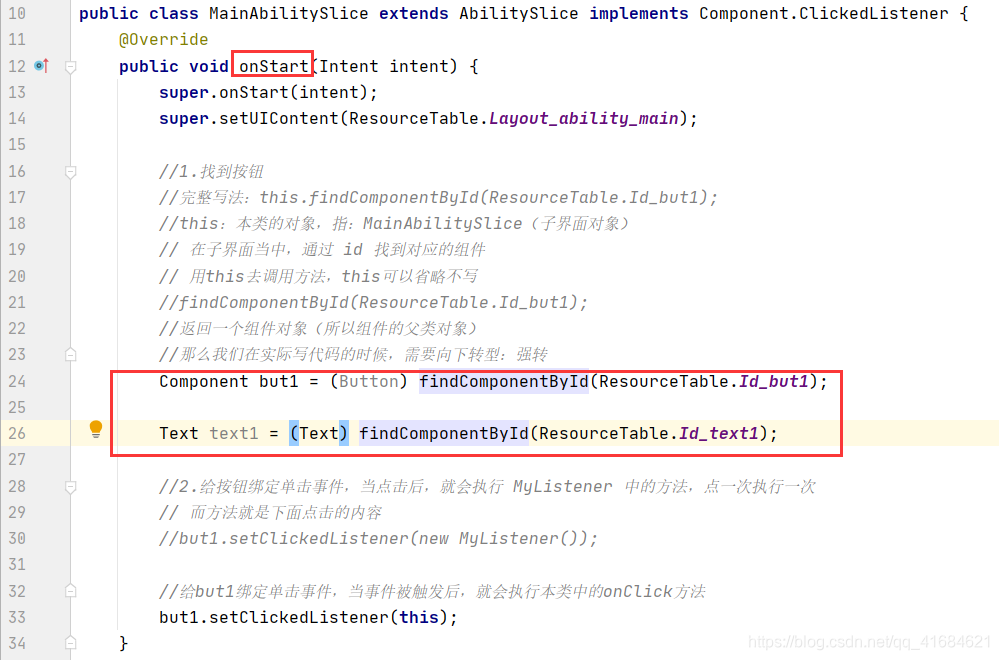
- Component but1 = (Button) findComponentById(ResourceTable.Id_but1);
- //2.给but1绑定单击事件,当事件被触发后,就会执行本类中的onClick方法,this就代表本类
- but1.setClickedListener(this);
- }
- @Override
- public void onActive() {
- super.onActive();
- }
- @Override
- public void onForeground(Intent intent) {
- super.onForeground(intent);
- }
- @Override
- public void onClick(Component component) {
- Button but = (Button) component;
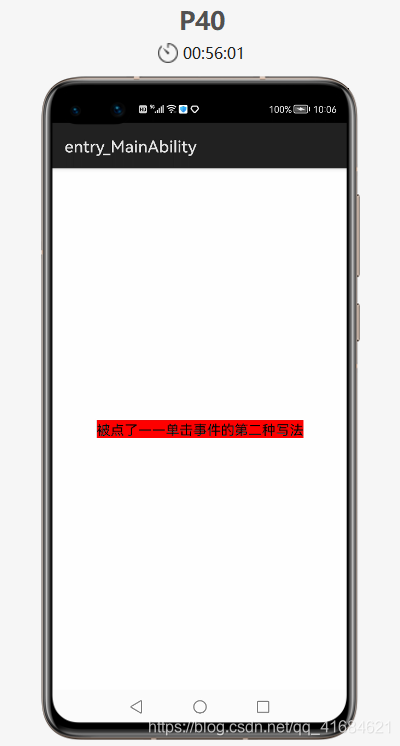
- but.setText("被点了——单击事件的第二种写法");
- }
- }
- 运行:
- 点击后:
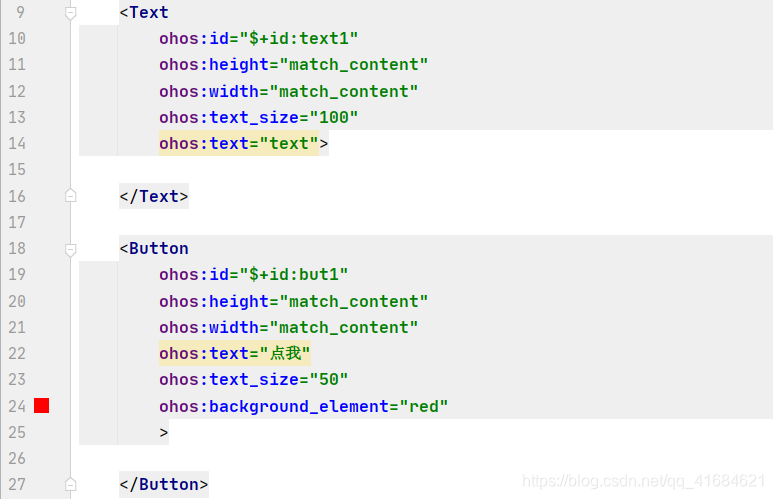
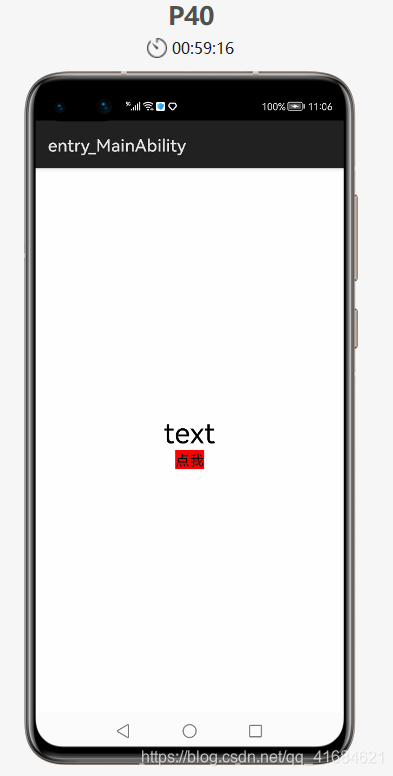
- 如果添加在按钮上面添加一个Text文本内容,当按钮点击后就会修改文本框的内容
- 改动第一个案例中的代码:添加Text文本框
- 上面的 onStart 方法中 text1 是局部变量,如果用第一种方法(自己编写实现类)来写, MyListener 不能调用到 text1 变量
- 如果使用第二种方法(当前类实现接口),就要把 text1 提到成员变量,再把设置点击后的内容添加到 onClick 方法中
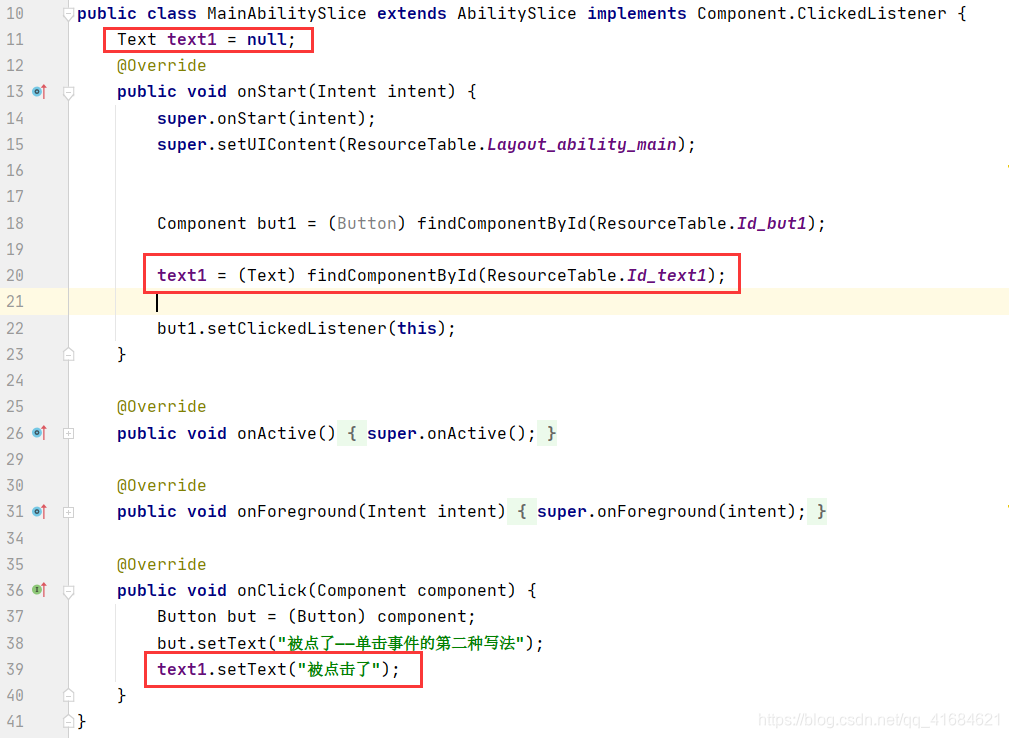
- 如果在点击按钮之后,需要操作其他的组件对象,那么就可以使用第二种方式(当前类实现接口)。
- 如果在点击按钮之后,不需要操作其他的组件对象,就可以使用第一种方式(自己编写实现类)。
- 采用匿名内部类就不需要实现 implement ClickedListener 接口,也不需要再新建一个类了
- 但使用匿名内部类的代码只能使用一次。当使用代码需要用一次的时候,可以采用匿名内部类的形式来简化代码
- 直接 new ClickedListener 就能实现了,然后把第一种实现方式(自己编写实现类)中的 onClick 拿过来或第二种方式(当前类实现接口)实现的 onClick 方法拿过来就行了(其实这两者的onClick方法的内容是一样的),如下:
- but1.setClickedListener(new Component.ClickedListener() {
- @Override
- public void onClick(Component component) {
- Button but = (Button) component;
- but.setText("被点了——单击事件的第三种写法");
- text1.setText("被点击了");
- }
- });
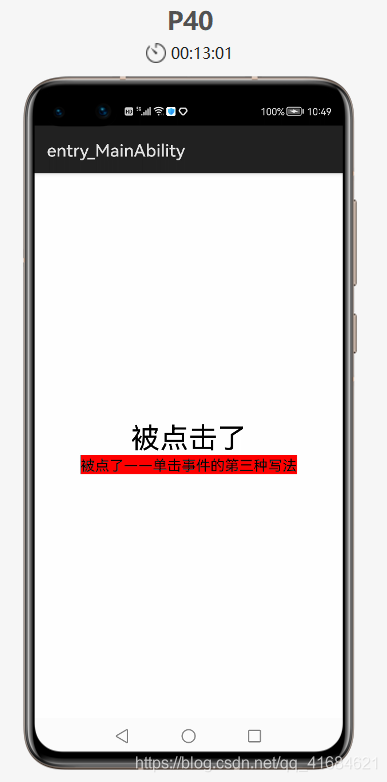
- 运行:
- 当被点击后,触发了 onClick 方法中两个设置文本的方法(Button和Text文本都发生了变化)
- 这个方法的形参和方法的返回值类型需要跟接口里的抽象方法里的形参和返回值类型要保持一致
- 代码实现,布局代码不变跟匿名内部类的一致,改动如下:
- 直接编写 onClick 方法,不带 @Override ,然后在 onStart 方法中直接调用即可
- package com.example.listenerapplication.slice;
- import com.example.listenerapplication.ResourceTable;
- import ohos.aafwk.ability.AbilitySlice;
- import ohos.aafwk.content.Intent;
- import ohos.agp.components.Button;
- import ohos.agp.components.Component;
- import ohos.agp.components.Text;
- public class MainAbilitySlice extends AbilitySlice {
- Text text1 = null;
- @Override
- public void onStart(Intent intent) {
- super.onStart(intent);
- super.setUIContent(ResourceTable.Layout_ability_main);
- Component but1 = (Button) findComponentById(ResourceTable.Id_but1);
- text1 = (Text) findComponentById(ResourceTable.Id_text1);
- but1.setClickedListener(this::onClick);
- }
- @Override
- public void onActive() {
- super.onActive();
- }
- @Override
- public void onForeground(Intent intent) {
- super.onForeground(intent);
- }
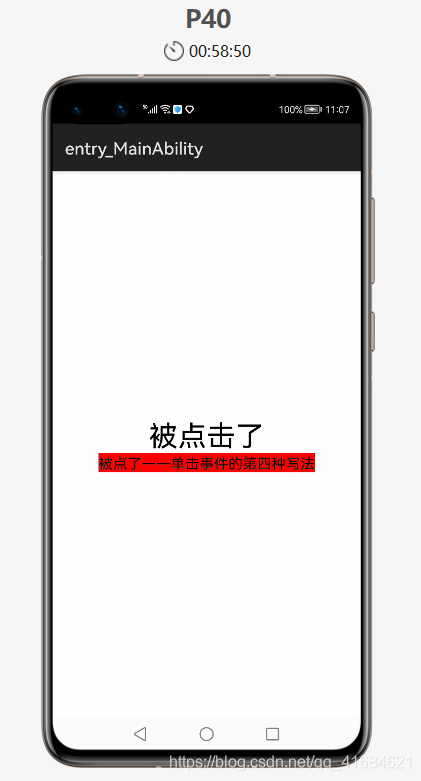
- public void onClick(Component component) {
- Button but = (Button) component;
- but.setText("被点了——单击事件的第四种写法");
- text1.setText("被点击了");
- }
- }
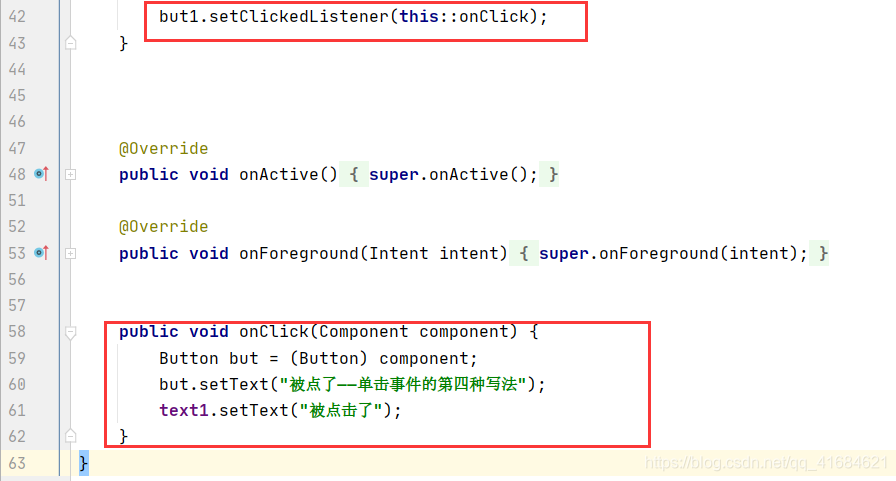
- 当按钮被点击后,就要执行this本类中的onClick方法,相当于把下面的public void onClick…方法拿过来,引用了一下,当做抽象方法的方法体。
- 运行:
- 当前类作为实现类和方法引用是比较常用的。其他的写法也要掌握了解即可。
- 【本文正在参与“有奖征文 | HarmonyOS征文大赛”活动】
https://bbs.elecfans.com/jishu_2098584_1_1.html
回帖高级模式
声明:本文内容及配图由入驻作者撰写或者入驻合作网站授权转载。文章观点仅代表作者本人,不代表电子发烧友网立场。文章及其配图仅供工程师学习之用,如有内容图片侵权或者其他问题,请联系本站作侵删。 侵权投诉